
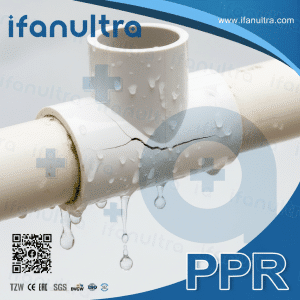
I’ve seen countless projects where a single leaking joint ruined weeks of work. That moment of discovery is always frustrating, but it’s also a learning opportunity.
Solvent-weld joints typically fail due to errors in the preparation, application, or curing process. The most common causes include improper surface preparation, skipping primer, incomplete pipe insertion, twisting during setting, or curing in temperatures that are too cold. Identifying the specific failure mode helps you prevent it next time.
Let’s examine each potential cause and learn how to spot the signs of failure.
Was the Failure Due to Improper Surface Preparation or Lack of Primer Use?
I once watched a worker rush through a job without primer. Within a month, every joint he made was leaking. Preparation matters more than most people realize.
Yes, improper surface preparation and skipping primer are leading causes of joint failure. The pipe and fitting surfaces require cleaning and softening to allow the solvent to chemically bond the materials. Without proper abrasion and primer application, the solvent cannot penetrate effectively, resulting in a weak bond that fails under pressure.
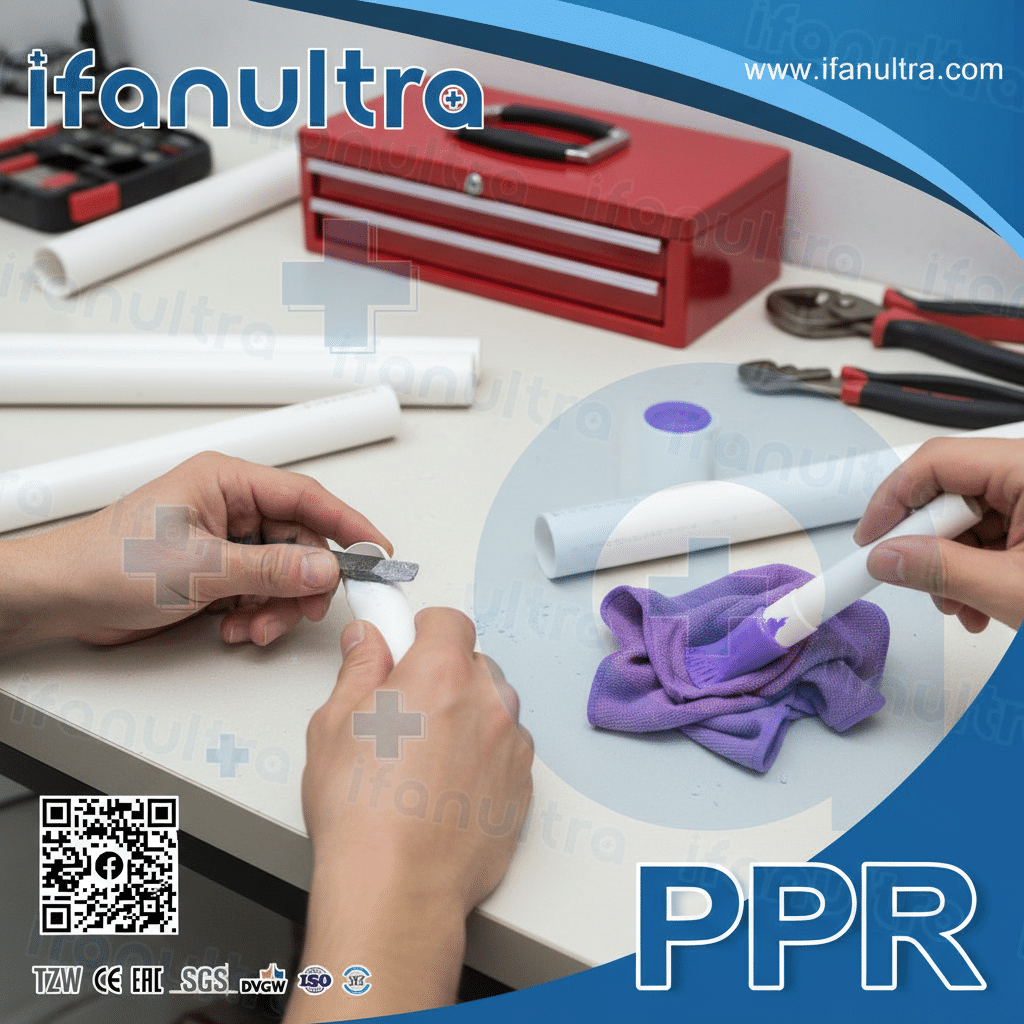
The Role of Primer in Solvent Welding
Many people view primer as an optional extra step. In reality, it serves two critical functions.
First, primer cleans the surface. It removes dirt, grease, and mold release agents from the manufacturing process. These contaminants act as barriers between the pipe and the solvent cement.
Second, primer softens the pipe surface. It penetrates the outer layer of the plastic, opening up the molecular structure. This allows the solvent cement to create a true chemical bond when it joins the pipe and fitting. Without this softening, the cement sits on top of the surface rather than merging with it.
How to Spot Preparation Failures
When a joint fails due to poor preparation, you can see specific signs:
The Clean Pull-Out: In this failure, the pipe slides completely out of the fitting socket. The inside of the fitting looks smooth and shiny. The pipe end also looks smooth, as if you never applied cement. This tells you the solvent never bonded to either surface.
Spotty Bonding: Sometimes you see partial bonding. Some areas show plastic stuck to the fitting, while other areas appear bare. This indicates uneven preparation. Maybe you missed a spot when applying primer, or you didn’t rotate the pipe during insertion to spread the cement evenly.
Proper Preparation Checklist
Follow these steps for reliable joints:
| Step | Action | Por qué es importante |
|---|---|---|
| 1. Cut | Use a pipe cutter for a square, clean cut. | Angled cuts reduce contact area and weaken joints. |
| 2. Deburr | Remove inner and outer burrs with a knife or deburring tool. | Rough edges can scrape cement off during insertion. |
| 3. Clean | Wipe with a clean, dry rag. | Removes loose debris before priming. |
| 4. Prime | Apply primer generously to both pipe end and fitting socket. | Cleans and softens surfaces for chemical bonding. |
| 5. Cement | Apply cement while primer is still wet. | Ensures maximum chemical fusion between layers. |
Remember, the primer and cement work as a system. Skipping one step compromises the entire bond.
Could Incomplete Insertion or Twisting of the Pipe Have Weakened the Joint?
A contractor once called me about leaks in a new building. When I examined the joints, I found the pipes only went halfway into the fittings. The installer had been in too much of a hurry.
Yes, incomplete insertion and twisting during setting are common causes of weak joints. The pipe must bottom out fully in the fitting socket to create the proper interference fit. Twisting the pipe after insertion breaks the initial bond formation, creating channels that later become leak paths.
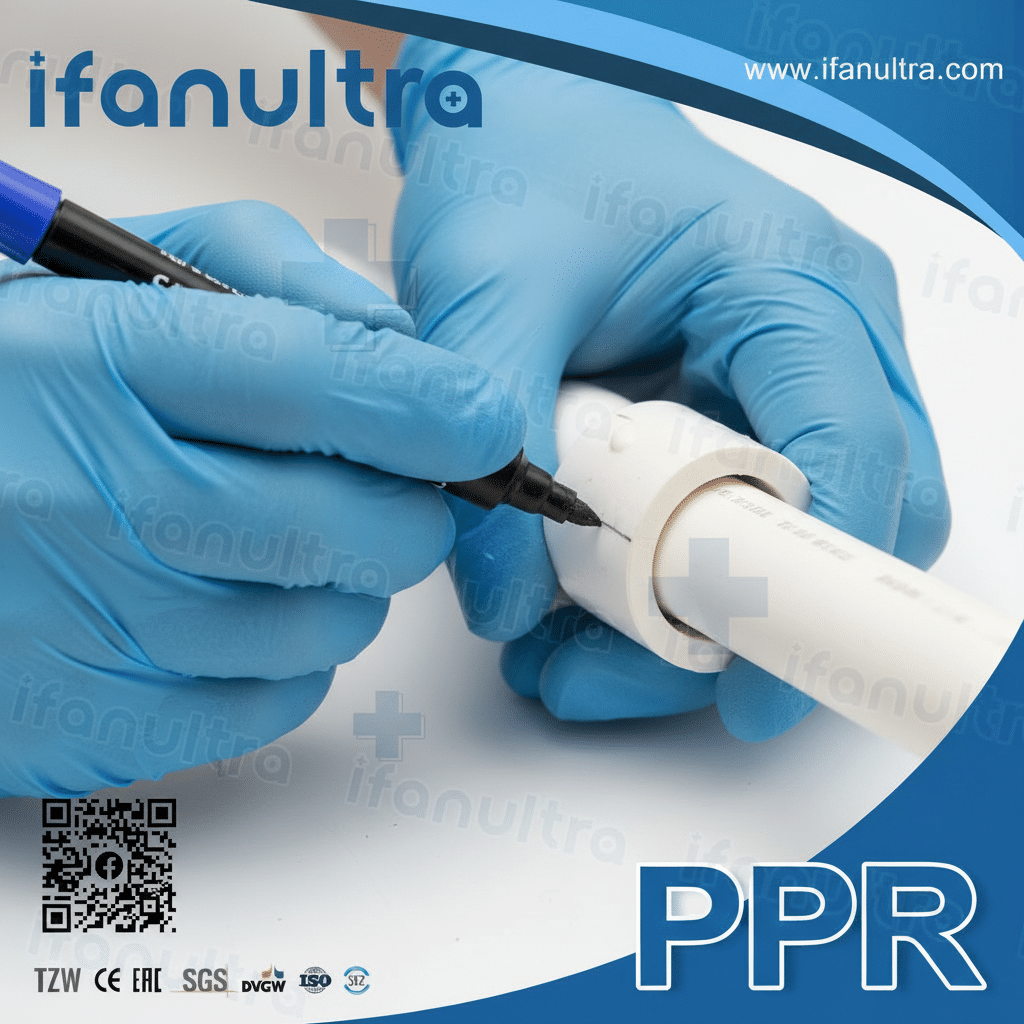
Understanding the Importance of Full Insertion
Solvent-weld fittings are designed with a specific socket depth. The pipe must go all the way to the bottom of this socket for several reasons:
Maximum Contact Area: The strength of a solvent weld comes from the total surface area bonded together. If you insert the pipe only halfway, you lose half your bonding surface. The joint becomes proportionally weaker.
The Interference Fit: Quality fittings taper slightly. The socket is wider at the opening and narrower at the bottom. When you fully insert the pipe, it wedges tightly into this taper. This mechanical grip holds the joint together while the chemical bond forms.
Cement Pooling: When you insert the pipe fully, excess cement pushes out around the joint opening. This creates a visible bead that confirms full insertion. If the pipe stops short, cement pools inside the socket, leaving a gap at the bottom.
Why Twisting Causes Failures
Many installers twist the pipe when inserting it, thinking this helps spread the cement. Actually, you should rotate the pipe only during insertion. Once it bottoms out, stop moving it.
Here’s what happens when you twist after full insertion:
Shearing the Gel Layer: Solvent cement forms a gel layer as it begins to cure. This gel is the beginning of the chemical bond. Twisting tears this delicate layer apart, creating microscopic gaps.
Creating Channels: Twisting can also spiral the cement unevenly around the pipe. Instead of a continuous bond, you get ribbons of cement with empty channels between them. Water eventually finds these channels.
Visual Inspection of Depth Failures
Look for these signs when examining a failed joint:
| Failure Sign | What It Tells You |
|---|---|
| Pipe sticks out visibly from fitting | Incomplete insertion |
| Cement bead missing around joint opening | Pipe not fully seated |
| Uneven cement distribution inside socket | Twisting during setting |
| Shiny spiral marks on pipe surface | Twisting after initial bond formed |
Always mark the insertion depth on the pipe before applying cement. This gives you a visual reference during assembly.
Did Curing Occur in Temperatures That Were Too Cold or While Under Stress?
We once installed pipes in winter and pressure tested them too soon. The joints held initially, but after a freeze-thaw cycle, they failed. The cold had prevented proper curing.
Yes, temperature and stress during curing significantly affect joint strength. Solvent cement requires a minimum temperature (typically above 40°F/5°C) to cure properly. Additionally, moving or pressurizing the system before full cure places stress on the developing bond, leading to delayed failure.
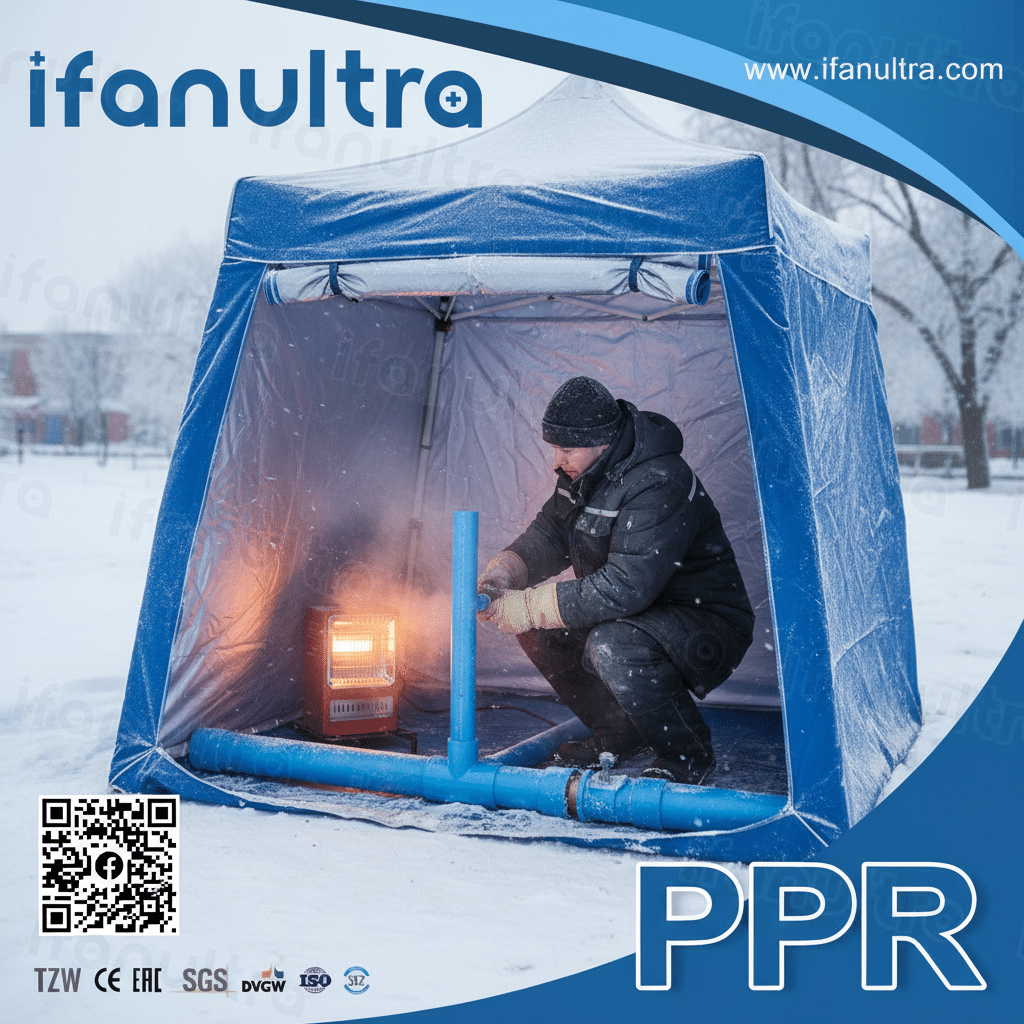
The Chemistry of Curing in Cold Weather
Solvent welding is not just drying; it’s a chemical fusion process. The solvent temporarily dissolves the plastic surfaces, allowing their polymer chains to intermingle. As the solvent evaporates, the chains lock together, creating a homogenous material.
Cold temperatures slow this process dramatically. Here’s what happens:
Slower Evaporation: Solvent evaporates more slowly in cold air. The chemical bond takes much longer to develop full strength. A joint that cures in one hour at 70°F might need 24 hours at 40°F.
Condensation Risk: Cold pipes can cause moisture condensation on the surface. Water acts as a barrier, preventing the solvent from contacting the plastic properly.
Brittle Joints: If the joint freezes before full cure, ice crystals can form within the bond line. These crystals weaken the joint permanently.
The Problem of Stress During Curing
Solvent-weld joints need stability while the chemical bond forms. Stress during this period pulls the joint apart at a microscopic level.
Common sources of stress include:
| Stress Source | Why It Damages Joints |
|---|---|
| Moving pipes before full cure | Flexing breaks the developing polymer chains. |
| Pressure testing too early | Internal pressure forces the joint apart at weak points. |
| Thermal expansion/contraction | Temperature changes make pipes move, stressing new joints. |
| Supporting weight too soon | Gravity pulls on joints before they achieve full strength. |
Recommended Cure Times by Temperature
Use this table as a general guide. Always check your specific cement manufacturer’s recommendations.
| Temperature | Handling Strength | Full Cure Time |
|---|---|---|
| 60°F – 100°F | 30 – 60 minutes | 24 hours |
| 40°F – 60°F | 1 – 2 hours | 48 hours |
| 20°F – 40°F | 2 – 4 hours | 72+ hours |
| Below 20°F | Not recommended | – |
Beyond temperature, consider using cold-weather cement formulas when working in低温 conditions. These contain additives that help the solvent evaporate and bond even in colder temperatures.
How Can You Inspect a Failed Joint to Learn the Specific Cause of Failure?
When a joint fails, don’t just cut it out and move on. Take time to examine it. The failure holds clues that prevent future problems.
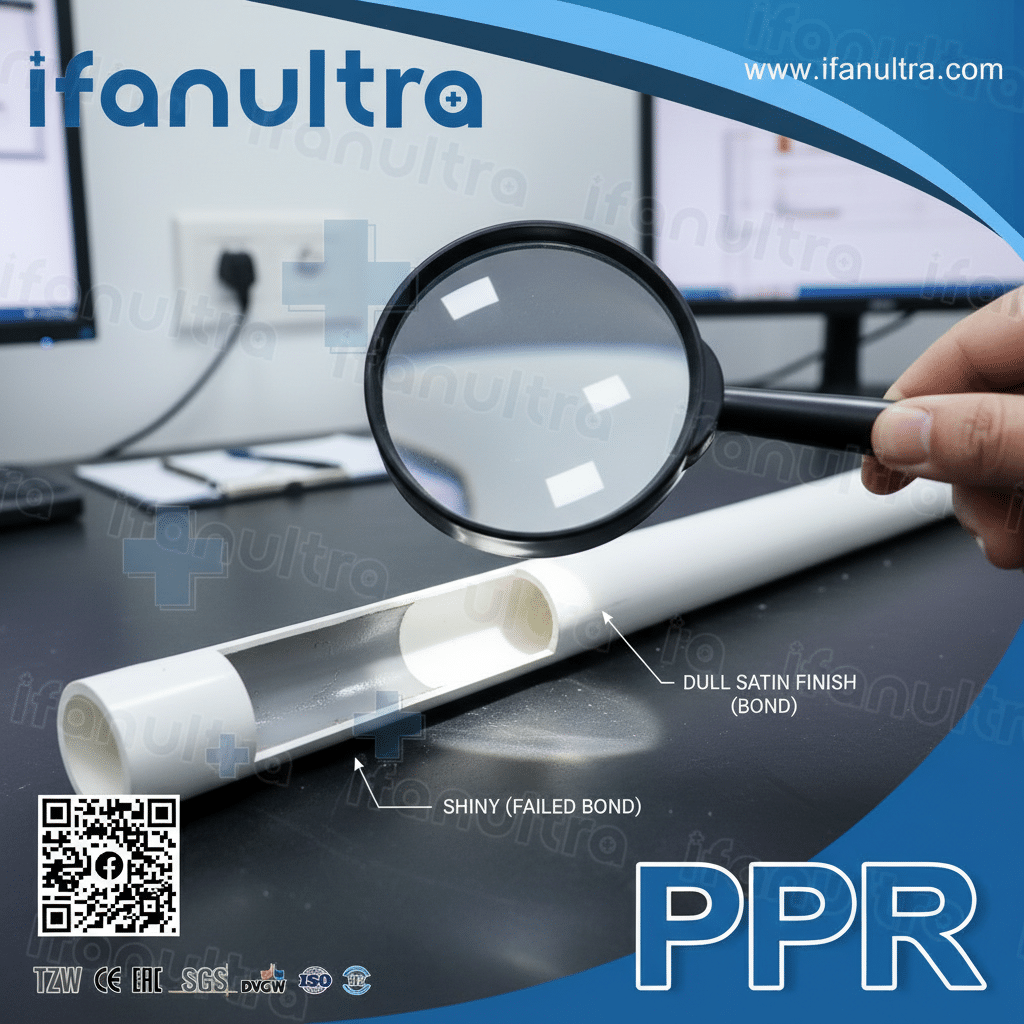
You can inspect a failed joint by cutting it apart and examining the fracture surface. Look at the color, texture, and pattern of the break. Clean separation indicates poor bonding, while plastic tearing within the pipe material itself shows the bond was stronger than the pipe. Each pattern tells a different story about what went wrong.
Step-by-Step Joint Examination
Follow this process when you find a failed joint:
1. Cut the Joint Free: Use a saw to remove the entire fitting with short sections of pipe on both ends. This preserves the evidence.
2. Split the Fitting Lengthwise: Carefully cut the fitting in half along its length. You can use a saw or, for smaller fittings, carefully crack it open with pliers.
3. Examine the Bond Surfaces: Look closely at both the pipe surface and the fitting socket interior. Use good light and a magnifying glass if needed.
4. Document What You See: Take photos and notes. This helps you remember details when discussing with your team or supplier.
Reading the Failure Patterns
Different failure modes leave distinct signatures:
Adhesive Failure (Bond Separation):
- The pipe surface appears smooth and shiny
- The fitting socket also looks smooth
- No plastic stuck to either surface
- Cause: Poor preparation, no primer, contamination, or wrong cement type
Cohesive Failure (Material Tear):
- You see chunks of plastic torn from the pipe
- The fitting socket has plastic stuck to it
- The pipe surface feels rough or fuzzy
- Cause: Good bond achieved, but external stress exceeded material strength
Partial Bond Failure:
- Some areas show adhesive failure
- Other areas show cohesive failure
- Uneven distribution of cement visible
- Cause: Incomplete insertion, twisting during set, or insufficient cement
Visual Reference Table
| Failure Appearance | Primary Cause | Secondary Cause |
|---|---|---|
| Smooth, shiny surfaces | No primer or cleaning | Contamination |
| Pipe pulled out completely | Incomplete insertion | Insufficient cement |
| Spiral patterns on pipe | Twisting after setting | – |
| Brittle, chalky bond line | Cold temperature cure | Wrong cement type |
| Pipe cracked near joint | Stress during cure | Thermal expansion |
Questions to Ask Yourself During Inspection
Use these questions to guide your analysis:
About Preparation:
- Did I see primer residue on the surfaces?
- Was the pipe end deburred properly?
- Did I wipe away dirt before applying cement?
About Application:
- Did I mark the insertion depth beforehand?
- Did I use enough cement to form a bead?
- Did I rotate the pipe during insertion only?
About Curing:
- What was the temperature during and after installation?
- Did I support the pipes properly while they cured?
- How long did I wait before pressure testing?
About Materials:
- Did I use the correct cement for this pipe material?
- Was the cement fresh and within its shelf life?
- Did the pipe and fitting come from compatible manufacturers?
By answering these questions and examining the failure pattern, you can pinpoint exactly what went wrong. This knowledge helps you adjust your installation practices for future success.
Conclusión
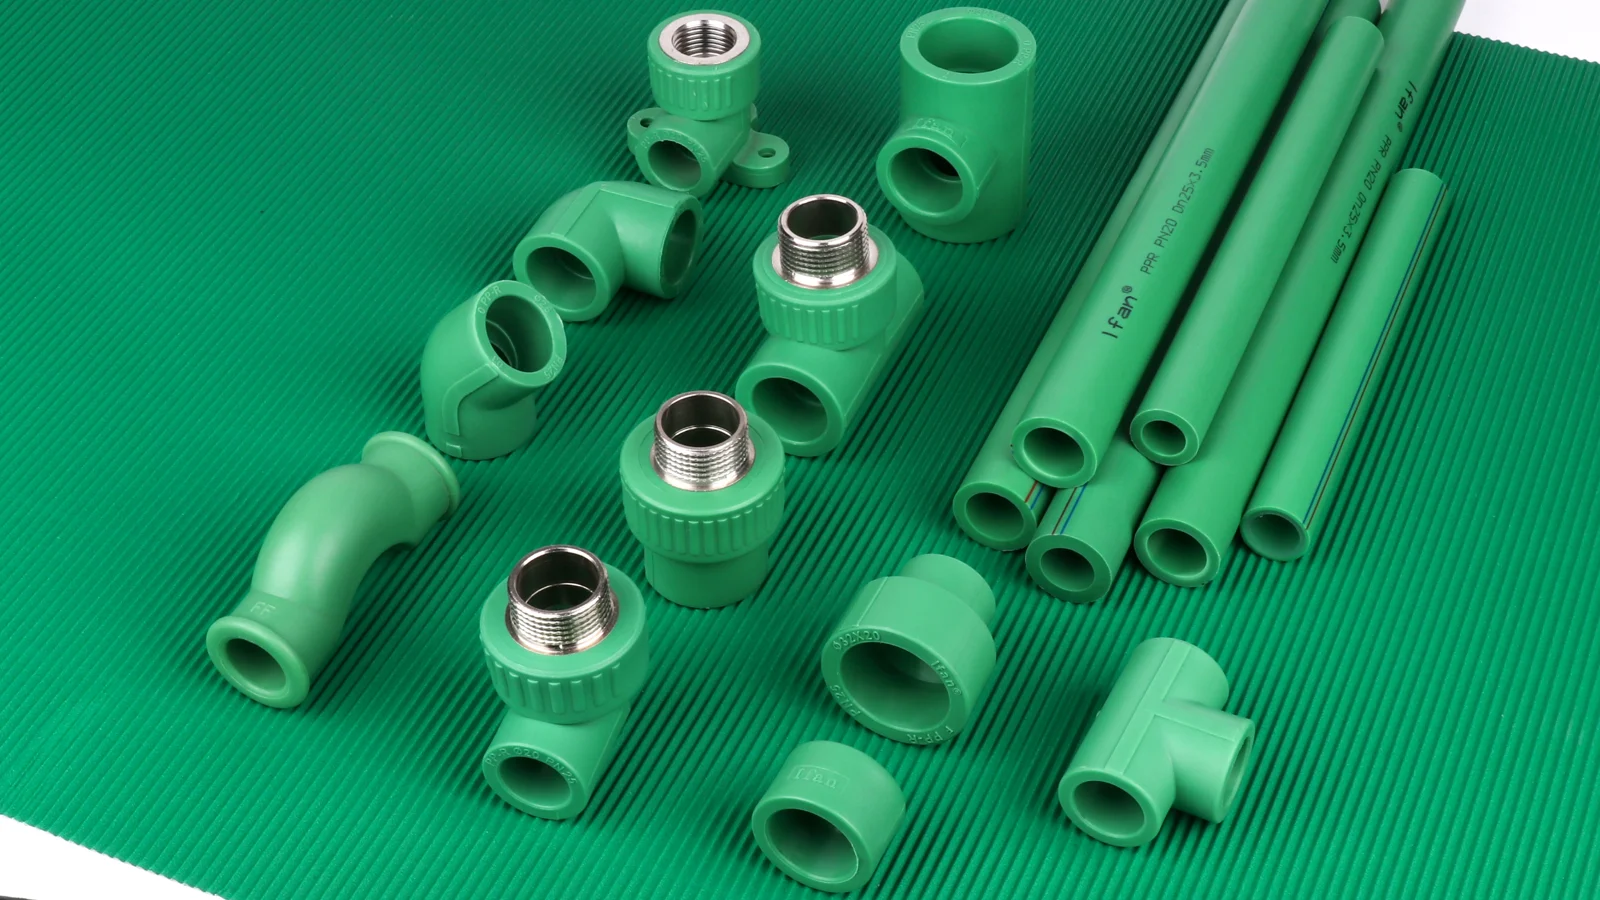
Solvent-weld joint failures almost always trace back to preparation, technique, or curing conditions. For guaranteed reliability, choose IFAN’s comprehensive line of pipes, fittings, and solvents, all engineered for perfect compatibility and long-term performance.


 English
 Español
 Français
 Português do Brasil