
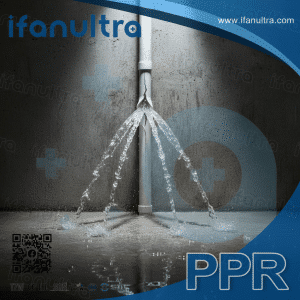
I still remember a frantic Sunday morning call from a factory manager whose main water line had cracked. Water was spraying everywhere, and production was about to stop. That experience taught me the value of quick, reliable emergency repairs.
You can temporarily repair a cracked PVC pipe under pressure using a specialized repair clamp or a high-quality epoxy putty designed for wet surfaces. These methods create a seal around the crack without requiring you to shut down the water flow completely. However, these fixes are temporary and only buy you time until you can replace the damaged section properly.
Let’s walk through exactly how to handle this emergency situation safely and effectively.
What Types of Epoxy Putties or Repair Clamps Work Best on Pressurized PVC?
Not all repair products work on wet, pressurized pipes. I’ve seen homeowners waste precious time with products that simply wash away.
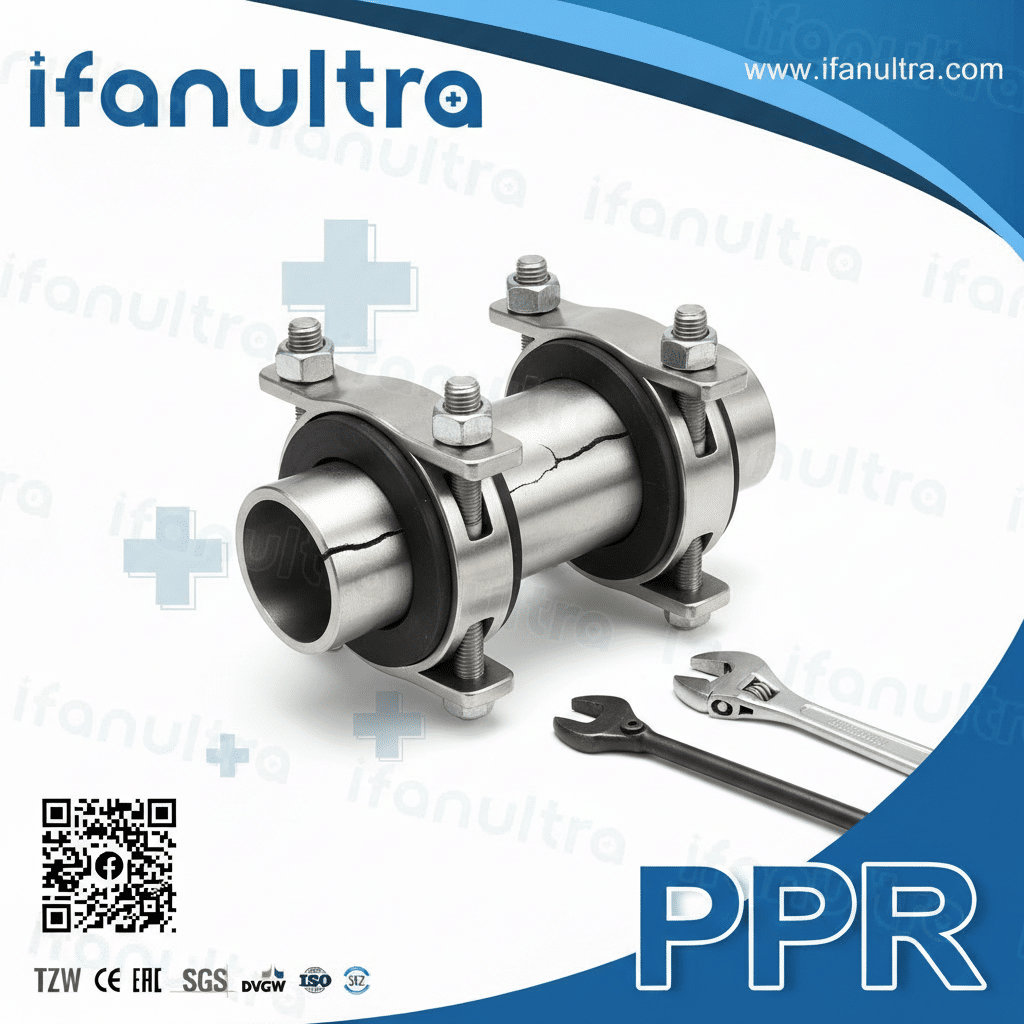
For pressurized PVC, two types of products work best: 1) Stainless steel repair clamps with rubber gaskets that physically wrap around the pipe and compress the gasket into the crack, and 2) Two-part epoxy putties specifically formulated for underwater or wet surface applications, such as those containing polyurethane or specialized PVC composites.
Understanding Your Two Main Options
When water is actively spraying from a pipe, you have two primary tools at your disposal. Each works differently and suits different situations.
Option 1: Stainless Steel Repair Clamps
These are mechanical devices. They consist of a curved stainless steel band with a rubber gasket on the inside. You wrap the clamp around the pipe over the crack and tighten it with bolts. The compression forces the rubber into the crack, stopping the leak.
Key features to look for:
- Material: 100% stainless steel bands and bolts resist rust.
- Gasket Material: Look for EPDM rubber, which handles hot and cold water well.
- Width: Choose a clamp wider than the crack to ensure full coverage.
- Size: Match the clamp diameter exactly to your pipe size.
| Clamp Feature | Por qué es importante |
|---|---|
| Stainless Steel Construction | Prevents rust in wet environments; ensures long-term reliability. |
| EPDM Rubber Gasket | Provides excellent sealing against water; resists temperature changes. |
| Wide Band Design | Distributes pressure evenly; covers the entire crack area. |
| Double Bolt System | Allows even tightening; creates a more secure seal. |
Option 2: Specialized Epoxy Putties
These are two-part compounds that you mix with your fingers. They cure through a chemical reaction and bond directly to the pipe surface. However, standard epoxies will not stick to a wet pipe.
You need a product specifically labeled for:
- Underwater application: It displaces water to bond with the PVC.
- Potable water safety: NSF certification ensures it won’t contaminate your water.
- Pressure ratings: Check that the cured putty can handle your system’s PSI.
Popular types include polyurethane-based putties and some fiberglass-reinforced epoxy sticks. They work by curing quickly (often in 5-15 minutes) to form a hard, waterproof plug.
Which Option Should You Choose?
The table below helps you decide based on your specific situation:
| Situación | Best Choice | Why |
|---|---|---|
| Large crack, high water pressure | Stainless Steel Clamp | Provides strong mechanical force; works even with active spraying. |
| Small pinhole leak, low pressure | Epoxy Putty | Quick to apply; creates a smooth permanent-looking (but still temporary) patch. |
| Odd-shaped fitting or elbow | Epoxy Putty | Clamps won’t fit curved or irregular surfaces well. |
| No access to tools or supplies | Epoxy Putty | Requires only your hands and the product itself. |
In my experience, a good stainless steel clamp is the more reliable choice for an active leak under pressure. It does not rely on adhesion to a wet surface. It simply uses brute mechanical force to stop the water.
How Do You Prepare the Wet, Cracked Surface for a Reliable Temporary Patch?
Preparation determines success. I’ve watched people slap putty onto a dirty, gushing pipe and wonder why it failed five minutes later.
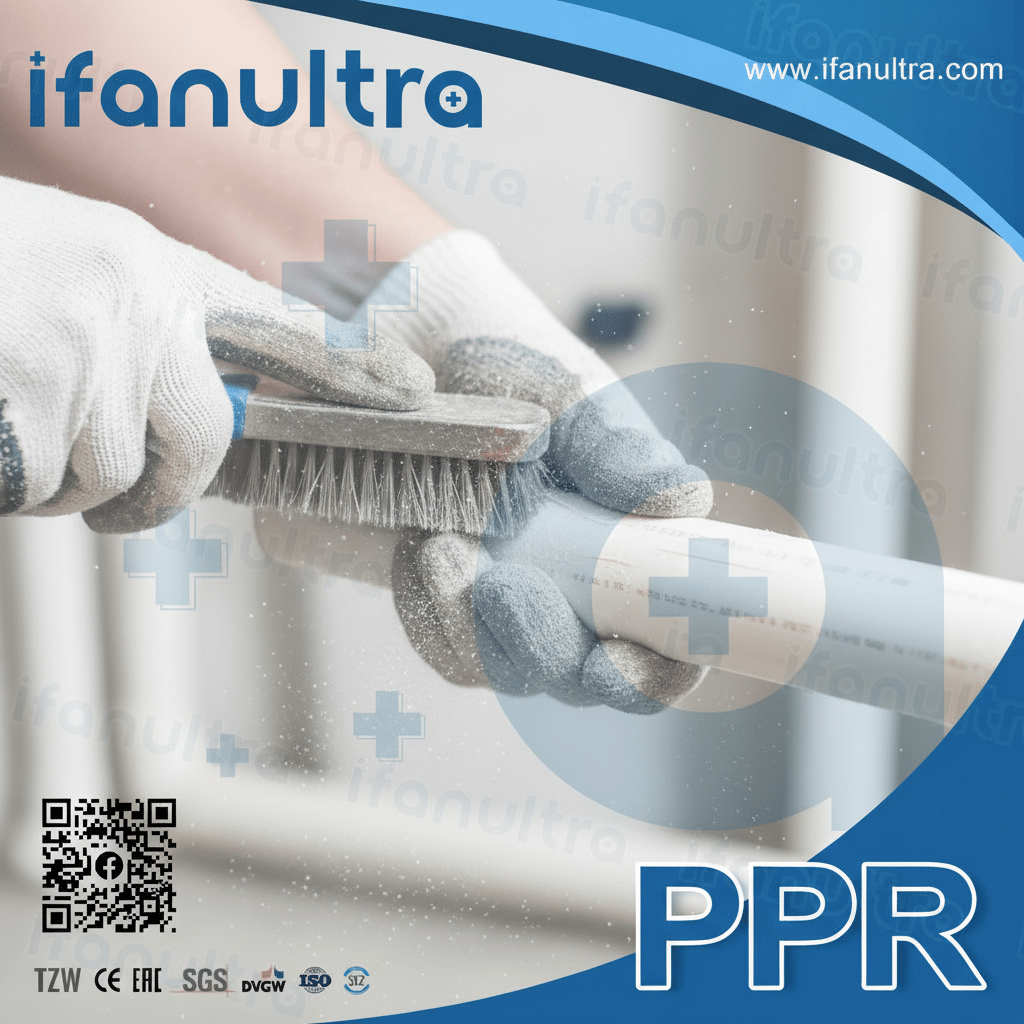
You prepare the surface by first cleaning the area around the crack with a wire brush or abrasive pad to remove loose debris and rough up the surface. Then, if using epoxy, you must isolate the crack momentarily to dry it, often by temporarily redirecting the flow with a finger or a small stick, or by using a quick-drying primer if the product allows.
Step 1: Create a Clean Working Area
Even under pressure, you need a clean surface. Dirt, algae, or old pipe residue will prevent any patch from sticking.
Follow these steps:
- Use a wire brush or coarse sandpaper: Scrub the area around the crack vigorously. Remove all loose material. This also roughens the PVC, giving epoxy a better mechanical grip.
- Wipe away debris: If you can momentarily slow the flow, wipe the area with a clean rag. The goal is a roughened surface, even if it is still wet.
- For clamps: You still need a clean surface under the gasket. Dirt can create channels for water to escape around the sides of the clamp.
Step 2: Manage the Water Flow Temporarily
For epoxy putty to work, the putty needs to touch the pipe surface, not just the water streaming out. You need to create a brief moment of contact.
Here are practical techniques:
- The Finger Method: Place your finger firmly over the crack. This momentarily stops the water from spraying. Wipe the area around your finger quickly with your other hand. Then, take a small amount of mixed putty and press it against the crack right next to your finger. Slowly slide your finger away as you press the putty into place.
- The Wedge Method: For small cracks, you can tap a sharpened wooden stick or a plastic plug into the crack to temporarily block the flow. Apply the putty around and over the stick, then slowly remove the stick as the putty cures.
- Use a Product with Primers: Some professional-grade epoxy systems include a quick-set primer that you apply first. This primer can displace water and create a dry surface for the putty to bond to, even while water flows nearby.
Step 3: Dry the Immediate Area (If Possible)
If you can achieve a brief pause in the water flow, use that moment to dry the pipe surface with a rag or even a quick blast from a propane torch (carefully, just to evaporate moisture, not to melt the pipe). A dry surface always creates a stronger epoxy bond.
The table below summarizes surface prep steps for each method:
| Repair Method | Surface Prep Steps | Critical Action |
|---|---|---|
| Epoxy Putty | 1. Scrub with wire brush. 2. Create momentary flow stop. 3. Dry area if possible. | Press putty firmly into the crack. |
| Repair Clamp | 1. Scrub with wire brush. 2. Remove large debris. | Ensure clamp rubber seats squarely over the crack. |
What Is the Step-by-Step Process to Apply a Repair Clamp Without Shutting Down?
Working on a live pipe feels intimidating. But with the right steps, you can install a clamp safely while water flows.
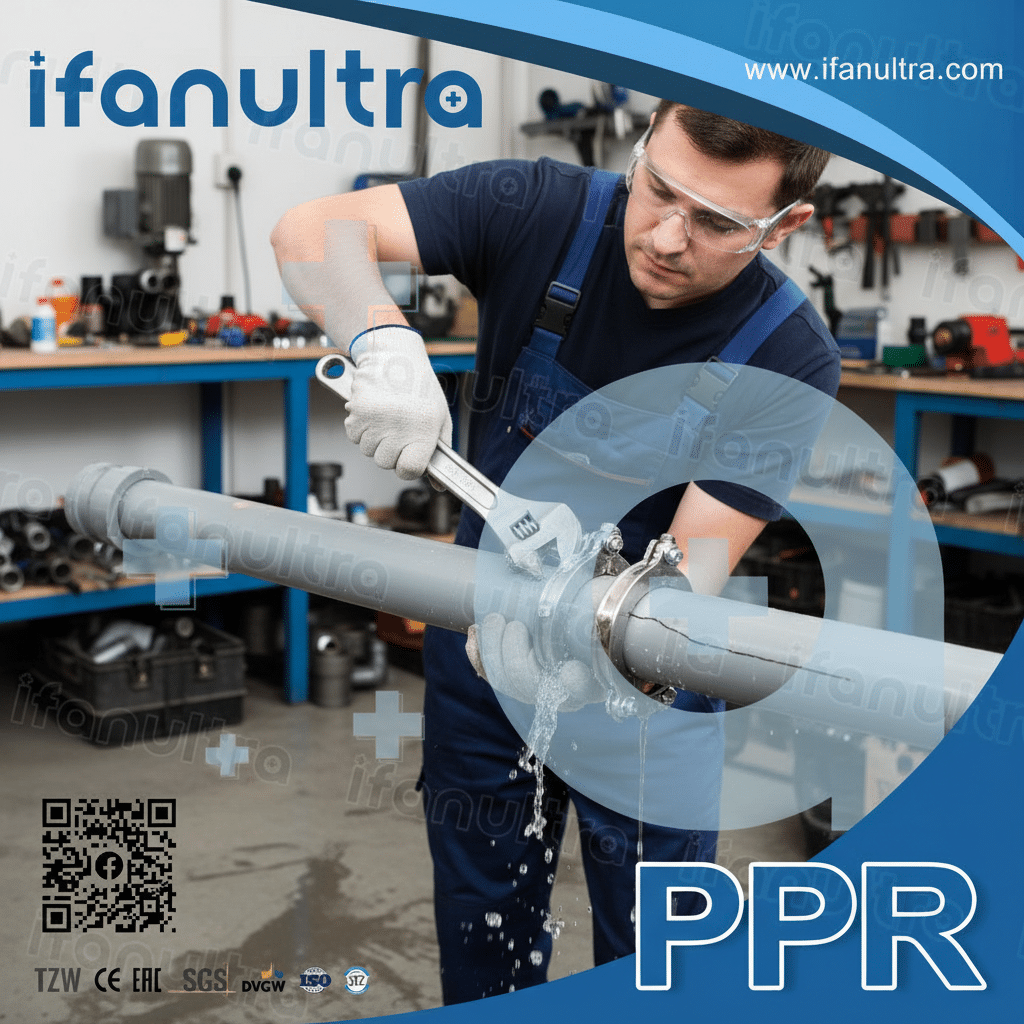
To apply a repair clamp without shutting down, first open the clamp fully and position it around the pipe so the rubber gasket sits directly over the crack. Then, hand-tighten the bolts evenly until the leak stops. Finally, use a wrench to tighten the bolts in an alternating pattern until the clamp is snug but not over-tightened, which could crush the pipe.
Step-by-Step Installation Guide
Follow this sequence carefully. Rushing can lead to a poorly seated clamp that still leaks.
Step 1: Select the Correct Clamp Size
Measure your pipe’s outer diameter accurately. A clamp that is too large will not compress enough. One that is too small will not close at all. Most clamps have a size range printed on the package.
Step 2: Open the Clamp Completely
Loosen the bolts so the clamp opens wide enough to fit around the pipe. Do not remove the bolts completely. You want the two halves of the clamp held together loosely by the bolts.
Step 3: Position the Clamp
Place the open clamp around the pipe. Slide it along the pipe until the rubber gasket sits directly centered over the crack. Visually check that the crack is fully covered by the gasket from end to end.
Step 4: Hand-Tighten First
Start threading the bolts with your fingers. Turn each bolt a little at a time, alternating between them. This pulls both sides of the clamp together evenly. Watch the crack as you tighten. You should see the water flow slow down and then stop.
Step 5: Final Wrench Tightening
Once the leak stops, use a wrench to give each bolt a final snug turn. Alternate between bolts, turning each about half a turn at a time. Stop when you feel significant resistance.
Critical Tips for Success
Do Not Over-Tighten:
PVC pipe, especially when under pressure, is not infinitely strong. Over-tightening the clamp can crush the pipe, creating a flat spot or even a new crack. Tighten only until the leak stops, plus a very small amount for security.
Check Gasket Position:
After tightening, look at the edges of the clamp. The rubber gasket should be visible and evenly compressed all around the pipe. If the rubber is bulging out unevenly on one side, loosen the bolts and reposition the clamp.
Monitor After Installation:
Watch the clamp for at least 15-20 minutes after installation. Sometimes, as pressure stabilizes, a small leak may reappear. If this happens, give the bolts another small, even turn.
Common Mistakes to Avoid
| Mistake | Consequence | How to Avoid |
|---|---|---|
| Wrong clamp size | Clamp won’t seal; leaks continue | Measure pipe diameter carefully before buying. |
| Uneven tightening | Gasket pinches; leak on one side | Alternate bolt tightening in small increments. |
| Over-tightening | Pipe crushes or cracks | Stop when leak stops; add only minimal extra force. |
| Clamp off-center | Crack not fully covered | Slide clamp to center gasket over the crack. |
Why Is This Only a Temporary Solution Until a Full Section Replacement Can Be Done?
Clients often ask, “Can I just leave the clamp on forever?” The answer is a firm no. I’ve seen the consequences of relying on temporary fixes for too long.
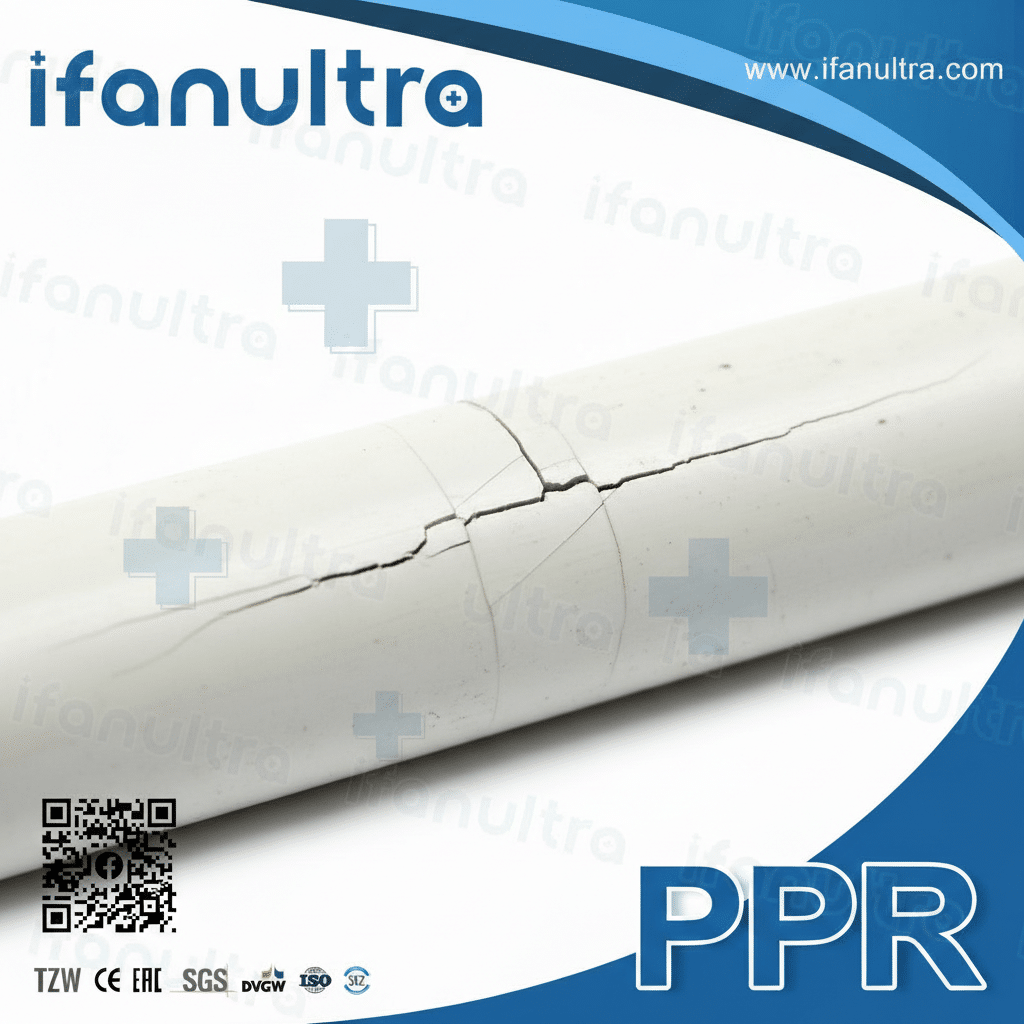
This is only a temporary solution because the repair clamp or epoxy putty does not restore the pipe’s original structural integrity. The crack will likely grow over time due to pressure cycles, temperature changes, and pipe movement. The clamp also creates a new stress point at its edges, which can lead to a second failure if left indefinitely.
Understanding Why Temporary Fixes Fail
To understand why you must eventually replace the section, you need to understand what caused the crack in the first place and what a clamp does to the pipe.
The Crack Will Propagate:
PVC cracks usually start from a point of stress. This could be a manufacturing flaw, a rock hitting the pipe, or pressure from frozen water. Once a crack starts, the pressure inside the pipe constantly works to make it longer. The crack tip is a point of extreme stress concentration. Even with a clamp holding it shut, that stress still exists. Over days or weeks, the crack can slowly grow beyond the edges of the clamp.
Temperature Changes Affect PVC:
PVC expands and contracts with temperature changes. Hot water or hot weather makes the pipe grow slightly. Cold makes it shrink. A metal repair clamp does not expand and contract at the same rate. This creates a constant tug-of-war between the pipe and the clamp. The rubber gasket accommodates some movement, but over time, this cyclic stress can weaken the pipe or cause the clamp to loosen.
The Clamp Creates New Stress Points:
Think about where the clamp ends. At the edge of the metal band, there is a sudden change in pressure on the pipe wall. Under the clamp, the pipe is compressed. Right next to the clamp, the pipe experiences normal pressure. This transition zone is a new stress point. If the pipe is already weak, it may develop a new crack right at the edge of the clamp.
The Risk of Hidden Damage
When a pipe cracks under pressure, the damage is often more extensive than you can see. The impact or stress that caused the visible crack may have created:
- Micro-cracks: Tiny fractures radiating from the main crack, invisible to the eye.
- Weakened material: The PVC around the crack may have stretched or deformed.
- Internal damage: The inside wall of the pipe may have spalled or chipped.
A clamp only addresses the surface. It does nothing to strengthen the damaged pipe wall.
When to Schedule the Permanent Repair
You should plan for a full section replacement as soon as possible. Here is a typical timeline:
| Timeframe | Action | Reason |
|---|---|---|
| Immediately after temporary fix | Order replacement pipe, coupling, and solvent cement. | Delaying means risking a bigger failure. |
| Within 24-48 hours | Schedule a shutdown and perform the repair. | Minimizes downtime and risk of secondary failure. |
| During repair | Cut out damaged section, replace with new pipe and couplings. | Restores full structural integrity. |
| After repair | Pressure test the system to confirm integrity. | Ensures the new joint is leak-free. |
The Permanent Solution: Cut and Replace
The only correct way to fix a cracked PVC pipe is to remove the damaged section and install a new piece using slip couplings or repair couplings. This restores the pipe’s original strength and removes all stress points caused by the crack and the temporary clamp.
Conclusión
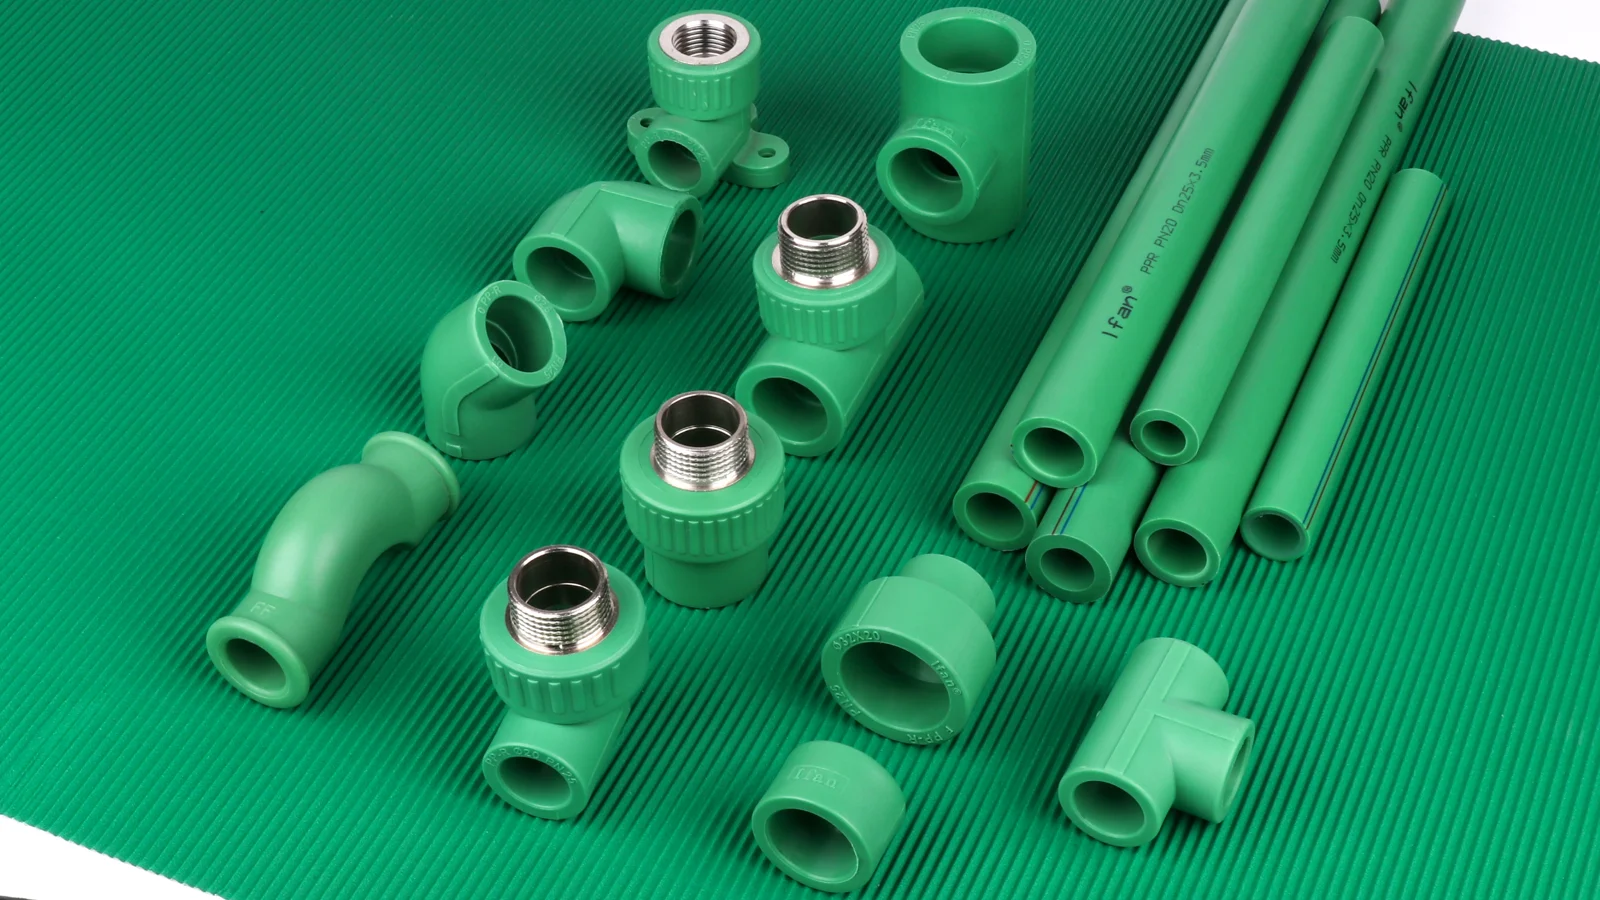
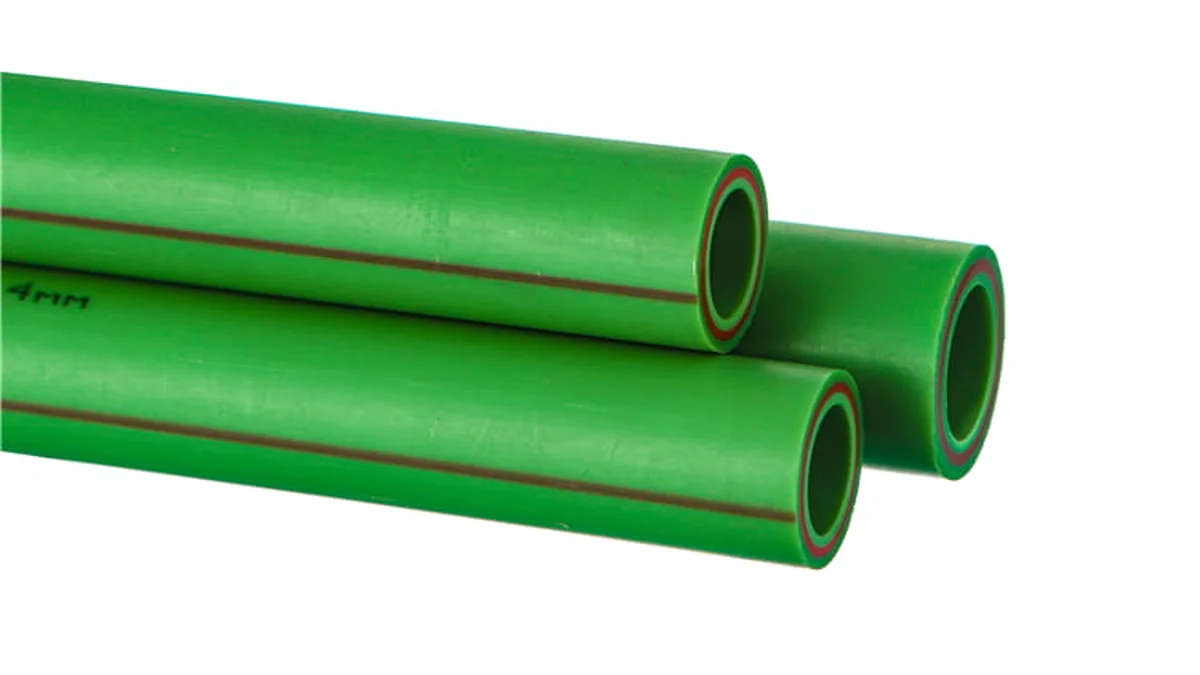
A repair clamp or epoxy putty can stop a pressurized PVC leak quickly in an emergency. However, always plan for a full section replacement as soon as possible. For a permanent, reliable fix, use IFAN’s high-quality PVC pipe and fittings, designed for long-term durability under pressure.


 English
 Español
 Français
 Português do Brasil