
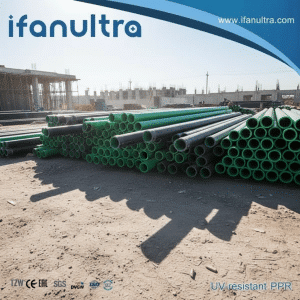
I once visited a construction site where PPR pipes lay in the sun for months. The foreman asked if they could just bury them, which made me realize how common this concern is.
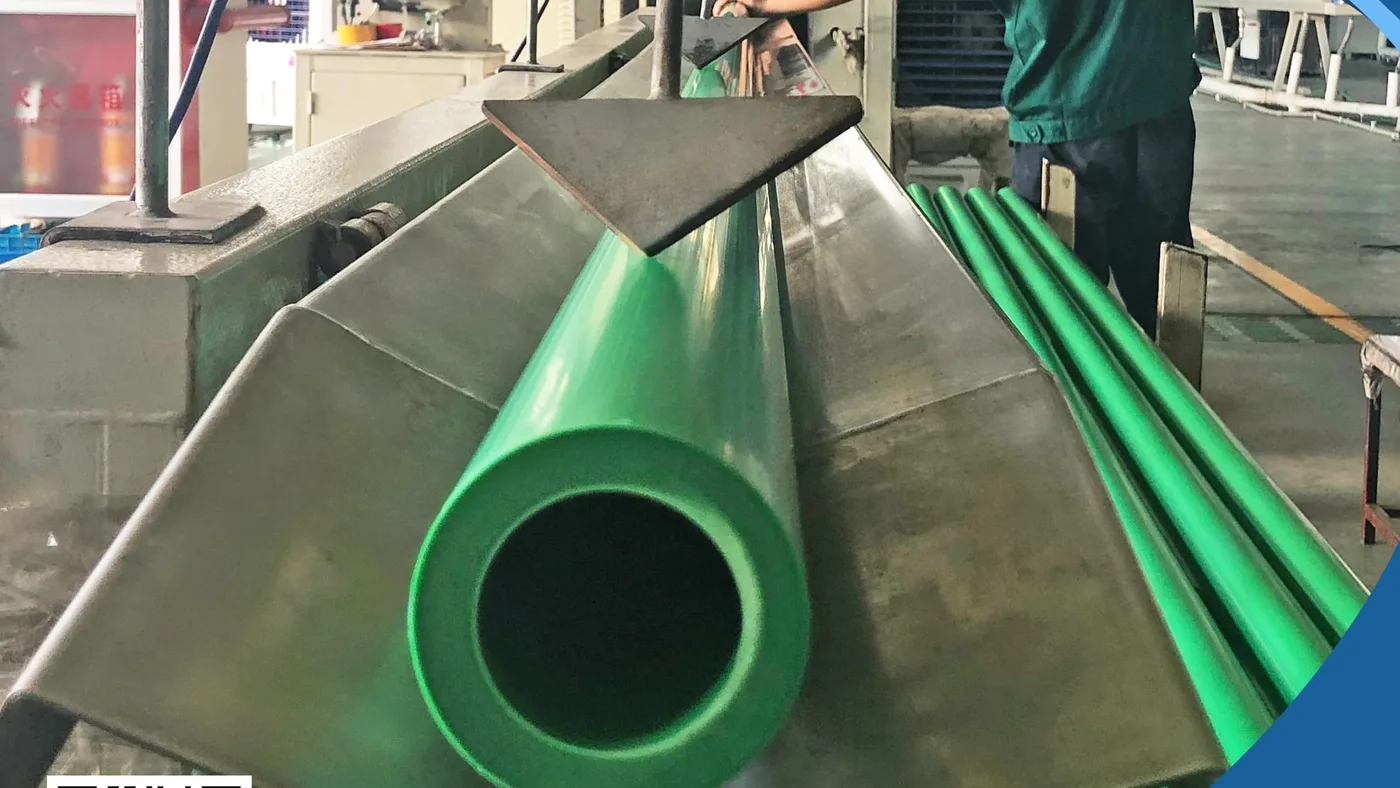
Yes, you can bury UV-resistant PPR pipes after outdoor exposure, but only if the exposure time stays within the manufacturer’s limits and a proper inspection shows no damage. UV-resistant pipes have special additives to slow degradation, but they are not immune. Following correct procedures ensures their long-term reliability underground.
This question is crucial for project timelines and material management. Next, let’s explore the specific guidelines and risks to ensure your buried plumbing system remains secure.
How Long Can They Be Exposed Before Burial Without Compromising Quality?
Time is the critical factor. I have seen projects delayed, leaving pipes exposed far longer than planned, which creates unnecessary risk.
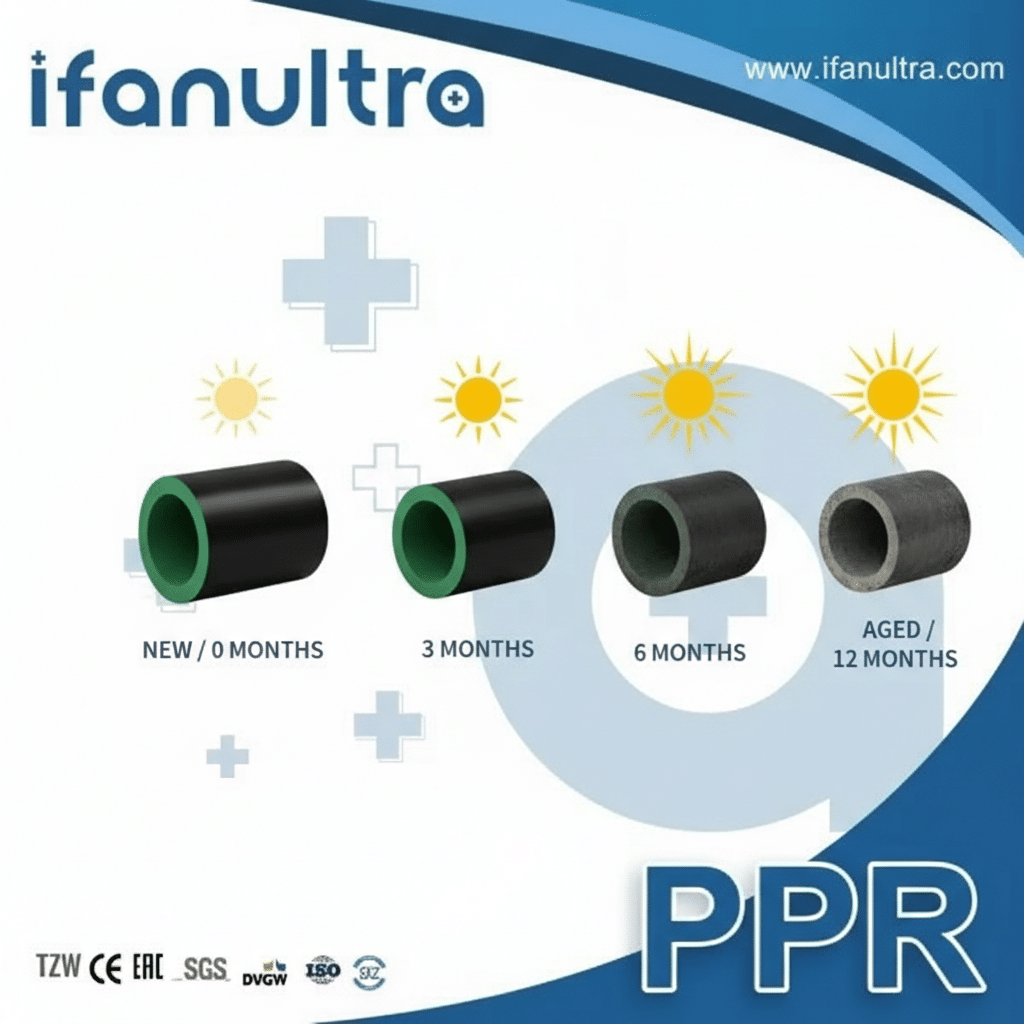
UV-resistant PPR pipes can typically be safely exposed to direct sunlight for 3 to 6 months, depending on the specific UV stabilizer formula and local solar intensity. However, manufacturers strongly recommend minimizing exposure and storing pipes in shaded, covered areas whenever possible to preserve their full mechanical strength.
Understanding the Degradation Process
UV radiation from the sun attacks the molecular structure of plastics. For PPR, this causes photo-oxidative degradation. Essentially, the special UV-resistant additives act as “sunscreen,” absorbing or blocking the UV rays to protect the polymer chains. However, this protection is not permanent; it depletes over time.
Think of it like a battery. The pipe leaves the factory with a full charge of UV protection. Direct sunlight constantly drains this battery. Once the protection is significantly depleted, the sun begins to damage the pipe material itself, making it brittle.
Key Factors That Affect Safe Exposure Time
The “safe” window depends on several environmental and product factors:
- Stabilizer Quality: Higher-quality pipes use better, more durable UV stabilizers.
- Climate and Season: Exposure in the intense, year-round sun of the Middle East is more damaging than in Northern Europe. Also, summer exposure is harsher than winter.
- Color: Darker colors, especially black, absorb more heat and can degrade slightly faster than lighter colors under the same UV conditions.
- Polymer Quality: Pipes made from 100% virgin raw material withstand degradation better than those with recycled content.
Recommended Maximum Exposure Guidelines
The table below offers general, conservative guidelines. Therefore, you should always check the technical data sheet from your supplier.
| Exposure Condition | Recommended Maximum Duration | Key Reasoning |
|---|---|---|
| Direct, Uninterrupted Sunlight | 3 Months | This is a safe upper limit for most climates to prevent surface embrittlement. |
| Partial Shade / Seasonal Cloud Cover | 4-6 Months | Reduced UV intensity slows the degradation process. |
| Under a Protective Cover (e.g., Tarpaulin) | 6-12 Months | The cover blocks most direct UV rays, but heat and diffuse light can still have a minor effect. |
| Indoor or Fully Shaded Storage | Indefinitely | Without UV light, the pipes will not undergo photo-oxidative degradation. |
Practical Advice: Treat the 3-month mark as a serious warning. If your pipes have been exposed longer, you must perform a thorough inspection before even considering burial.
What Inspection is Needed to Ensure They Are Still Fit for Burial?
You cannot trust appearance alone. A simple visual check misses critical damage. For this reason, we require a standardized inspection protocol for all exposed pipes before burial.
A proper inspection must include a visual check for discoloration and chalkiness, a detailed tactile check for surface cracks or brittleness, and a simple but effective bend test. This combination reveals hidden damage that would cause premature failure underground.
Step-by-Step Inspection Procedure
Do not skip steps. Follow this sequence to ensure a reliable assessment.
Step 1: Visual Inspection for Color and Chalking
First, look closely at the pipe surface, especially the top side that faced the sun.
- Look for Severe Discoloration: Fading is normal. However, a pronounced yellowing or browning indicates advanced polymer degradation.
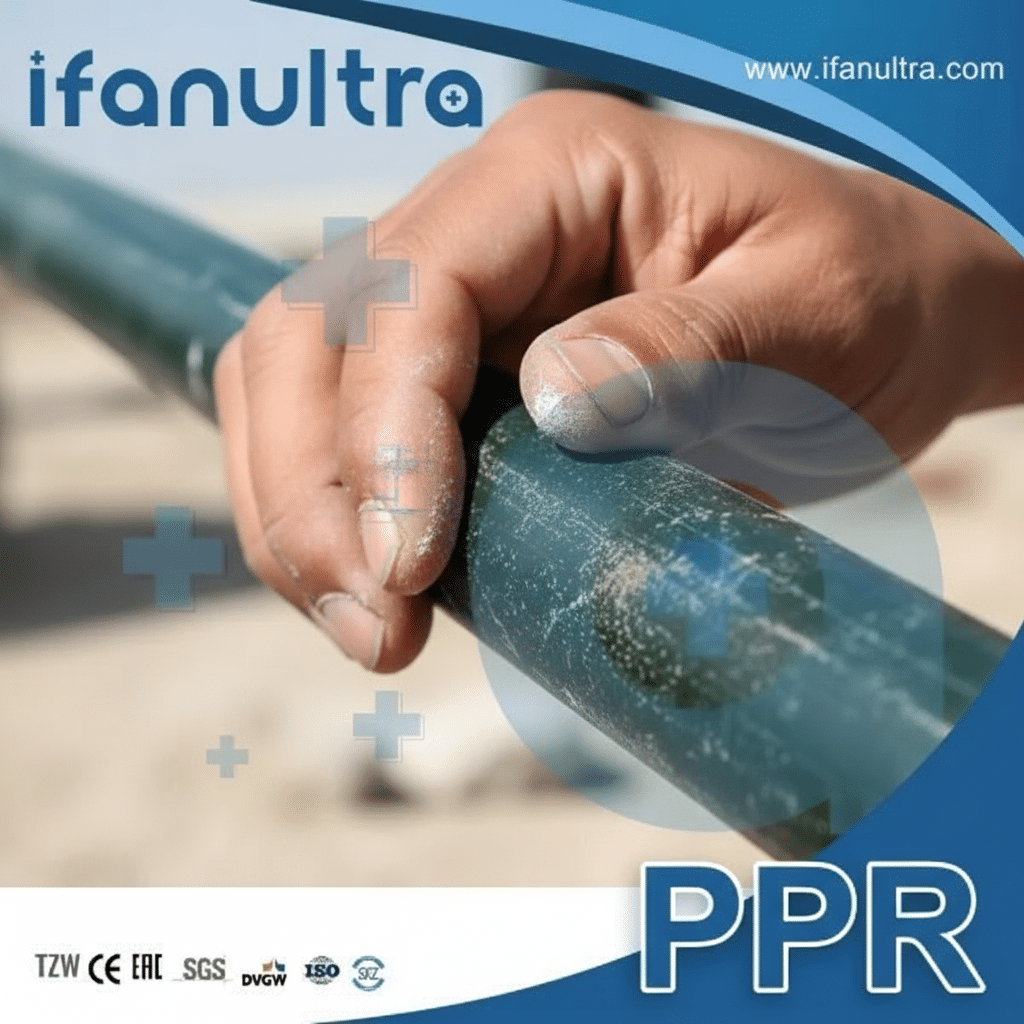
- Check for “Chalking”: Run your finger along the surface. A white, chalky powder coming off is a sure sign that UV stabilizers are depleted and the surface material is breaking down. Consequently, this pipe is not safe for burial.
Step 2: Tactile Inspection for Surface Integrity
Next, use your hands to feel for problems you cannot see.
- Feel for Crazing: Look for a network of fine, hairline cracks on the surface. They may feel rough.
- Check for Brittleness: Try to gently scrape the surface with your fingernail or a coin. On a healthy pipe, this will leave no mark or a minimal scratch. In contrast, on a degraded pipe, the material may flake or peel away easily.
Step 3: The Mandatory Bend Test (The Most Important Check)
This simple test reveals loss of ductility, which is critical for burial where soil movement occurs.
- Cut a short sample (e.g., 30-50 cm) from the end of a pipe coil or a suspicious-looking straight length.
- Bend it slowly in a wide arc. A healthy, ductile PPR pipe will bend without cracking and will want to spring back.
- Listen and feel: If you hear any cracking sounds, or if the pipe develops visible whitening or cracks on the outer bend radius, the material has become brittle. Therefore, do not bury pipes that fail this test.
Inspection Decision Guide
Use the findings from your inspection to make a clear decision.
| Inspection Findings | Recommended Action | Reason |
|---|---|---|
| No discoloration, no chalking, passes bend test. | Approve for burial. | The pipe’s properties are intact. |
| Slight fading, NO chalking, passes bend test. | Approve for burial, but prioritize soon. | UV exposure has started but core integrity is okay. Bury promptly. |
| Noticeable discoloration or slight surface chalkiness. | Reject for pressure systems. Potentially use for non-critical, low-pressure drainage only. | Surface degradation has begun, compromising long-term pressure strength. |
| Fails bend test (cracks or brittleness). | REJECT. Do not bury under any circumstances. | The material has lost its ductility and will crack under soil stress. |
Does UV Exposure Affect Their Long-Term Burial Performance Differently?
This is a key concern. Clients worry that sun damage might cause a hidden time bomb underground. Indeed, their worry is valid.
Yes, UV exposure affects long-term burial performance differently than it affects above-ground performance. Specifically, the main risk shifts from continuous UV attack to a reduction in the pipe’s resistance to physical stresses underground, such as soil pressure, point loads, and thermal contraction. As a result, the degraded surface layer becomes a weak point prone to crack initiation.
The Change in Failure Mode
Above ground, a UV-degraded pipe fails by becoming brittle and cracking from continued sun exposure and temperature swings. In contrast, underground, the sun is gone, but new stresses take over.
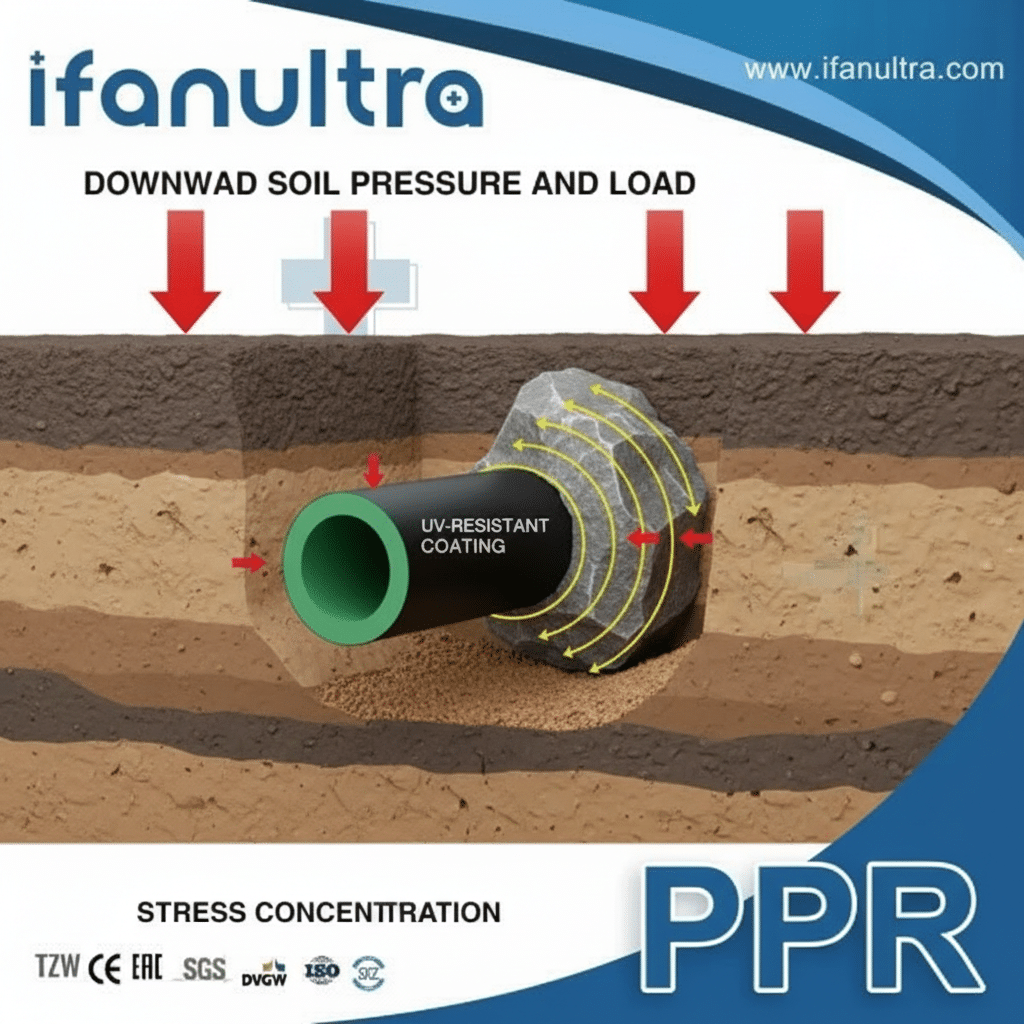
Buried pipes must handle constant soil pressure, the weight of vehicles or structures above (load-bearing), and expansion/contraction with soil temperature changes. While a ductile, healthy PPR pipe can flex and absorb these stresses, a pipe that has been embrittled by UV exposure cannot.
The Critical Concept of “Surface Embrittlement”
UV damage does not penetrate deeply initially; instead, it creates a brittle, micro-cracked surface layer. Think of the pipe like a metal bar that has rusted on the outside. The core might still be strong, but the compromised surface is the problem.
- During Handling and Burial: The brittle surface can be nicked or scratched by rocks in the trench. Subsequently, these small scratches become stress concentrators—tiny starting points for cracks.
- Under Soil Stress: As the soil settles or shifts, it applies pressure. A healthy pipe flexes. Conversely, an embrittled pipe may develop cracks that grow from the weakened surface inward.
- Under Thermal Stress: When the temperature drops, the pipe contracts. Unfortunately, a brittle surface layer is less able to handle this contraction without micro-cracks propagating.
Long-Term Performance Risk Assessment
The table below contrasts the performance of a properly stored pipe versus a UV-damaged one after burial.
| Performance Factor | UV-Protected / Minimally Exposed Pipe | UV-Damaged / Over-Exposed Pipe |
|---|---|---|
| Resistance to Soil Pressure | Excellent. Ductile material distributes load evenly. | Poor. Brittle material is prone to crack under constant load. |
| Resistance to Point Loads | Good. Can withstand typical pressure from rocks. | Very Poor. Surface cracks easily from minor impacts. |
| Resistance to Thermal Cycling | Excellent. Expands and contracts without damage. | Poor. Brittle surface cracks during contraction cycles. |
| Overall Expected Service Life | 50+ years as designed. | Dramatically reduced; could fail in 5-15 years. |
The conclusion is clear: UV damage sustained above ground does not heal underground. In fact, it creates a pre-existing weakness that directly shortens the pipe’s lifespan and reliability in its buried environment.
What is the Recommended Practice for Transitioning from Exposed to Buried Sections?
The transition point is a critical junction. Even with perfect pipes, a poor installation at this spot invites failure. For this reason, we follow a strict protocol for this.
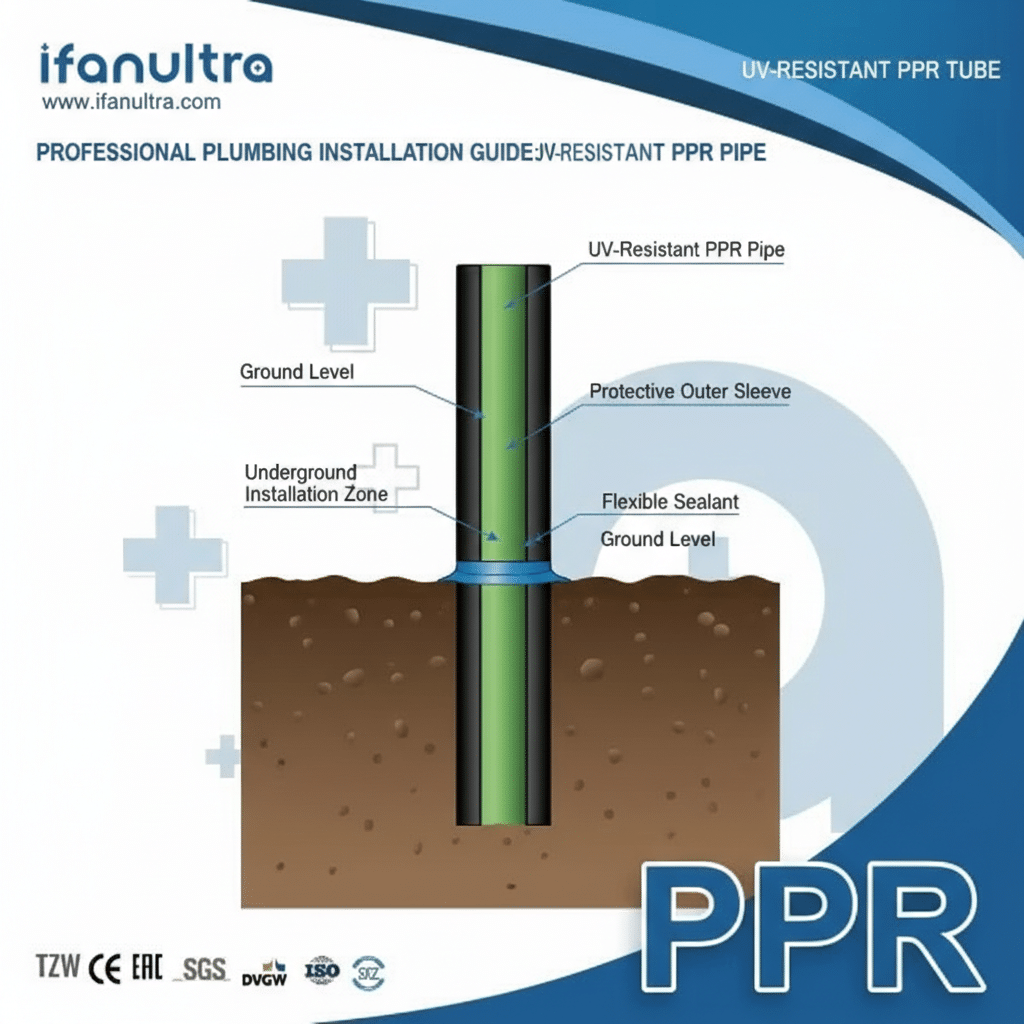
The recommended practice is to use a pre-insulated pipe sleeve or a protective conduit at the transition point. Importantly, this sleeve must extend from well below the frost line to at least 30 cm above ground. It protects the pipe from mechanical damage, UV rays at the critical entry point, and allows for thermal movement, creating a durable and serviceable entry.
Why the Transition Zone is Vulnerable
This is where the pipe is most stressed. Specifically, it moves from the stable temperature of the earth to the variable above-ground environment. Additionally, it is exposed to UV, physical knocks, and sometimes freezing. Therefore, a standard direct burial without protection at this point is the most common installation error we see.
Step-by-Step Best Practice Installation
Follow these steps to ensure a robust and long-lasting transition.
Step 1: Prepare the Pipe End
Before placing the pipe in the trench, inspect the last 1-2 meters that will be near the surface. Ensure it passes all inspection criteria. Then, clean it of any dirt or debris.
Step 2: Select and Install a Protective Sleeve
Do not bury the pipe directly. Instead, use a larger diameter conduit or a pre-slit insulating sleeve.
- Material: Use a durable, UV-resistant material like a corrugated HDPE conduit or a closed-cell foam insulation sleeve.
- Sizing: The sleeve’s inner diameter should be at least 1.5 times the outer diameter of the PPR pipe to allow for movement and future service.
- Installation Depth: The sleeve must start below the local frost line to prevent freeze-thaw stress at its bottom end. Furthermore, it should extend at least 30 cm (12 inches) above the final grade level.
Step 3: Secure and Seal the Transition
- Bottom of Sleeve: Seal the annular space between the PPR pipe and the sleeve at the bottom with a flexible, waterproof sealant (like silicone or butyl tape). This prevents groundwater and insects from entering but allows the pipe to slide.
- Top of Sleeve: The seal at the top should be weatherproof but not rigid. Often, a loose-fitting, UV-resistant cap is used to keep out rain and debris while allowing ventilation and visibility.
Key Benefits of Using a Sleeve
This method solves multiple problems at once:
| Problema | How the Sleeve Solves It |
|---|---|
| Mechanical Damage | Protects pipe from shovels, lawn equipment, and rocks during backfilling. |
| UV Exposure at Ground Line | Shields the most critical few centimeters of pipe from constant sun. |
| Thermal Stress | Allows the pipe to expand/contract freely within the sleeve without soil constraint. |
| Future Service/Inspection | Allows the pipe to be pulled out for inspection or replacement without digging up the entire trench. |
| Rodent Protection | Provides a physical barrier against gnawing animals. |
Final Check: After backfilling, ensure the above-ground portion of the pipe is properly supported. Moreover, if it will remain exposed, it should be painted with a UV-resistant water-based latex paint for additional protection, or be fully shielded in an insulated box.
Conclusión
You can bury UV-resistant PPR pipes after outdoor exposure if you strictly follow time limits, conduct a thorough inspection, and protect the transition point. For reliable pipes with certified UV resistance, choose IFAN’s premium PPR piping systems for durable above-ground and buried applications.


 English
 Español
 Français
 Português do Brasil