
Hot water pipe insulation is the cheapest line on a plumbing estimate and the first one a crew shortchanges. The result is invisible until the energy bill, the cold tap, or the inspector arrives. The pipe loses heat all day whether anyone is drawing water or not; the water heater fires more often; the shower takes longer to warm up; and in an attic or crawl space the same bare line is a freeze risk every winter. This guide is written for the contractor and installer who has to make the call on site — what material, what thickness, and what the code actually says — and every number in it is tied to a standard or a code section you can check yourself.

The context here is residential and light commercial hot water systems, and the pipe material that matters most to this site is PP-R. PPR is the pipe, but insulation is what protects the heat in it — and insulation that cannot stand the water temperature is a second mistake layered on the first. Both sides of that equation are covered below: the insulation materials, and the PPR limits the insulation must respect.
Key Takeaways
- The US residential energy code (IECC Section R403.5.2) requires a minimum of R-3 insulation on hot water pipes in three situations: the first 8 feet out of the water heater, all piping in unconditioned spaces, and recirculation loops — regardless of location.
- ASHRAE 90.1 Table 6.8.3-1 sets the minimum insulation thickness for heating and domestic hot water piping: at 105–140°F fluid, pipe up to 2 in. needs 0.5 in.; at 141–200°F it needs 1.0 in. A 1.5 in. pipe at 120°F falls in the first band and needs 0.5 in. minimum.
- Temperature limits separate the materials: fiberglass pipe insulation is rated to 1000°F (ASTM C547), elastomeric NBR foam runs about −55°C to +120°C (ASTM C534), polyethylene foam tops out near +100°C, and polyurethane/PIR around 120°C.
- PP-R is rated for continuous service around 70°C with short-term peaks to 95°C at reduced pressure — so the insulation jacket must be chosen for the water temperature, and heat tracing under insulation must stay inside PPR’s limits.
- Installation mistakes cancel the R-value: unglued seams, bare fittings and valves, a missing or reversed vapor seal, and compressed foam all cost more than the insulation saved.
- R-3 is not a thickness. R-value per inch varies by product — elastomeric foam typically runs roughly R-3.5–4 per inch, soft PE foam less — so size by the published R-value at the installed wall thickness, not by the roll.
On this page
- Why Hot Water Pipes Need Insulation: Heat Loss, Freeze Risk and the Code Floor
- The Four Materials That Actually Get Used on Hot Water Pipe
- How Thick? Reading the Code Tables Instead of Guessing
- Five Installation Mistakes That Quietly Cancel the R-Value
- Insulating a PPR Hot Water Line Without Cooking the Pipe
- Contractor’s Checklist Before You Order
- Frequently Asked Questions
Why Hot Water Pipes Need Insulation: Heat Loss, Freeze Risk and the Code Floor
A hot water pipe loses heat to the air around it on every inch of its run, and the loss does not pause when the tap closes. The physics is simple: heat moves from the warmer pipe wall to the cooler room, and the rate depends on the temperature difference and the resistance between them. Insulation adds that resistance. A bare 22 mm copper pipe carrying water at 60°C in a 20°C room loses on the order of 30–40 watts per metre; the same pipe with proper insulation drops to roughly 5–8 watts per metre. Over a 10-metre run that is the difference between 300–400 watts of continuous loss and under 80 watts — a heater firing more often, a longer wait for hot water at the tap, and a colder pipe for the freeze risk in winter.
Freeze protection is the second job, and it is often the one that sells the job to a homeowner. Insulation does not add heat; it slows the leak of heat already in the pipe. That buys time on a cold night — enough to matter in a short exposure — but a long power failure in a deep freeze defeats any thickness of foam. The honest sales line is: insulation first, heat tape where real freeze protection is required, and never heat tape under insulation rated below the tape’s output. The code view is simpler and blunter: the residential energy code treats pipe insulation as a floor, not an option.
The floor is IECC Section R403.5.2, the hot water pipe insulation requirement adopted by the IRC’s residential energy chapter. It calls for a minimum of R-3 on hot water pipes in three situations: the first 8 feet of pipe from the water heater, whether or not the space is conditioned; all hot water piping in unconditioned spaces — attics, crawl spaces, garages, unheated basements; and recirculation loop piping regardless of where it runs. The first-8-feet rule is one of the most commonly missed items on final inspection, because the water heater sits inside the conditioned envelope in most homes and crews assume the pipe there is exempt. It is not.
The energy argument closes the sale. Water heating is typically the second-largest energy use in a home, and pipe insulation attacks the delivery side of that cost: less heat lost between the tank and the tap means the tank fires less, and the water arrives hotter. For a contractor quoting a job, the code requirement is not a suggestion to upsell — it is the minimum an inspector will accept, and the payback period for the homeowner is usually a fraction of the insulation’s installed life.
The Four Materials That Actually Get Used on Hot Water Pipe
Four material families cover almost every hot water pipe insulation job in residential and light commercial work. The table below compares them on the numbers that decide a job: temperature ceiling, thermal performance, water behavior, and the price band a customer actually sees. The temperature limits are the load-bearing figures, and each one traces to a standard or a manufacturer specification: fiberglass pipe insulation is rated to a 1000°F ceiling under ASTM C547, elastomeric foam runs about −55°C to +120°C under ASTM C534, PE foam is rated to about +100°C, and rigid polyurethane/PIR sits near the same 120°C band.
| Material | Temperature ceiling | Thermal performance | Best use | Typical price (DIY, per ft) |
|---|---|---|---|---|
| Fiberglass (mineral fiber) — ASTM C547 | Up to 1000°F (−20°F to 1000°F range) | λ ≈ 0.033–0.040 W/m·K (typical) | High-temperature lines, boiler rooms, anything above 120°C | $0.75–$2.00 |
| Elastomeric foam (NBR/EPDM) — ASTM C534 | ≈ −55°C to +120°C | λ ≈ 0.033–0.040 W/m·K (typical) | Domestic hot water, recirculation loops; closed cells carry their own vapor seal | $1.00–$2.50 |
| Polyethylene (PE) foam | Max ≈ +100°C | λ ≈ 0.049 W/m·K measured at 15°C (FSRI) | Budget residential runs, cold and warm lines; not for high-temperature or industrial | $0.50–$1.50 |
| Polyurethane / polyisocyanurate (PIR/PU) | ≈ up to 120°C | λ ≈ 0.022–0.027 W/m·K (typical) | Tight spaces where high R per inch matters; pre-insulated pipe sections | $1.50–$3.00 |
Price bands above are typical US retail ranges for the raw insulation material; they move with pipe size, thickness, and jacket type, and installed cost runs roughly double. What the table does not show is the vapor behavior, which decides the failure mode. Fiberglass is open and absorbs water, so it needs a vapor-retarder jacket on every joint; elastomeric and PE foam are closed-cell and carry their own vapor seal; PIR is closed-cell but its joints and ends still need taping on a hot water line exposed to a cold, humid space.
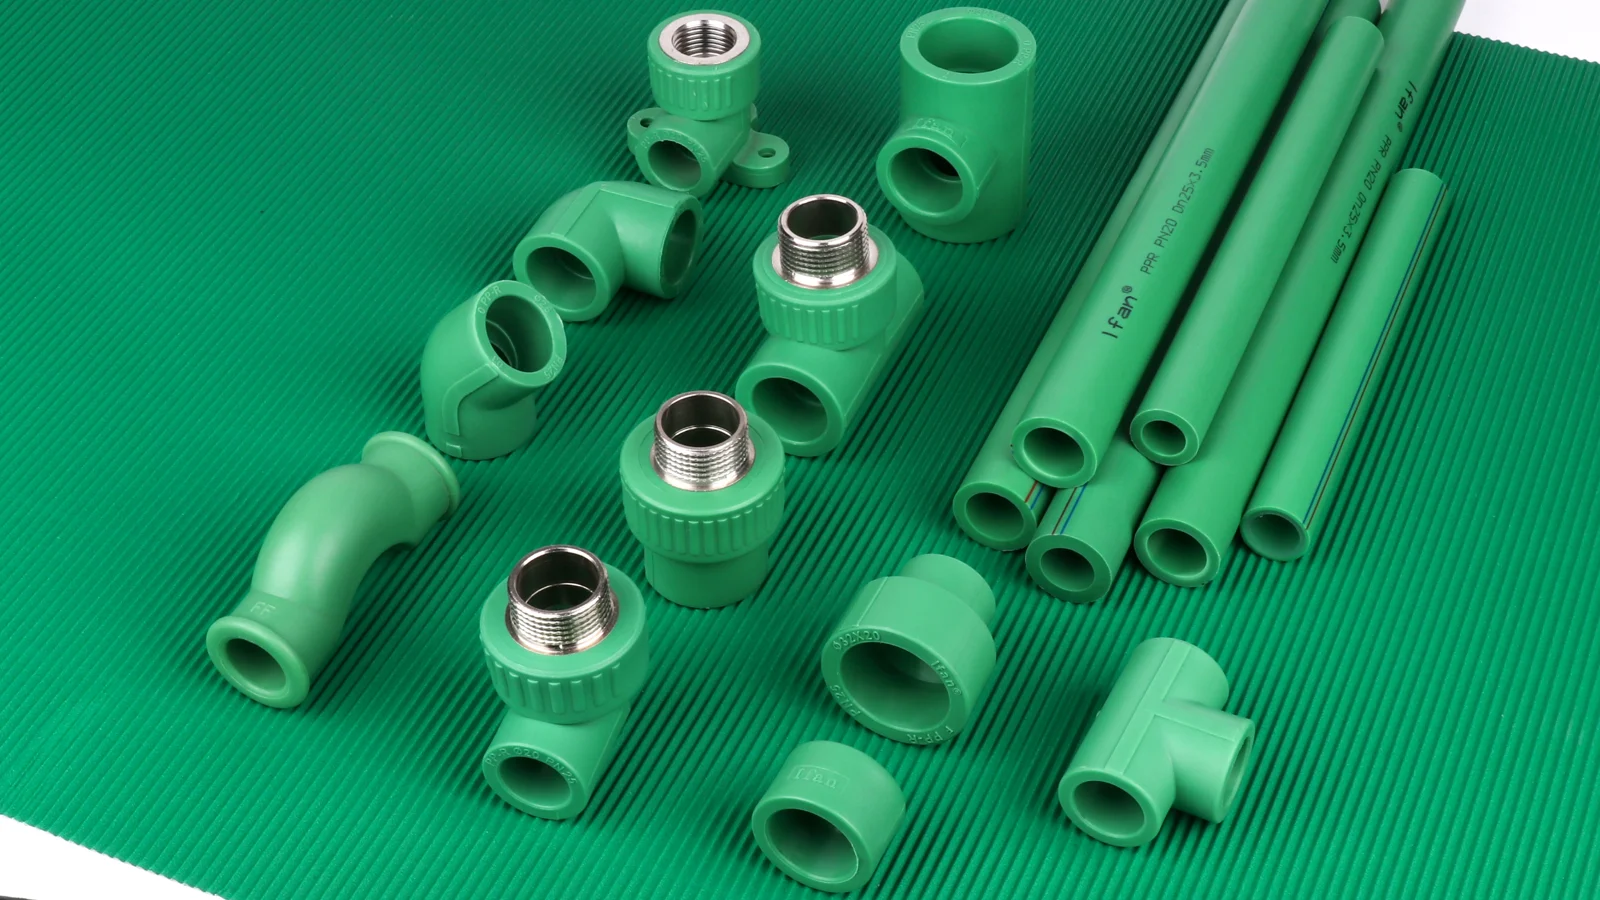
The insulation only holds heat in the pipe if the pipe is rated for the water temperature it carries. Browse the PPR Global Series — pipes, fittings and hot melt tools sized for domestic hot water — before you close the insulation order.
How Thick? Reading the Code Tables Instead of Guessing
Thickness is where most installation crews guess, and the guess is usually “whatever the roll says.” The code does not work that way. Two different tables govern residential and commercial work, and both tie the required thickness to the fluid temperature and the pipe size.
For commercial and larger systems, ASHRAE 90.1 Table 6.8.3-1 is the minimum pipe insulation thickness table for heating hot water and domestic hot water piping. For fluid temperatures of 105–140°F, pipe up to 2 inches nominal needs 0.5 inch of insulation; pipe from 2 to 4 inches needs 1.0 inch. For 141–200°F fluid, pipe up to 2 inches needs 1.0 inch, 2 to 8 inches needs 1.5 inches, and 8 to 12 inches needs 2.0 inches. Run the worked example from the brief of this guide: a 1.5-inch hot water pipe at 120°F sits in the 105–140°F band, so the minimum is 0.5 inch — not “half-inch foam is for cold lines,” not “one roll fits all.” The same pipe at 180°F recirculation temperature jumps to 1.0 inch.
For residential work, the IECC R-3 floor governs, and here the conversion trap catches everyone: R-3 is not a thickness. R-value per inch differs by material — a dense fiberglass pipe wrap delivers more R per inch than a soft PE foam tube, which is why one product claims “R-3” at 3/4 inch and another needs more material to reach the same number. The practical reading is that a 1-inch elastomeric foam tube on a 3/4-inch pipe roughly clears R-3 for most code officials, but the honest check is the product’s published R-value at the installed wall thickness, not the label on the package.
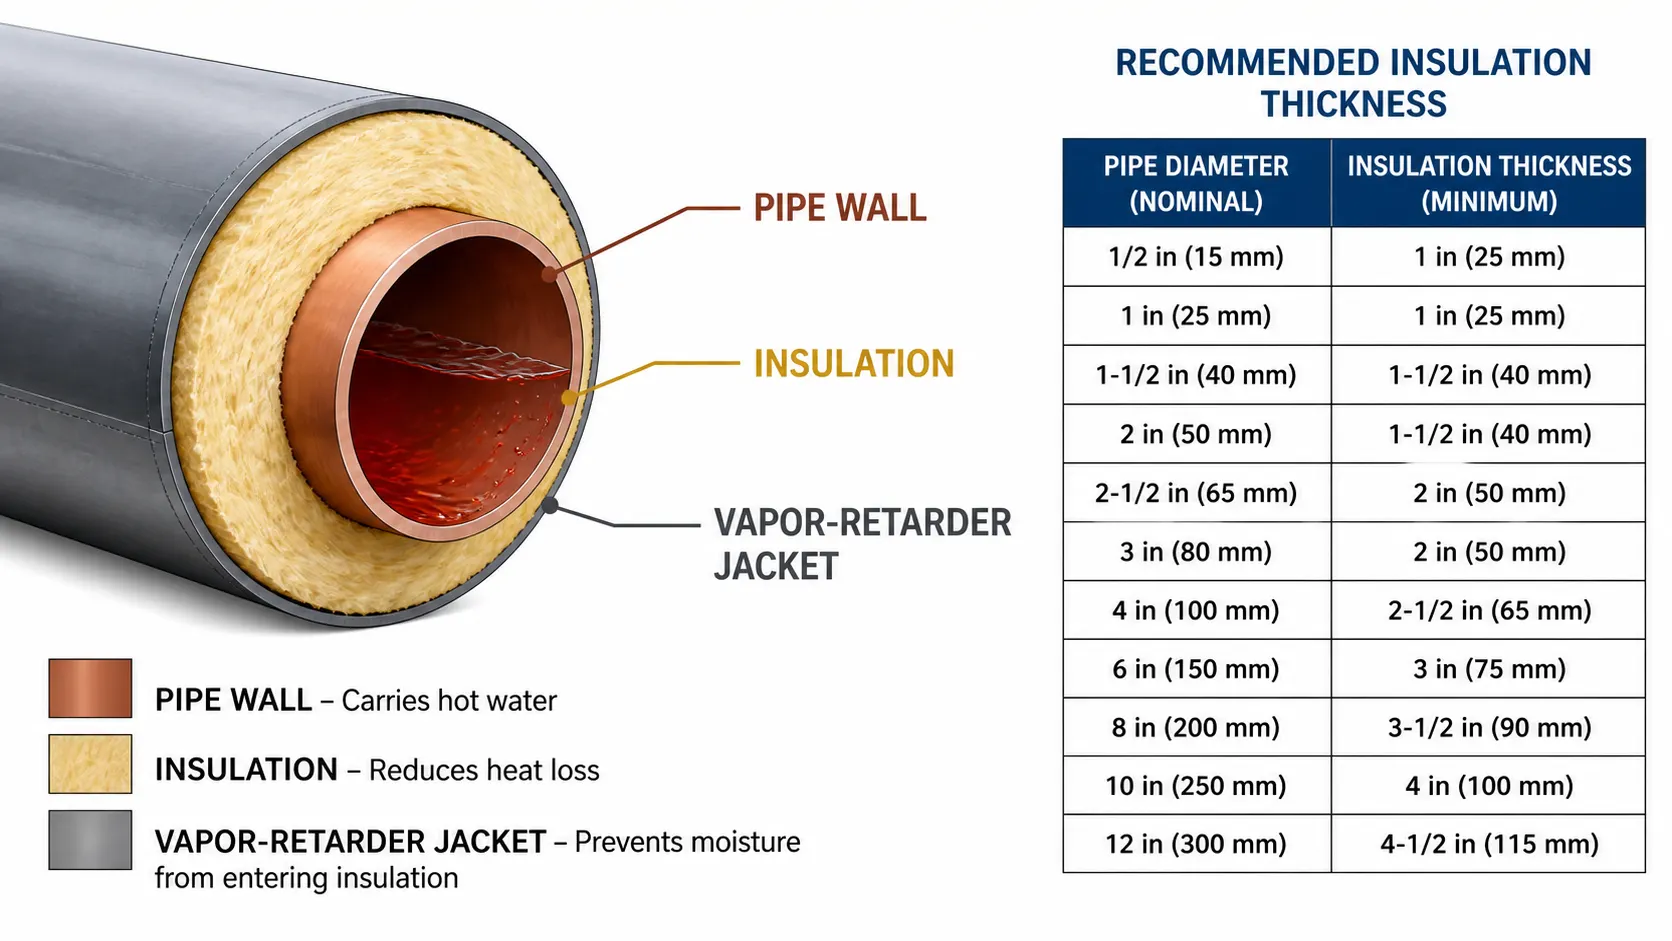
Two rules keep the thickness decision honest. First, size to the outside diameter of the actual pipe, not the nominal size — a PPR pipe labeled DN25 has a different outside diameter than a 1-inch copper line, and an insulation tube sized for copper will sit loose on PPR, leaving an air gap that quietly cuts the effective R-value. Second, buy the same wall thickness for the whole run. Mixing 1/2-inch and 1-inch insulation on one line because the roll ran out is how a 100-foot run passes the plan and fails the thermal camera.
Five Installation Mistakes That Quietly Cancel the R-Value
The materials table buys a thermal envelope. The installation either keeps it or throws it away, and the five mistakes below are the ones that recur on real jobs. Each one has a consequence you can point to after the fact.
1. Seams that are not sealed
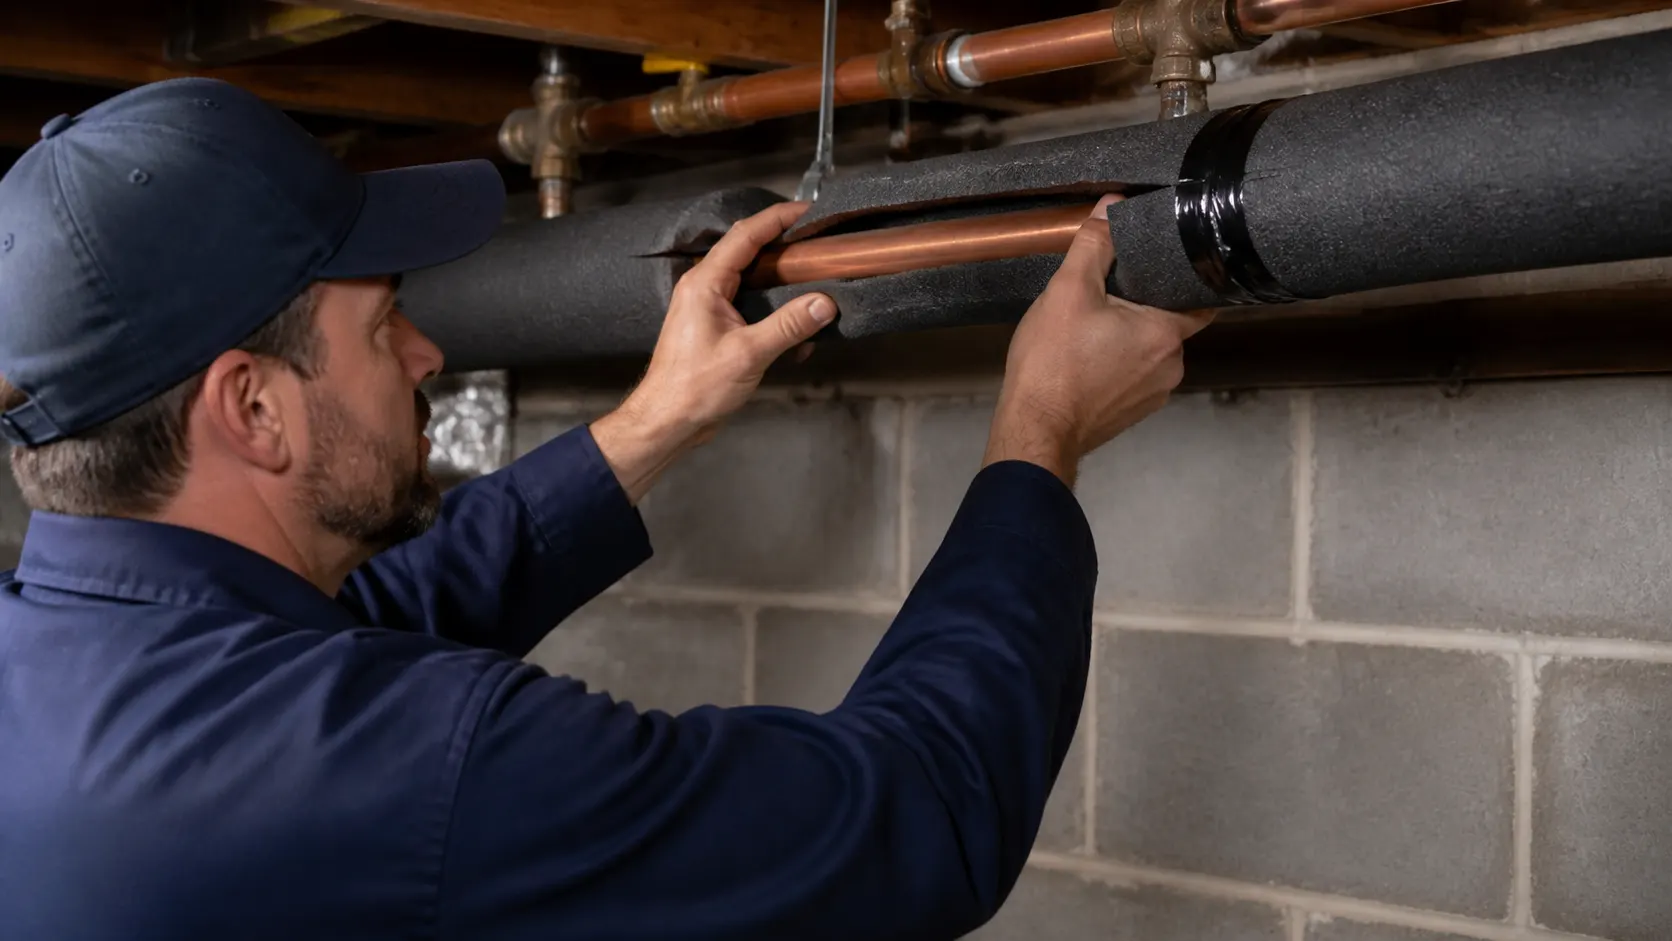
A split-tube seam left unglued or un-taped is a slot running the full length of the pipe. Warm moist air gets in, condenses against the pipe wall, and wets the insulation from the inside — closed-cell foam holds the water like a sponge, fiberglass soaks it and loses R-value, and any metal fitting underneath starts corroding under insulation. The seam and every butt joint get adhesive or vapor tape, full stop.
2. Bare fittings, valves and hangers
Elbows, tees, valves and hangers are the fiddly bits, so they are the bits crews skip to keep the job moving. Fittings carry more surface area per metre of run than straight pipe, and a bare brass valve on a hot water line is a deliberate radiator. Every fitting gets a mitered cover or molded fitting insulation, and hangers get a slip of insulation between the pipe and the hanger — the metal hanger conducts heat out of the pipe exactly where the insulation stops.
3. Vapor-retarder jacket reversed or missing
On fiberglass and on any line in a cold, damp space, the vapor retarder belongs on the outside, facing the room. Install it inside or skip it and moisture migrates into the insulation. The consequence is the same as an unsealed seam — wet insulation, lost R-value, and corrosion — it just takes longer to show.
4. Compressed or over-tightened foam
Soft foam insulation is meant to fit snug, not tight. Squeezing a tube into an undersized space or cinching the tie wraps hard crushes the closed cells, and crushed cells conduct heat faster than intact ones — the R-value of the crushed patch drops toward the value of the pipe itself. Oversized tubes are equally bad: the air gap between tube and pipe becomes a convection path. Match the tube ID to the pipe OD, and snug the ties, not strangled.
5. Wrong thickness for the water temperature
Installing 0.5-inch insulation on a 180°F recirculation line that the table wants at 1.0 inch is not a saving; it is a code violation with a thermal signature. The same applies at the material level: PE foam near its +100°C ceiling on a pipe that peaks at 95°C is legal on paper and degraded in practice, because the foam softens and the seam opens. Match material ceiling and table thickness to the actual operating temperature before the roll is cut.
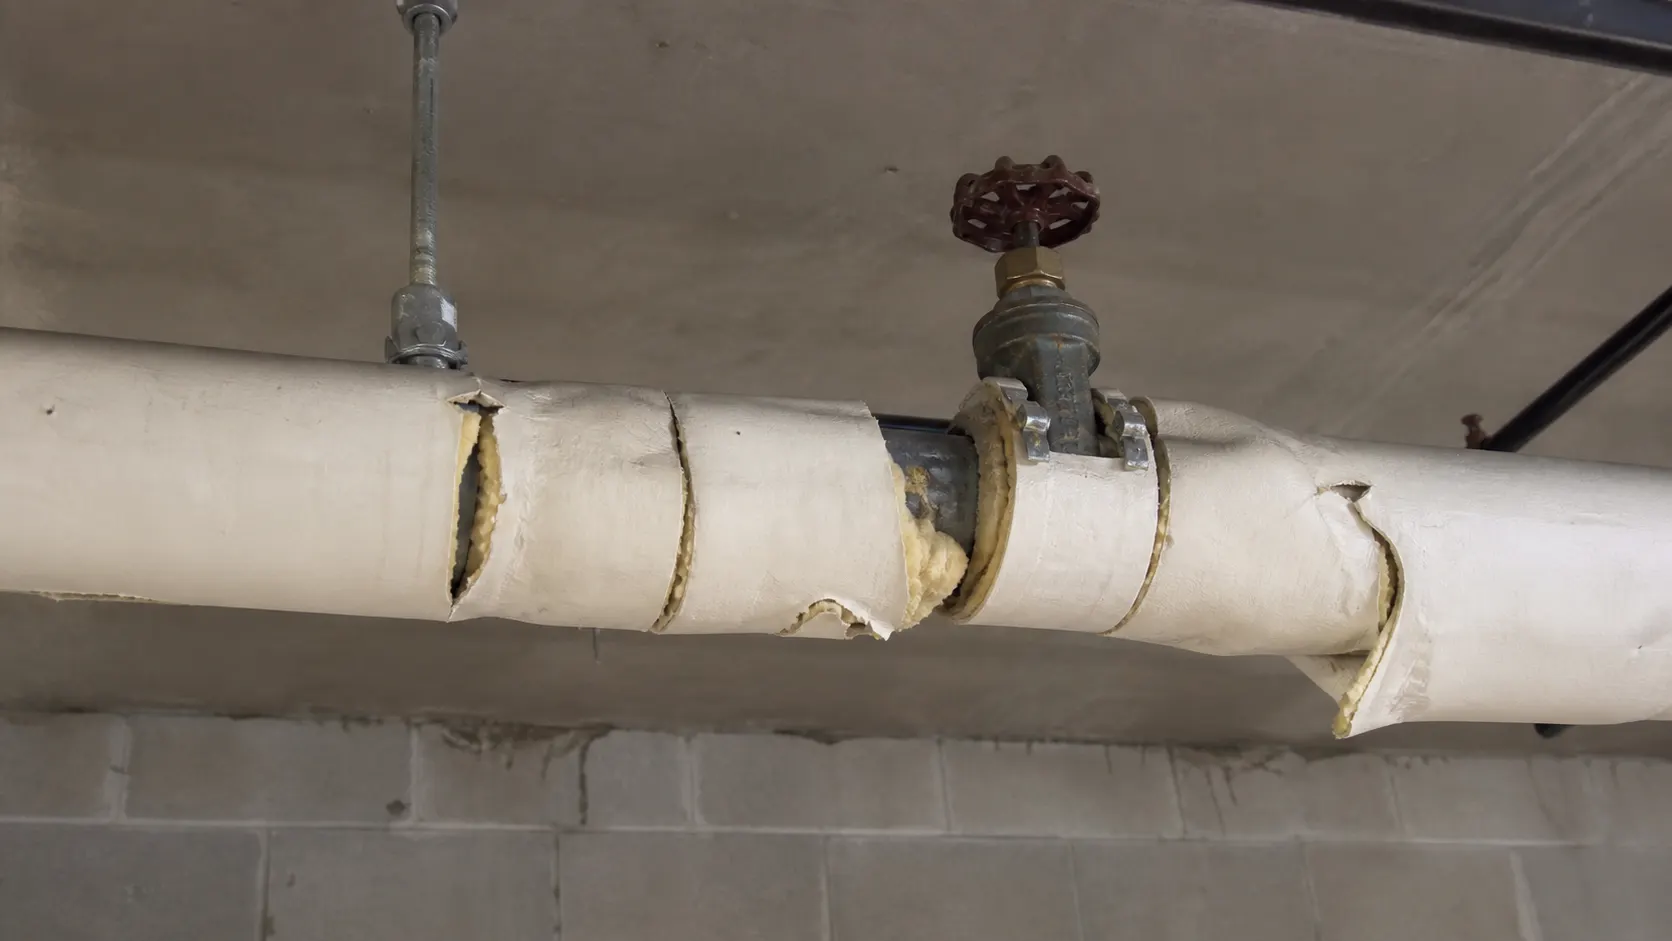
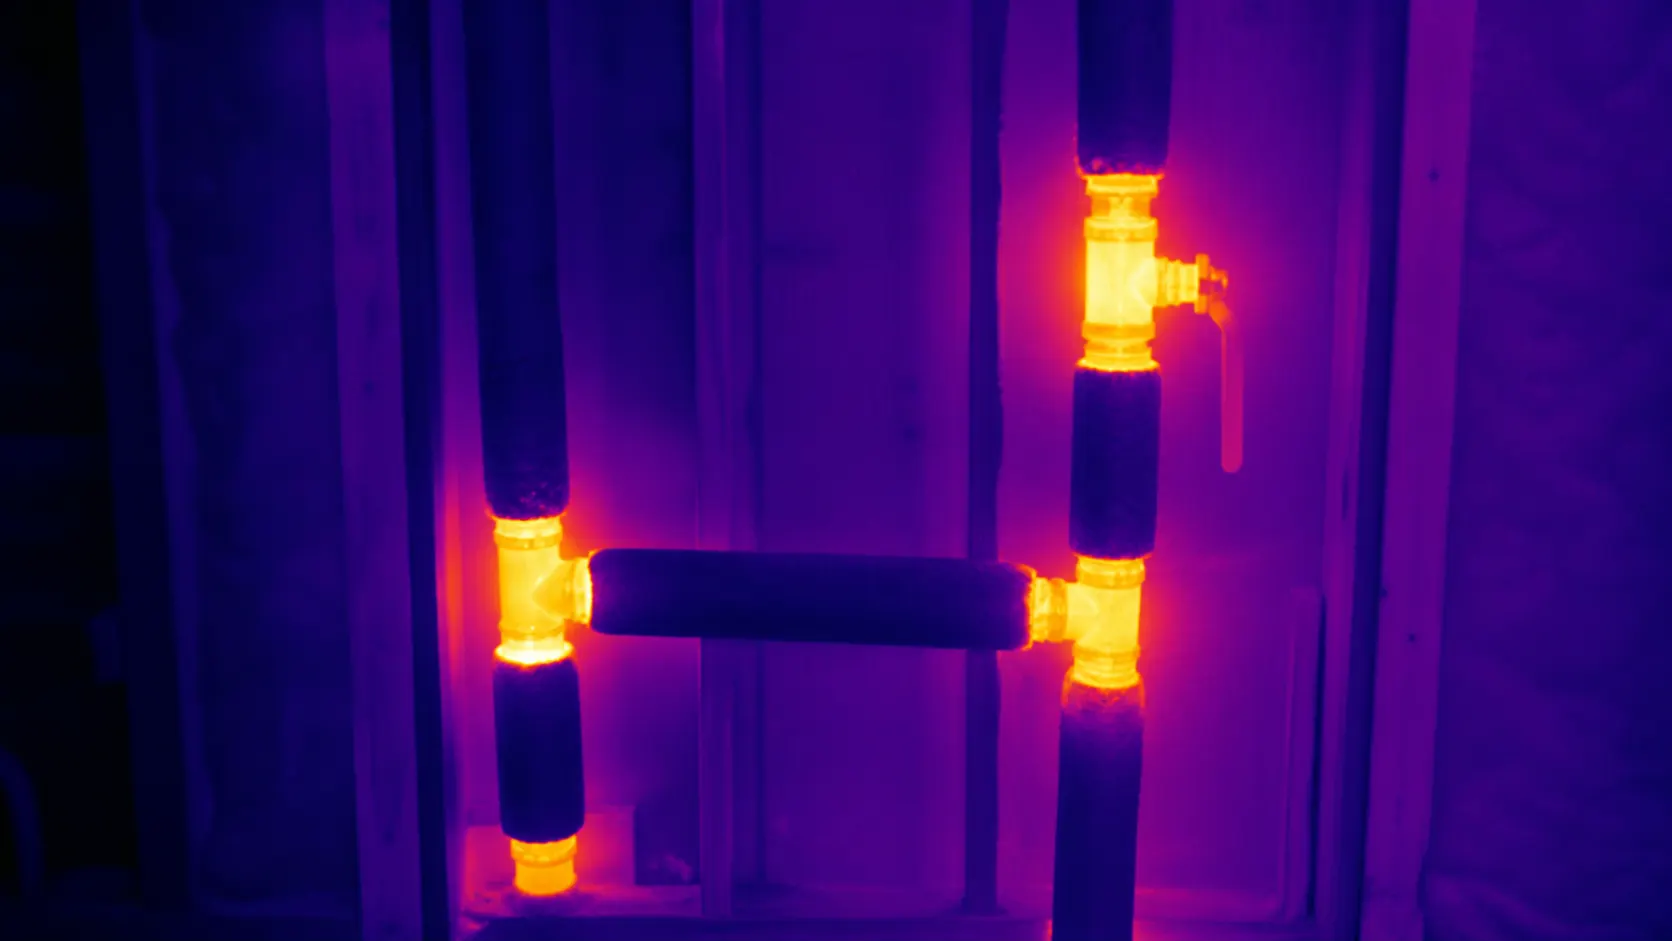
Every mistake above shares one trait: it is cheaper to do right the first time than to redo after an inspection or a callout. The thermal camera is a merciless auditor — it sees the seams you skipped, the valves you left bare, and the crushed patch under the tie wrap.
Insulating a PPR Hot Water Line Without Cooking the Pipe
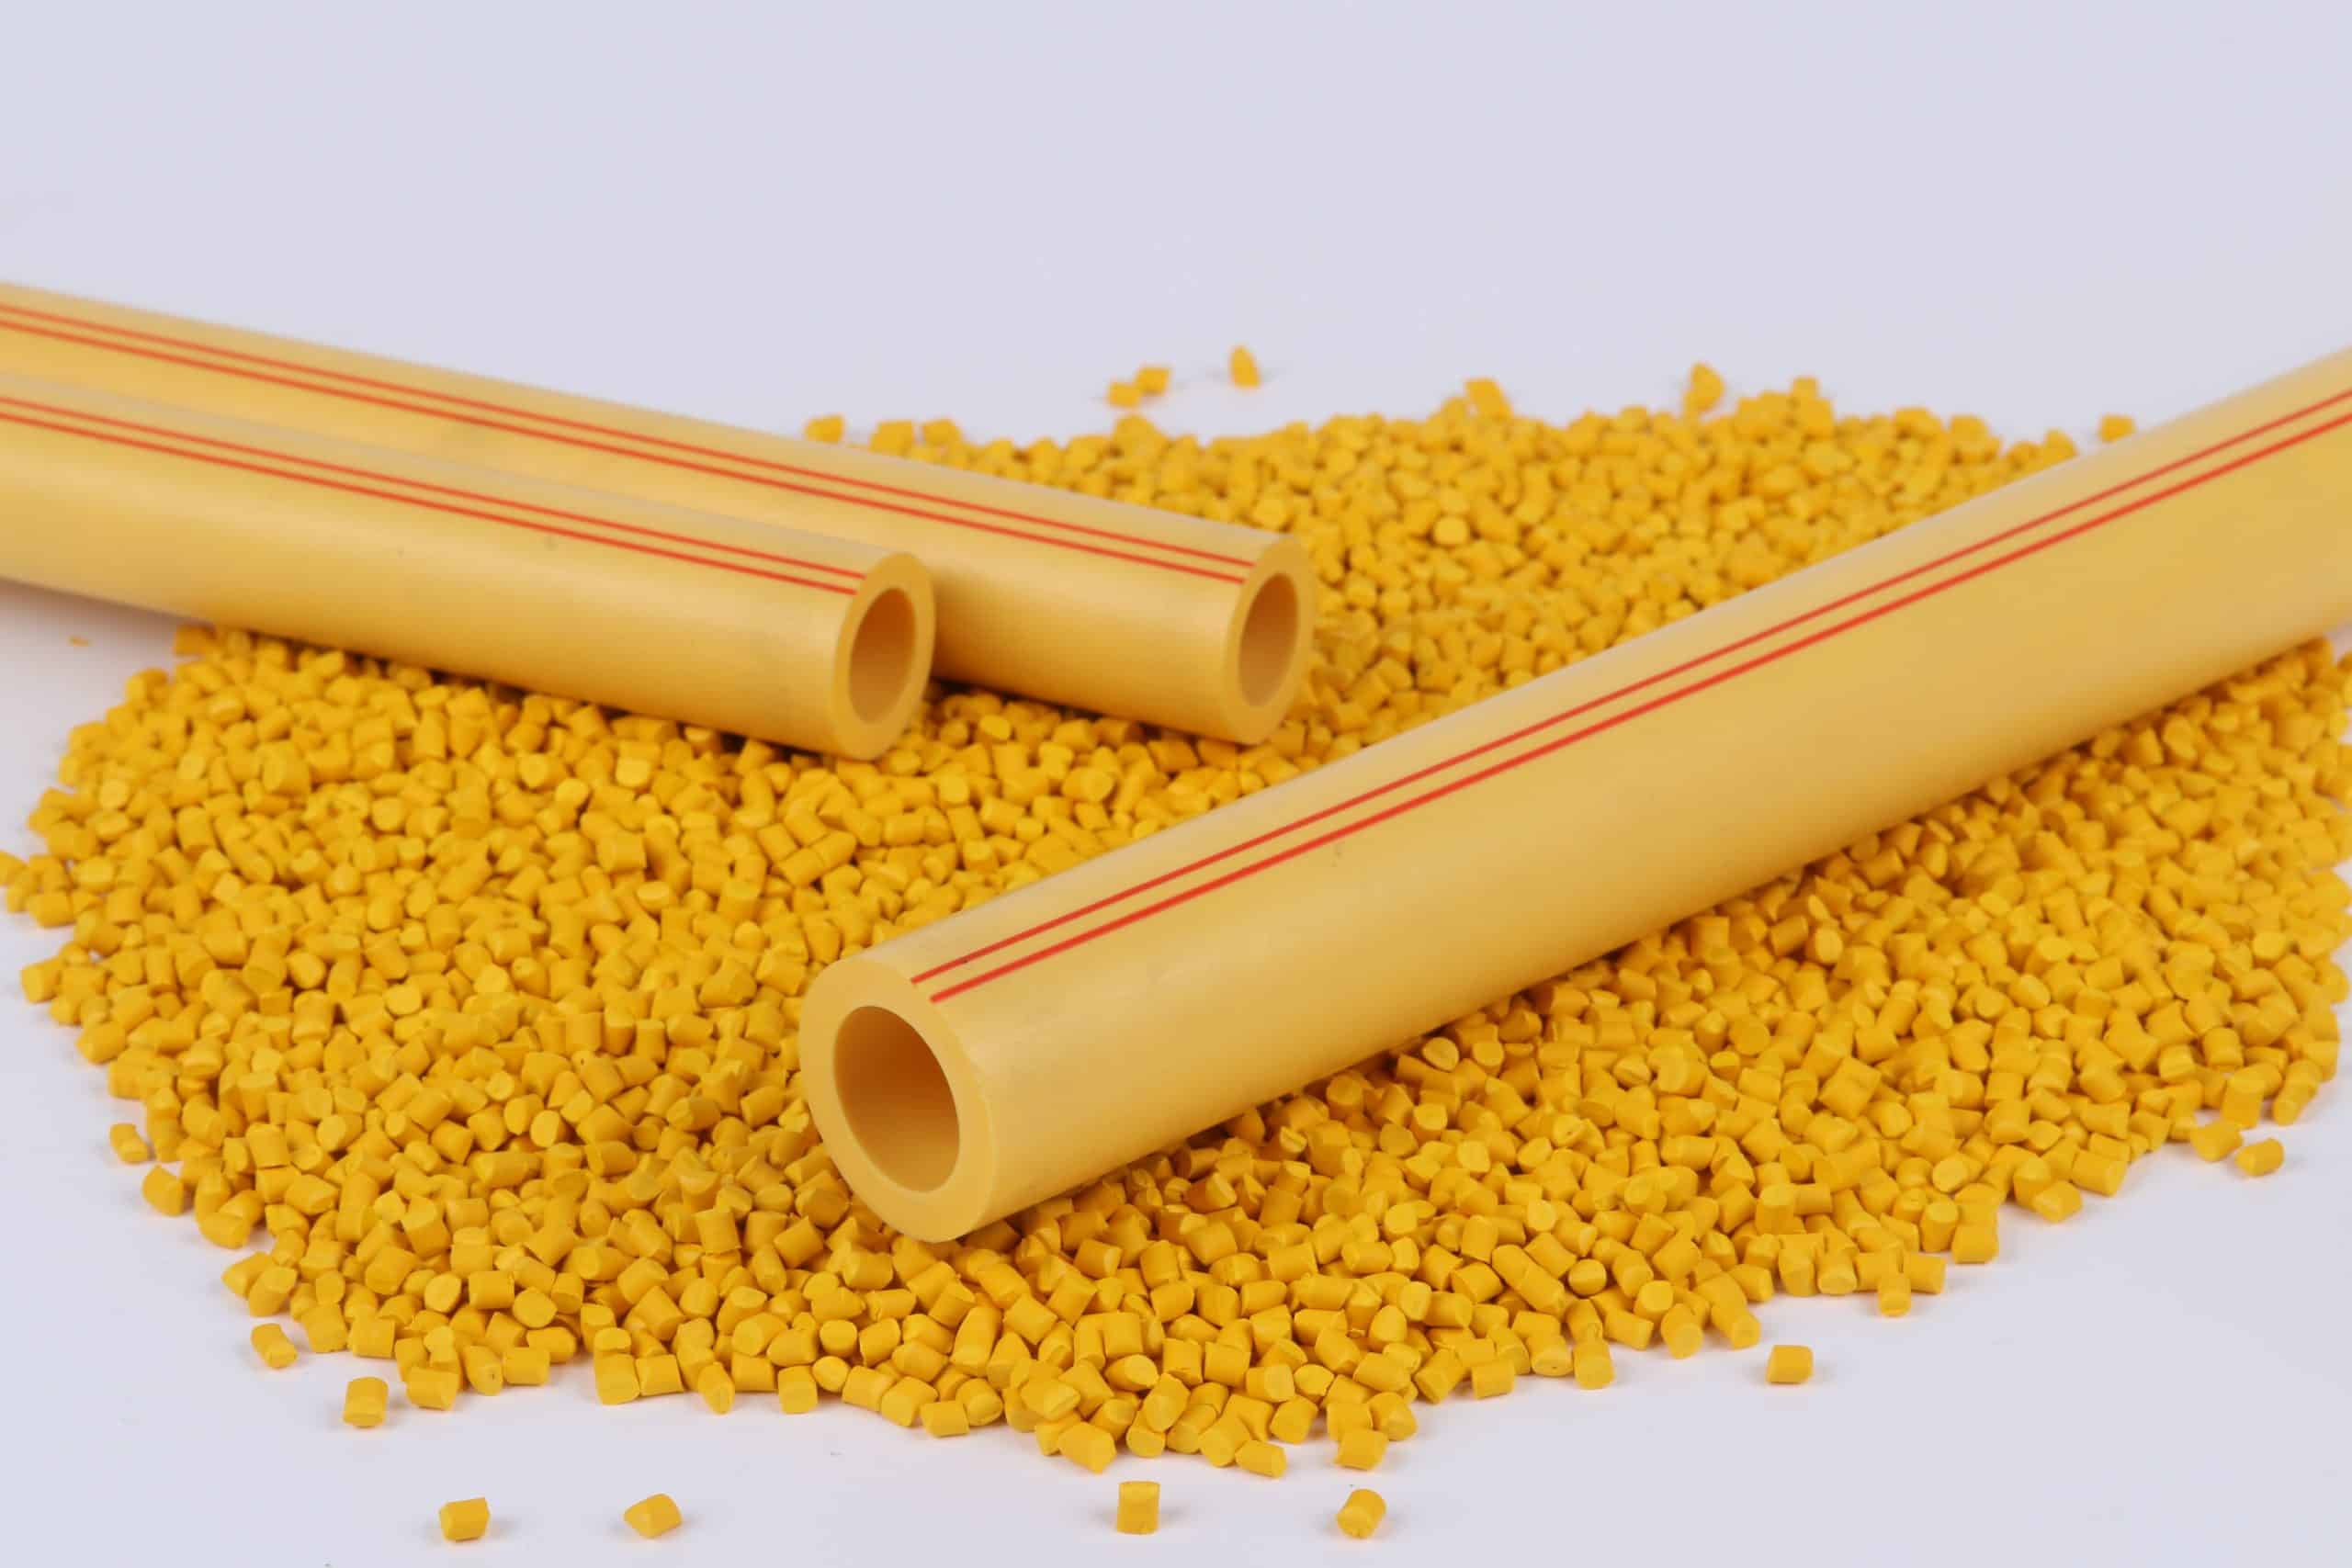
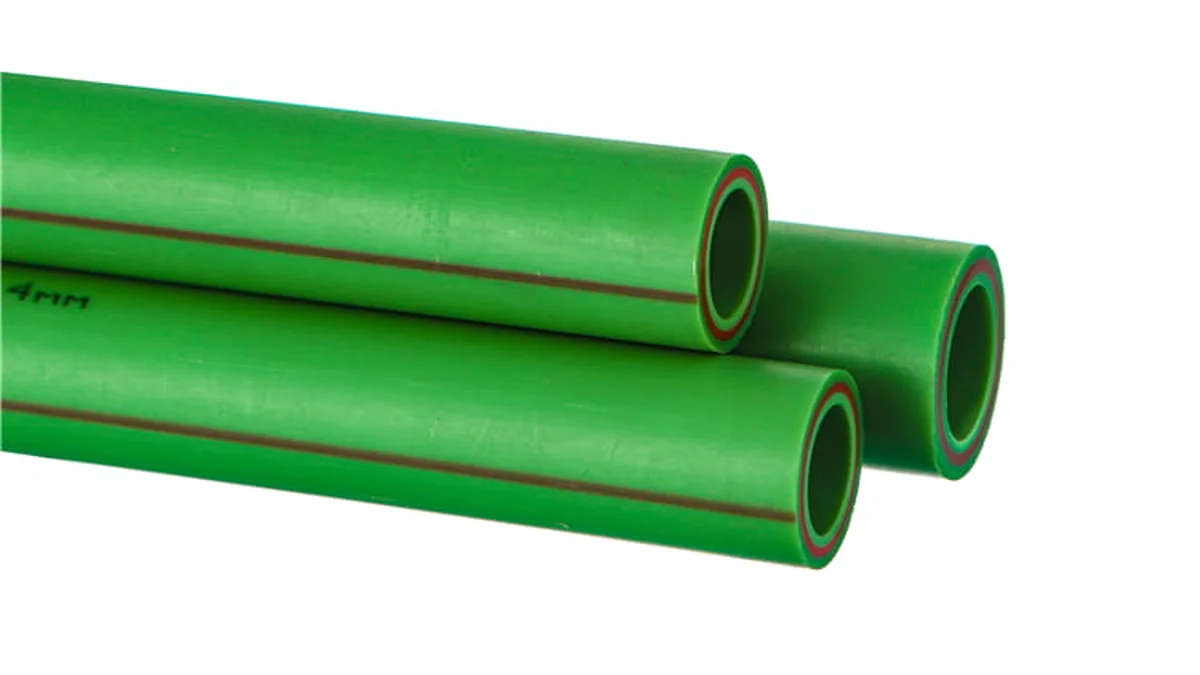
PP-R is the pipe, and its temperature rating sets the ceiling for the whole insulated assembly. Per the ISO 15874 family that governs PP piping for hot and cold water, and per the long-term strength curves of ISO 15874, a standard PP-R line is designed for continuous service around 70°C, with short-term peaks up to 95°C at reduced pressure. The practical consequence: domestic hot water at a 60°C storage temperature sits comfortably inside PPR’s envelope, a 95°C industrial loop is at the top of it, and anything above that belongs to CPVC or metal, not PPR.
The insulation respects the same ceiling from the other side. Elastomeric foam at −55°C to +120°C covers the whole PPR envelope with margin; PE foam at +100°C covers normal domestic water but gets thin at the 95°C peak; fiberglass to 1000°F is never the limiting factor. So for a PPR domestic hot water line, elastomeric foam is the professional default — it clears the temperature, seals its own vapor barrier, and handles the fittings with mitered pieces. The full reasoning on PPR’s classes, wall thickness and temperature behavior is in the companion PPR pipe for hot water guide, and the standards behind the ratings are laid out in the PPR pipe standards guide.
The one combination that needs a warning label is heat tracing. Self-regulating heat tape is the usual fix for a freeze-exposed line, but taped against a PPR pipe the tape’s output becomes the pipe’s surface temperature. Tape rated to heat the pipe above PPR’s service band is a slow cooker for the pipe wall — at 95°C, even a PN20 PPR pipe loses most of its life expectancy compared with 70°C operation, per the ISO 9080-based life curves. If a PPR line genuinely needs heat tracing, spec a low-output tape, set the thermostat below PPR’s ceiling, and record the setting in the job file. Insulation over heat tape is then the final layer — not the thing that makes the pipe safe.
The installer’s rule
Match the insulation ceiling to the water temperature, match the pipe rating to the water temperature, and keep any heat source under the insulation inside both. PPR at 70°C continuous and 95°C short-term means elastomeric foam or PE foam for domestic hot water — and never a heat tape that pushes the pipe past its band.
Contractor’s Checklist Before You Order
Ordering insulation is a five-minute job that becomes a two-hour redo when the tube IDs are wrong or the adhesive is missing. Run the checklist once and the order survives the site:
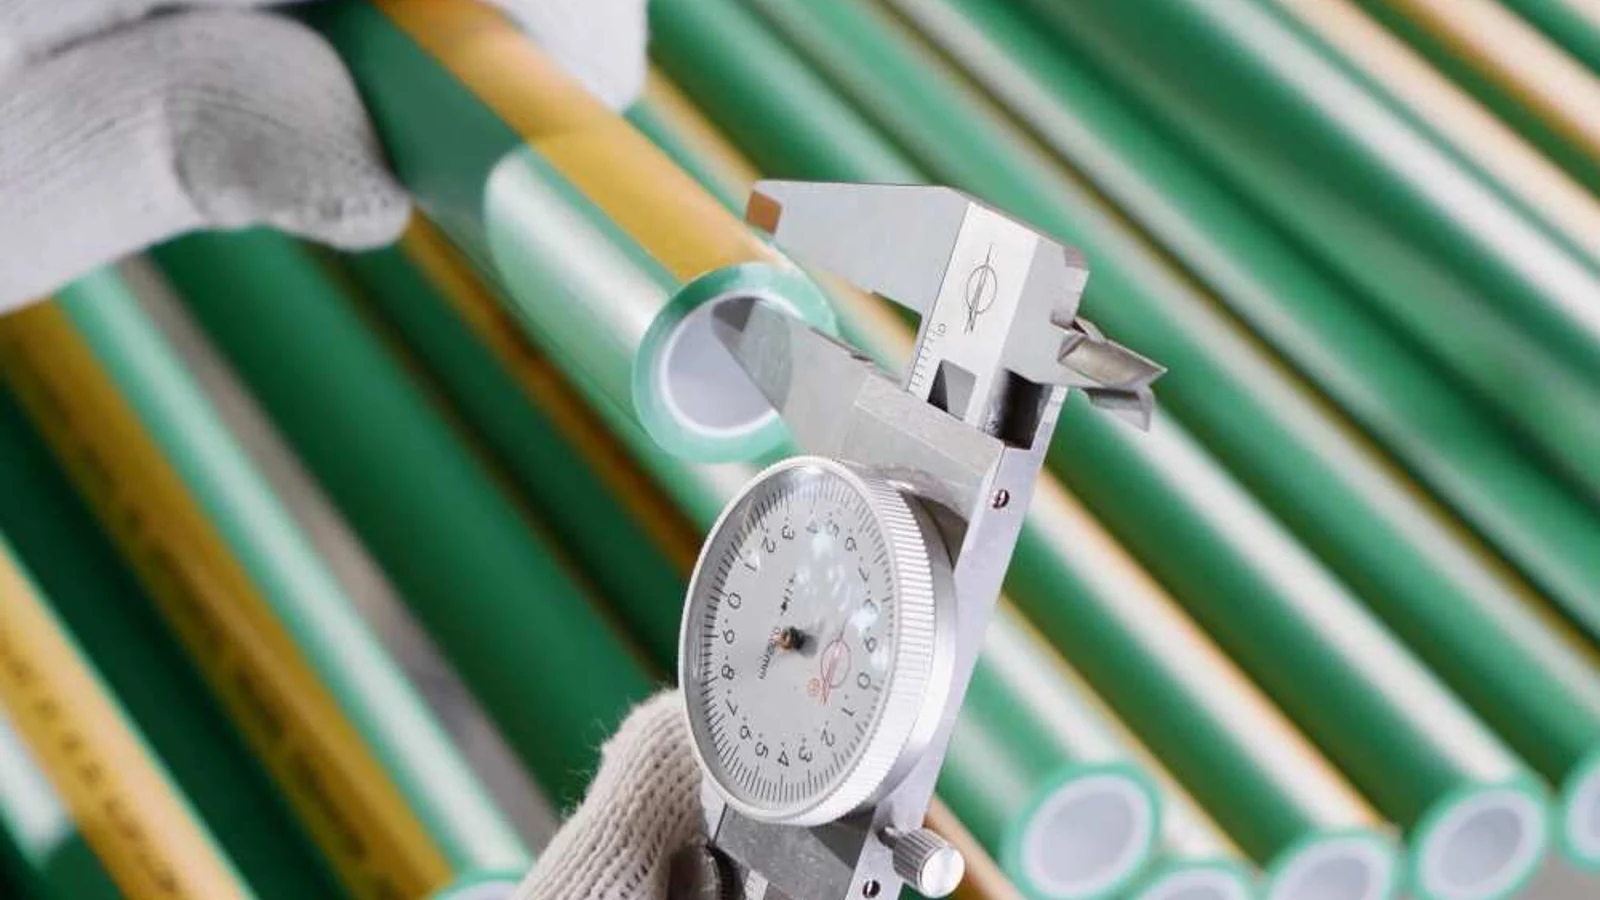
- Measure the outside diameter of every pipe size on the run. PPR and copper of the same nominal size have different ODs; the tube must match the pipe, not the label.
- Record the operating temperature. Storage at 60°C, recirculation at 65–75°C, or a boiler loop near 90°C — each changes the material and the thickness column.
- Check the location rules. First 8 feet from the water heater, all unconditioned spaces, and every recirculation loop are non-negotiable under the R-3 floor.
- Read the thickness off the table, not the roll. ASHRAE 90.1 Table 6.8.3-1 for commercial, the R-3 conversion for residential.
- Count the fittings and valves, and buy covers or mitered pieces for them. Bare fittings are the visible failure on the thermal camera.
- Order the consumables with the insulation: contact adhesive for foam seams, vapor tape for jackets, and a tube cutter — not a knife that gouges the cells.
- Verify the pipe order before the insulation order. The insulation holds heat in; the PPR pipe specification decides whether the pipe can take the heat in the first place.
None of these steps is difficult. They fail because the material order and the insulation order are placed by different people on different days. Put the checklist in the job file once, and the insulation arrives matched to the pipe, the temperature and the code.
For contractors running residential or commercial hot water installs: match your PPR pipe, fittings and hot melt tools from one series, sized for domestic hot water service, and keep the whole order on one specification sheet.
Frequently Asked Questions
What is the best insulation for hot water pipes?
For domestic hot water, elastomeric (NBR) foam is the professional default: it handles temperatures up to about 120°C, its closed cells form their own vapor barrier, and it miters cleanly around fittings. Fiberglass is the choice where temperatures exceed 120°C or fire performance matters; PE foam suits budget runs; PIR wins where R-value per inch matters most.
What R-value is required for hot water pipes?
The US residential energy code (IECC R403.5.2) requires a minimum of R-3 on the first 8 feet of pipe from the water heater, on all hot water piping in unconditioned spaces, and on recirculation loop piping. Commercial systems follow the ASHRAE 90.1 thickness table instead.
How thick should pipe insulation be?
It depends on the water temperature and pipe size. Per ASHRAE 90.1 Table 6.8.3-1, pipe up to 2 inches at 105–140°F needs 0.5 inch, and at 141–200°F needs 1.0 inch. For residential R-3, a 1-inch elastomeric tube on a 3/4-inch pipe roughly clears the requirement — check the product’s published R-value at installed thickness.
Do hot water pipes need insulation?
Code requires it in three situations — the first 8 feet out of the water heater, all runs in unconditioned spaces, and recirculation loops — and it pays for itself elsewhere by cutting standby heat loss, shortening the wait for hot water, and reducing freeze risk. The question is rarely whether, it is which thickness.
Is foam or fiberglass pipe insulation better?
For hot water pipe, foam is usually better: it is closed-cell, vapor-sealing, easy to miter around fittings, and rated to 120°C — enough for every domestic system. Fiberglass wins where temperature exceeds foam’s ceiling or where fire ratings dominate, and it then needs a vapor-retarder jacket on every joint.
Will pipe insulation keep pipes from freezing?
Not by itself. Insulation slows heat loss and buys time, but it adds no heat, so a long cold exposure can still freeze an insulated pipe. For real freeze protection, combine insulation with heat tracing — and on PPR, keep the tape’s output below the pipe’s 95°C ceiling.
From the PPR pipe to the last transition fitting, keep one sizing convention on the job. The PPR Global Series catalog puts pipes, fittings, valves and hot melt tools in one place — order the run, then insulate it to match.



 English
 Español
 Français
 Português do Brasil