

I still remember the phone call from a client in Moscow who discovered his entire irrigation system had cracked after the first hard freeze. That costly lesson drives home why proper winterization matters.
To winterize an outdoor plumbing system effectively, you must completely remove all water from pipes, valves, and fixtures before freezing temperatures arrive. This involves draining the system, using compressed air to blow out residual water, applying safe antifreeze only where necessary, and insulating exposed components. Taking these steps prevents expensive freeze damage and ensures the system works come spring.
Let’s walk through the complete process to protect your outdoor plumbing investment.
What is the Correct Procedure to Completely Drain Pipes and Irrigation Lines?
Many homeowners skip draining and pay the price. I’ve seen burst pipes that could have been avoided with fifteen minutes of work.
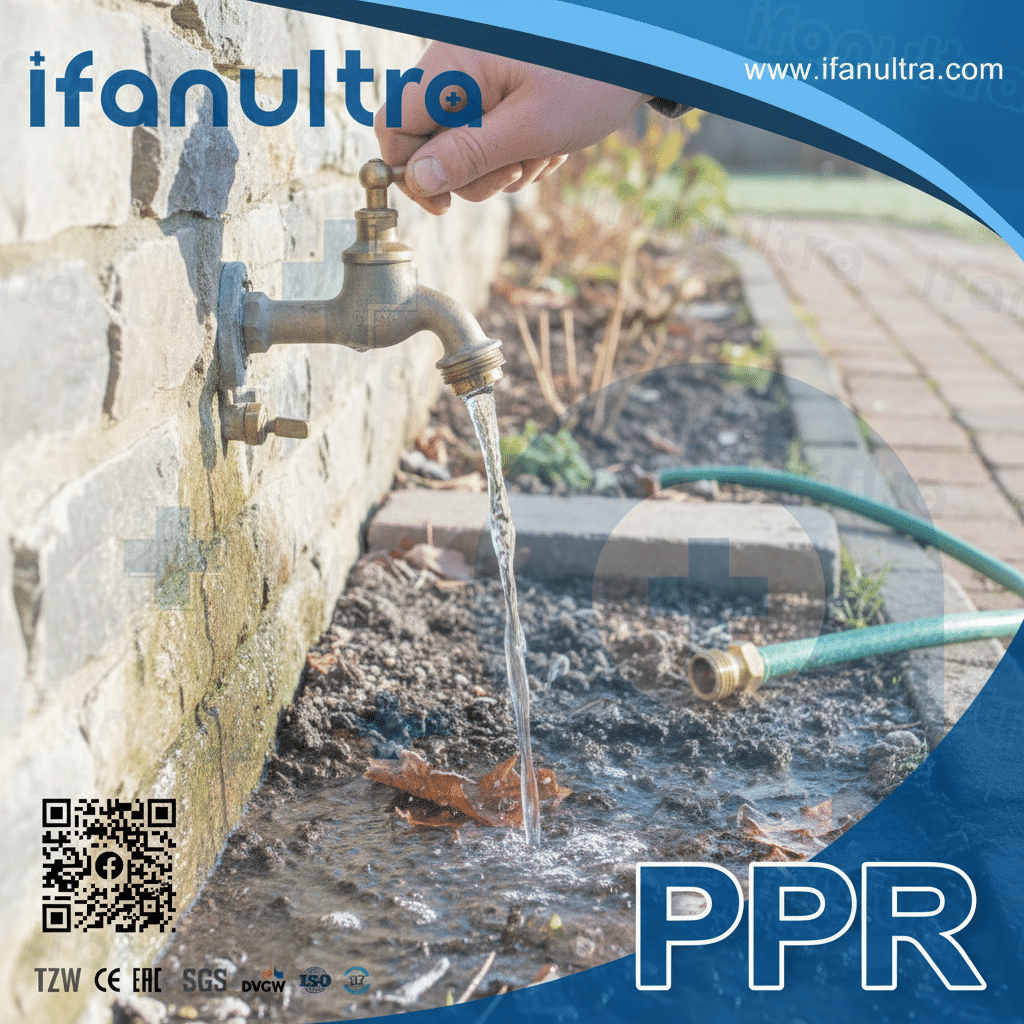
The correct draining procedure starts by shutting off the main water supply to the outdoor system. Then, open all drain valves, faucets, and fixture outlets to allow gravity to pull water out. For irrigation systems, you must also open the manual drain valves at low points in the pipes and activate sprinkler zones to release trapped water from the lines.
Step-by-Step Draining Guide
Draining sounds simple, but missing one step can leave water trapped in low spots. Here is the complete process we recommend to our IFAN clients.
Step 1: Shut Off the Water Supply
Locate the shut-off valve for your outdoor system. This is usually inside your basement, crawl space, or garage where the pipe exits the house. Turn this valve completely clockwise to stop water flow.
Step 2: Open All Outdoor Fixtures
Go outside and open every faucet, hose bib, and valve. This allows air to enter the system from the top, which helps water flow out from the bottom. Leave them open throughout the draining process.
Step 3: Locate and Open Drain Valves
Most well-designed systems have drain valves installed at low points. These are small valves, often with a square knob or a screw fitting. Open each one completely. Water should start flowing out.
Step 4: Drain Irrigation Components
For sprinkler systems, you need to drain the backflow preventer. Many backflow devices have small test cocks or drain screws. Open these carefully to release water. Also, remove sprinkler heads if your system requires it.
Step 5: Check for Complete Drainage
Wait until water stops flowing from all drains. Then, tap gently on pipes. A hollow sound means they are empty. A dull thud may indicate trapped water.
Common Drainage Mistakes to Avoid
| Mistake | Why It Causes Problems | How to Avoid It |
|---|---|---|
| Forgetting low-point drains | Water collects in pipe dips and freezes solid. | Trace all pipes and mark drain locations for next year. |
| Leaving valves partially open | Trapped water creates ice blockages. | Fully open or fully close; no middle positions. |
| Ignoring the backflow preventer | These units hold water and crack easily. | Always drain them according to manufacturer specs. |
| Draining too late | Sudden freeze catches you unprepared. | Start when night temps hit 40°F (4°C). |
When Draining Alone Isn’t Enough
Sometimes gravity draining cannot remove all water. Pipes that dip or have flat sections will hold water. This is where compressed air becomes necessary, which we cover next.
Should You Use Compressed Air to Blow Out Residual Water from the System?
I’ve watched contractors argue about this method. The truth is, for many systems, air blowout is the only way to guarantee dry pipes.
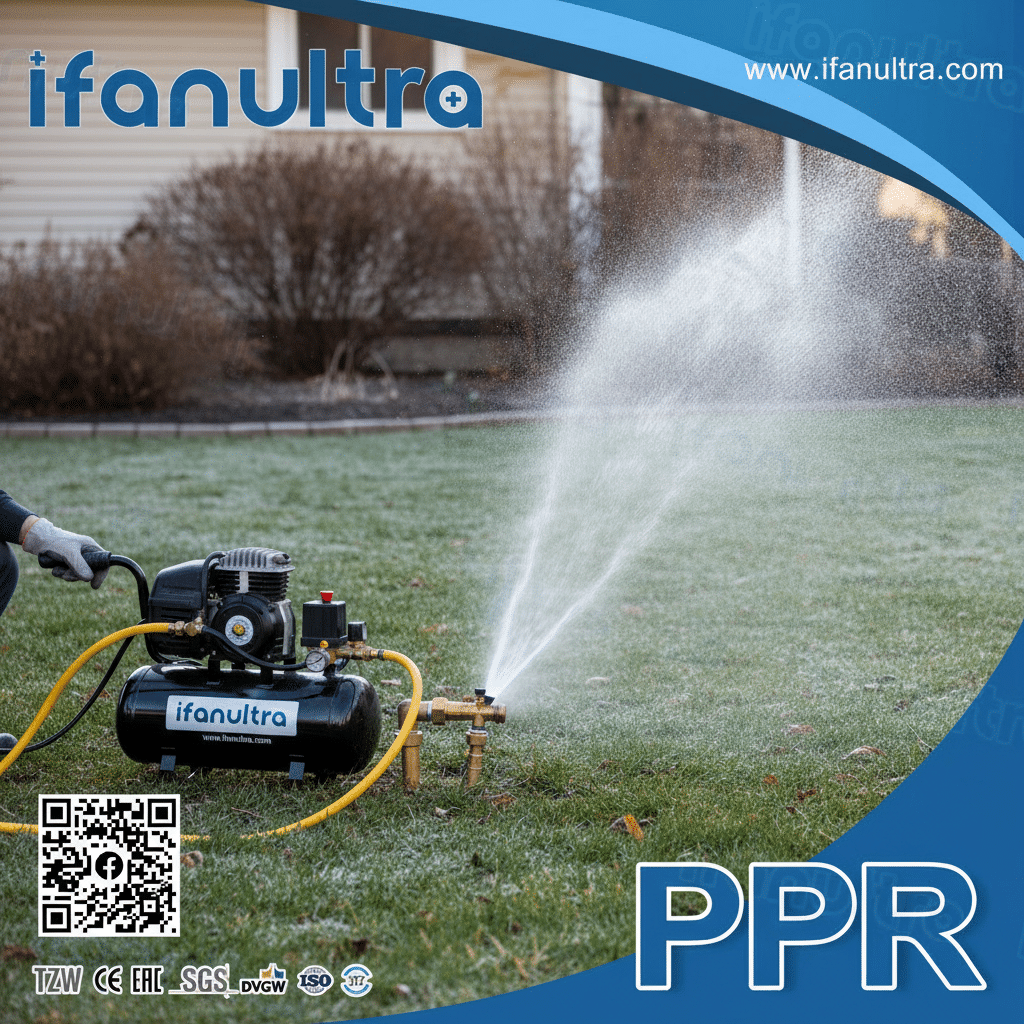
Yes, you should use compressed air to blow out residual water from irrigation systems and pipes that cannot drain completely by gravity. Forcing air through the lines at controlled pressure pushes out standing water that would otherwise freeze and crack pipes. However, you must use the correct pressure and procedure to avoid damaging components.
Understanding the Air Blowout Method
Compressed air works by creating a high-velocity flow that carries water out of the pipes. Think of it like blowing through a straw to clear liquid. The air pressure pushes water ahead of it and out through open ends.
When to Use Air Blowout:
- Irrigation systems with underground pipes
- Long horizontal runs that don’t slope to drains
- Systems with multiple low points
- Areas with severe freezing where any trapped water means disaster
When Not to Use Air Blowout:
- Indoor plumbing fixtures (can blow out trap seals)
- Systems with components rated for low pressure only
- When you lack the proper equipment or training
Safe Air Pressure Guidelines
Using too much pressure can blow fittings apart. Using too little pressure leaves water behind. Follow these guidelines from IFAN’s technical team.
For most residential irrigation systems:
- Maximum pressure: 50 PSI for PVC pipes
- Maximum pressure: 80 PSI for polyethylene pipes
- Recommended starting point: 30-40 PSI
Step-by-Step Air Blowout Process:
1. Connect the Compressor: Attach your air compressor to the system using a quick-connect fitting at a test point or through a blowout adapter.
2. Close the Main Valve: Ensure the water supply is completely shut off.
3. Open One Zone at a Time: Never blow air through multiple zones simultaneously. Start with the zone farthest from the compressor.
4. Apply Air Gradually: Open the air valve slowly. You want to see mist and water spraying from sprinkler heads, not a violent blast.
5. Run Until Dry: Continue until only air comes from the heads, usually 2-3 minutes per zone.
6. Repeat for All Zones: Move through each zone systematically.
Critical Safety Warnings
| Danger | Why It Happens | Prevention |
|---|---|---|
| Burst pipes | Pressure exceeds pipe rating | Use a pressure regulator; never exceed 50 PSI for PVC. |
| Flying debris | Loose fittings blow apart | Stand clear of all components during blowout. |
| Compressor oil contamination | Oil mist enters water lines | Use an oil-free compressor or install an air filter. |
| Eye injury | Debris or water spray | Wear safety glasses during the process. |
When to Skip Air and Use Gravity Only
For simple systems with good slope, gravity draining may suffice. These include:
- Single faucets with indoor shut-offs
- Above-ground hoses that can be disconnected
- Systems with drain valves at every low point
However, for peace of mind in cold climates, air blowout remains the gold standard.
What Type of Antifreeze Is Safe for Plumbing Systems, and Where to Apply It?
A client once poured automotive antifreeze into his pipes. That mistake poisoned his garden and cost him thousands in cleanup. Safe choices matter.
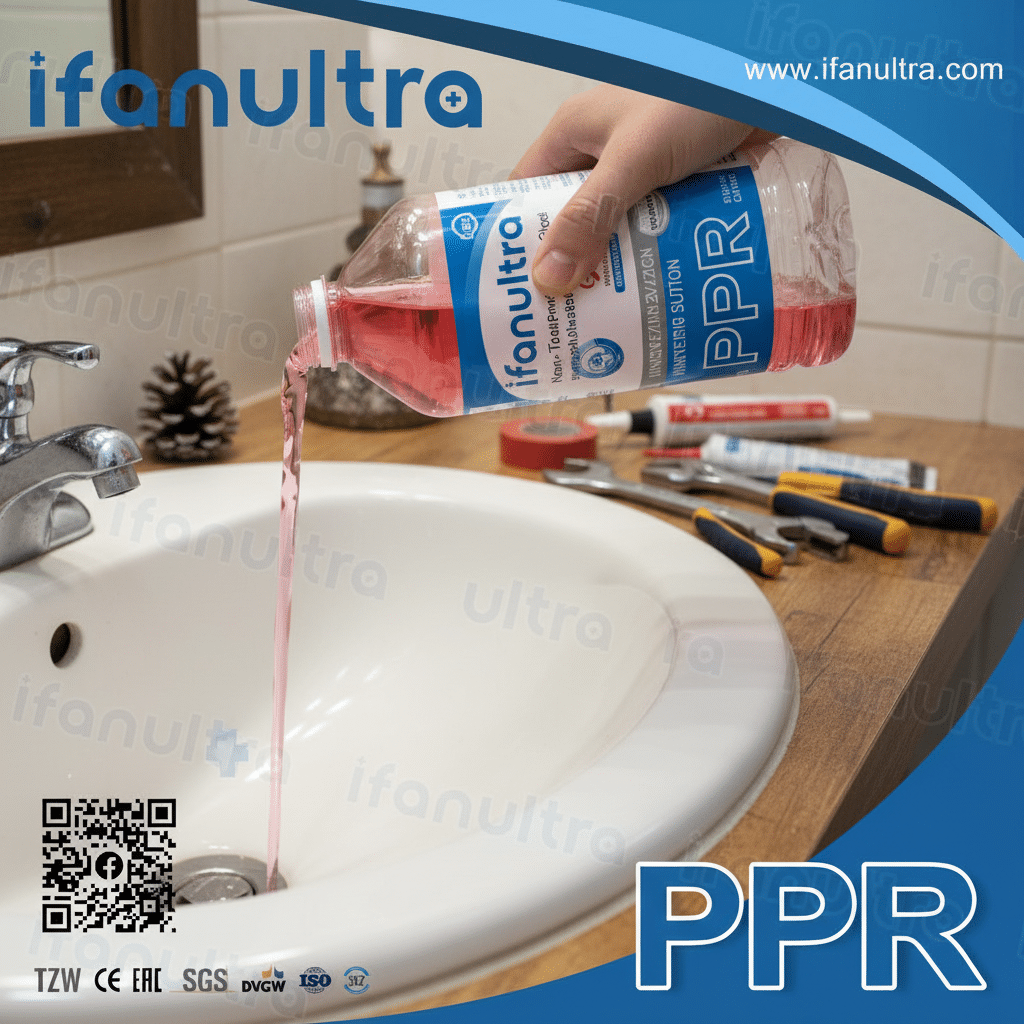
Only use propylene glycol antifreeze specifically formulated for plumbing systems in applications where water cannot be completely removed. This non-toxic formula is safe for pets, plants, and drinking water systems if diluted. Never use automotive antifreeze (ethylene glycol), which is highly toxic. Apply it only to traps, drains, and fixtures that cannot be fully emptied.
Understanding Antifreeze Types
Not all antifreeze is created equal. Using the wrong type creates serious health and environmental risks.
Propylene Glycol (Plumbing-Safe):
- Non-toxic and biodegradable
- Approved for potable water systems
- Safe around pets and children
- Used in RV and marine plumbing
- More expensive but worth the cost
Ethylene Glycol (Automotive – DANGER):
- Highly toxic, even in small amounts
- Sweet taste attracts animals
- Causes severe poisoning or death
- Never use in any plumbing system
- Illegal to dump into drains or soil
Where to Apply Antifreeze
Antifreeze is not a substitute for draining. Use it only in places where water cannot be removed.
Appropriate Applications:
- Toilet traps in outdoor bathrooms or unheated buildings
- Sink P-traps in seasonal homes
- Floor drains in garages or basements
- Washing machine drain lines in cabins
- Outdoor shower traps
Inappropriate Applications:
- Pressurized water lines (can cause contamination)
- Irrigation systems (harms soil and plants)
- Drinking water pipes (even safe types taste bad)
- Hot water heaters (can damage components)
How to Apply Antifreeze Correctly
Step 1: Drain First
Remove as much water as possible from the fixture or trap.
Step 2: Pour Directly into Trap
For sinks and drains, pour the antifreeze directly into the drain opening. Use enough to fill the trap completely, usually 1-2 cups.
Step 3: Mark Treated Fixtures
Place a note or tag on treated fixtures so you remember to flush them thoroughly before using again.
Step 4: Never Leave in Supply Lines
If you must protect a supply line that cannot drain, use compressed air first, then consider antifreeze only as a last resort, and flush extensively in spring.
Quantity Guidelines
| Fixture Type | Amount of Safe Antifreeze Needed |
|---|---|
| Toilet bowl and trap | 1-2 gallons (pour into bowl and flush to fill trap) |
| Sink P-trap | 1-2 cups |
| Floor drain | 1-2 quarts |
| Washing machine drain | 1-2 gallons (pour directly into standpipe) |
Environmental Responsibility
Even safe antifreeze should not enter the environment unnecessarily. In spring, drain traps into a bucket and dispose of the used antifreeze at a hazardous waste facility if local regulations require it.
How Do You Protect Outdoor Faucets and Valves from Freezing Damage?
Outdoor faucets face the coldest air directly. I’ve replaced hundreds of frost-damaged hose bibs that could have been saved with simple protection.
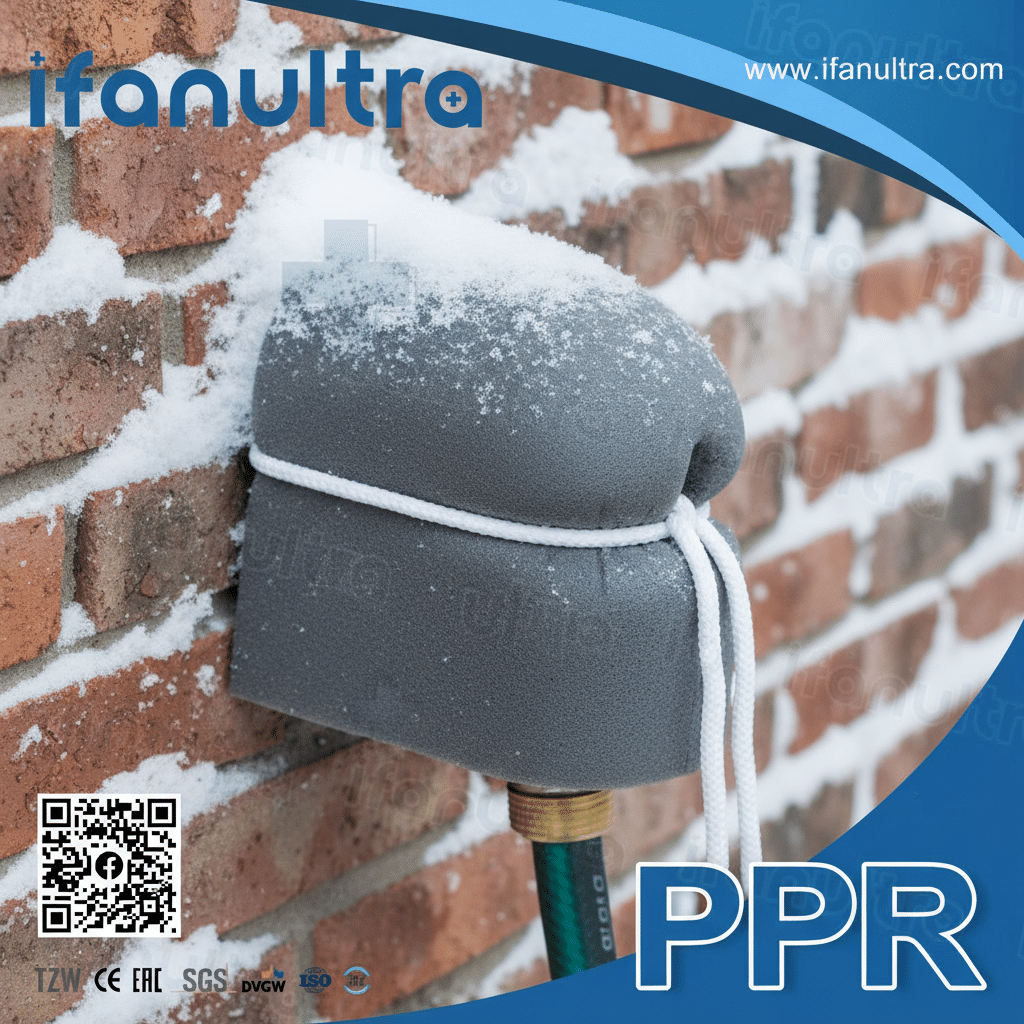
Protect outdoor faucets and valves by first disconnecting all hoses, then shutting off water supply from inside, and finally installing insulated covers over the fixtures. For added protection in extreme cold, allow faucets to drip slowly or install frost-proof sillcocks that have the shut-off valve located inside the heated space.
Understanding Frost-Proof vs. Standard Faucets
The type of faucet you have determines your protection strategy.
Standard Hose Bibb:
- Shut-off valve is at the faucet itself
- Water remains in the pipe all the way to the outside
- Highly vulnerable to freezing
- Requires complete winterization
Frost-Proof Sillcock:
- Shut-off valve is at the end of a long shaft
- Valve sits inside the heated wall when closed
- Pipe drains itself when shut off
- Much more freeze-resistant
Step-by-Step Faucet Protection
Step 1: Disconnect Everything
Remove all hoses, splitters, and attachments. A hose left connected traps water in the faucet and prevents drainage.
Step 2: Find and Close Indoor Shut-Off
Locate the valve inside your home that controls the outdoor faucet. Close it completely.
Step 3: Open the Outdoor Faucet
Go outside and open the faucet fully. This allows any trapped water to drain out and relieves pressure.
Step 4: Drain the Line
If you have a bleed valve inside, open it to drain the pipe between the shut-off and the faucet.
Step 5: Install an Insulated Cover
Place a foam faucet cover over the outdoor fixture. These inexpensive covers provide critical insulation against freezing air.
Protecting Valves and Backflow Preventers
Valves and backflow devices are often overlooked but equally vulnerable.
For Above-Ground Valves:
- Wrap with foam pipe insulation
- Cover with an insulated valve bag
- Use heat tape for extreme climates (follow manufacturer instructions)
For Backflow Preventers:
- Drain completely after shutting off water
- Insulate with a specialized cover
- Never leave pressurized in freezing weather
Comparison of Protection Methods
| Method | Best For | Effectiveness | Cost |
|---|---|---|---|
| Insulated foam covers | Standard faucets | Good for moderate cold | $ |
| Heat tape with insulation | Extreme cold climates | Excellent with proper use | $$ |
| Frost-proof sillcock replacement | Permanent solution | Best long-term protection | $$$ |
| Indoor shut-off + draining | All faucets | Essential first step | Free |
Signs of Freeze Damage to Watch For
Even with protection, damage can occur. Watch for these signs when you reopen the system in spring:
- Cracks in the faucet body
- Leaks when the valve is opened
- No water flow (ice blockage still present)
- Bulging or split pipes
- Water stains inside walls near the faucet location
If you spot any of these, call a professional immediately. Small cracks can become major leaks when pressure returns.
Conclusion
Proper winterization protects your outdoor plumbing from costly freeze damage. Follow these steps: drain completely, use compressed air where needed, apply safe antifreeze only in traps, and insulate all exposed fixtures. For reliable freeze-resistant components, choose IFAN’s frost-proof sillcocks and durable PPR pipes designed to withstand harsh winter conditions.



 English
 Español
 Français
 Português do Brasil