
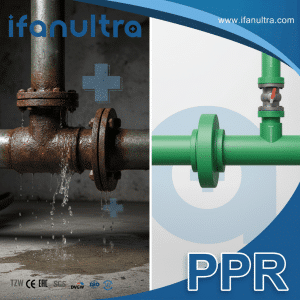
I once faced a flooded mechanical room because a corroded steel flange gave way. That urgent repair taught me the value of a reliable retrofit solution using PPR.
You replace a metal flange with a PPR socket adapter by cutting out the old metal section, preparing the existing PPR pipe end, and then heat-fusing the new adapter in place. This process creates a permanent, leak-proof, and corrosion-resistant connection that outperforms the original threaded metal assembly.
Retrofitting from metal to PPR might seem complex, but with the right method, it’s a straightforward upgrade. Let’s walk through each step to ensure a strong and lasting result.
What is the Process for Cutting Out the Old Metal Flange Section?
A bad cut can ruin the entire repair. The goal is to remove the old flange cleanly without damaging the good PPR pipe you will connect to.
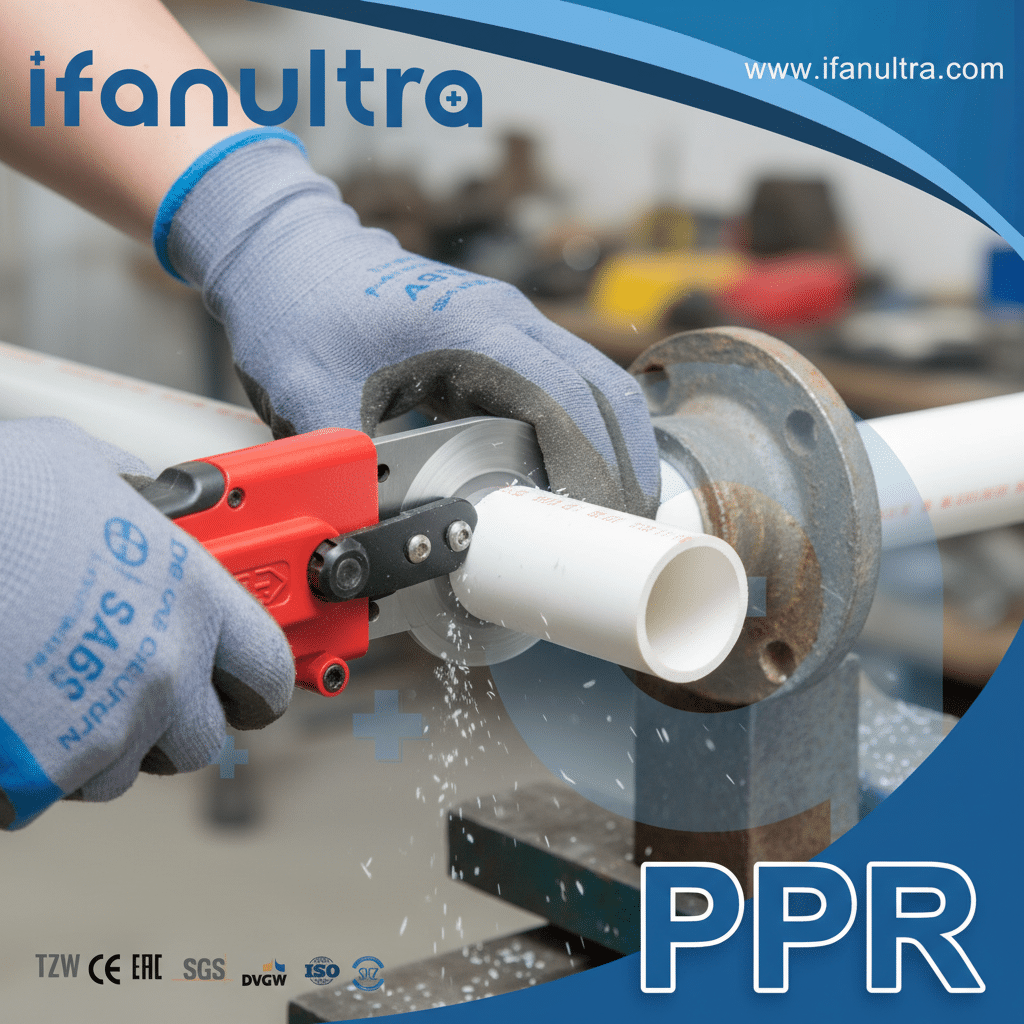
The process involves safely shutting off the water, draining the line, and then using a pipe cutter or a hacksaw to remove the entire old metal flange assembly, leaving a clean, square end on the existing PPR pipe. Careful measurement is crucial to ensure the new adapter will fit perfectly into the available space.
Step 1: Prepare the System for Safety
First, you must stop the water flow. Always begin by finding the main shut-off valve for the system and turning it off. Next, open a faucet or drain valve downstream from your work area. This important step releases pressure and drains the water from the section you will cut. Remember, safety is your top priority. Therefore, always wear safety glasses and gloves during this work.
Step 2: Plan and Measure the Cut
Now, look at the old connection. The metal flange is usually connected to the existing PPR pipe via a threaded union or a male adapter. You need to remove the entire metal section. First, find the point where the metal connector joins the PPR pipe. This is your cut point.
Then, measure carefully. You must know how much space the new PPR flange adapter will need. A good method is to place the new adapter next to the old setup. This way, you can make sure that after you cut, there will be enough pipe length to fuse the new adapter properly. Finally, mark the cut line on the PPR pipe with a marker. Make sure the mark is straight around the pipe for a square cut.
Step 3: Execute a Clean Cut
At this point, you have two main tool choices. Typically, a dedicated plastic pipe cutter gives the cleanest and squarest cut with minimal effort. However, if you use a hacksaw, you must work carefully. After sawing, you must use a file or utility knife to remove all the burrs and plastic shreds from the cut end. This is because a rough end will prevent a good fusion joint.
Tool Comparison for Cutting PPR Pipe:
| Tool | Best For | Pro Tip |
|---|---|---|
| PPR Pipe Cutter | Most jobs; gives a perfect square cut. | Ensure the blade is sharp. Rotate the tool around the pipe for a smooth cut. |
| Fine-Tooth Hacksaw | When a cutter is not available. | Use a miter box or guide to keep the cut straight. Always deburr the inside and outside after cutting. |
After cutting, wipe the end of the PPR pipe with a clean, dry cloth. Then, check that the cut is perfectly square. Remember, a crooked cut is a common reason for fusion failures later on.
How Do You Prepare the Existing PPR Pipe End for the New Adapter?
Preparation is the secret to a perfect fusion joint. Even a small mistake here can cause a leak.
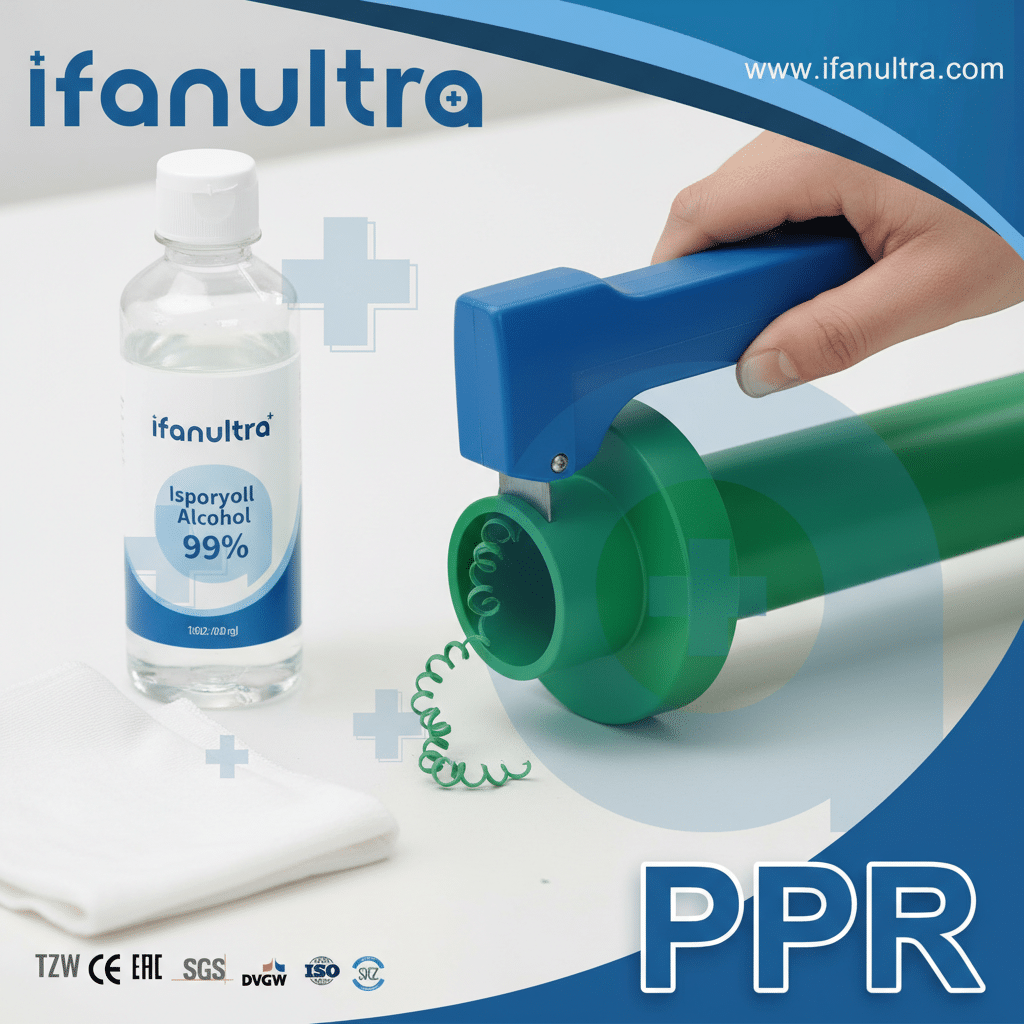
You prepare the pipe end by ensuring the cut is perfectly square and clean, then using a PPR chamfering tool to bevel the outer edge. Finally, you must clean the pipe end and the inside of the new adapter socket with isopropyl alcohol to remove all dust, grease, and moisture before heating.
The Goal: A Perfect Surface for Fusion
Fusion welding joins two pieces of plastic by melting them together. Therefore, any dirt or imperfection will get trapped in the joint, creating a weak spot. To avoid this, follow these steps in order.
1. Re-Check and Square the Cut:
First, if you used a hacksaw, this step is critical. Take a file and smooth the end of the pipe. Remove any plastic strands or rough spots. Then, use a sanding pad or a special PPR facing tool. The goal is to make sure the end is perfectly flat and at a 90-degree angle to the pipe. You can place the pipe end on a flat surface to check.
2. Create a Guiding Bevel:
Next, chamfer the outer edge. This is a step many people skip, but it is vital. Use a PPR chamfering tool or a fine file. You need to create a small bevel (about a 15-degree angle) around the outside edge of the pipe. This bevel helps guide the pipe smoothly into the fitting socket during fusion. As a result, it prevents the pipe from scraping and pushing melted plastic ahead of it, which can create a blockage inside the joint.
3. Perform a Deep Clean:
Finally, clean with alcohol. Take a clean, lint-free cloth or a special cleaning pad. Moisten it with 99% isopropyl alcohol. Then, wipe the outside of the pipe end thoroughly, for about 2 inches back from the cut. After that, use a different part of the cloth to wipe the inside socket of the new PPR flange adapter. The alcohol removes invisible oils from your skin, dust, and any moisture. Let the alcohol evaporate completely for about 30 seconds. Importantly, do not touch the cleaned surfaces with your fingers.
Preparation Checklist Before Fusion:
| Step | Tool Needed | What to Look For | Common Mistake to Avoid |
|---|---|---|---|
| Square the End | File, sander, or facing tool. | Pipe end is flat and even all around. | Assuming the cut from the saw is good enough. |
| Chamfer the Edge | Chamfering tool or fine file. | A small, even bevel around the entire circumference. | Skipping this step, causing resistance during joining. |
| Clean Surfaces | Isopropyl alcohol & lint-free cloth. | Surfaces are shiny and free of any particles. | Using a dirty cloth or not cleaning the fitting socket. |
In summary, proper preparation takes only a few minutes but guarantees the molecular bond during fusion will be strong and uniform.
What Are the Steps to Fuse and Install the New PPR Flange Adapter?
This is where science meets skill. A good fusion joint is stronger than the pipe itself.
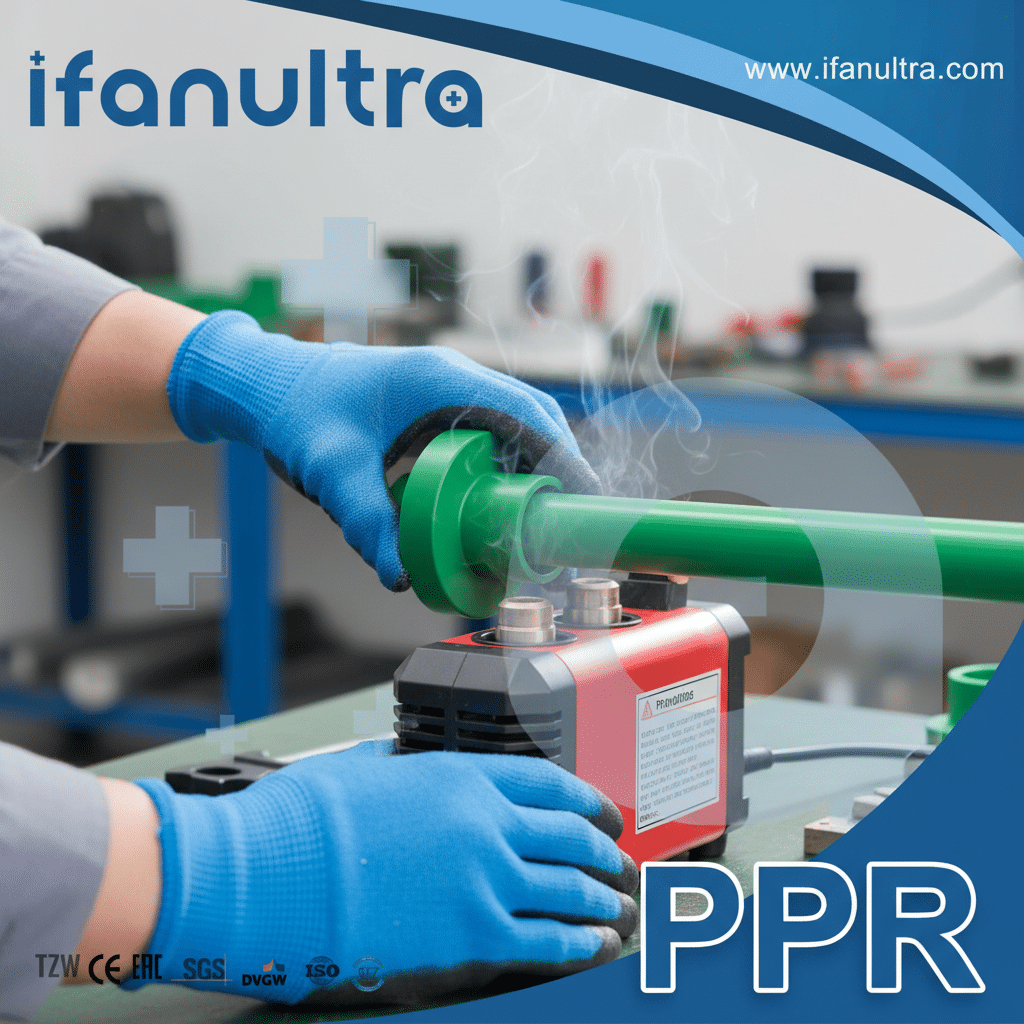
The steps are: heat the welding machine to 260°C (500°F), simultaneously heat the pipe end and adapter socket for the precise time based on their diameter, quickly join them without twisting, and hold them steady during the cooling period. Finally, mount the assembled adapter to the backing surface.
Phase 1: Setting Up the Welding Machine
First, set up your welding machine on a stable surface. Then, plug it in and set the temperature to 260°C (500°F). Allow it to fully heat up. The machine will have different-sized heating heads. So, choose the ones that match your pipe and adapter socket size.
Phase 2: The Critical Heating Process
When the machine is ready, push the pipe end onto the heating mandrel. At the exact same time, push the adapter socket onto the heating collar. Do this in one smooth motion. A timer starts now. The heating time is critical and depends on the diameter of your pipe.
Standard Heating Times (for 260°C):
| Pipe Diameter (mm) | Heating Time (Seconds) |
|---|---|
| 20 | 5 |
| 25 | 7 |
| 32 | 8 |
| 40 | 12 |
| 50 | 18 |
Do not rotate the pipe or fitting during heating. Also, do not overheat them. You will see a small bead of melted plastic form around the base of the pipe and inside the fitting collar.
Phase 3: Joining and Cooling
When the time is up, quickly but smoothly pull the pipe and adapter off the heater. Immediately push the pipe straight into the socket of the adapter in one continuous motion. Push until you see a small melt bead form around the joint. Importantly, do not twist or bend them. The joint must stay perfectly still.
Now, hold the pipe and adapter together firmly for the initial cooling time. After that, you can set it down, but it must not be stressed or moved at all until it is completely cool. This is because the polymer molecules are bonding together as they solidify.
Critical Cooling Times:
| Pipe Diameter (mm) | Holding Time (Seconds) | Full Cooling Time (Minutes) |
|---|---|---|
| 20 | 20 | 2 |
| 25 | 20 | 2 |
| 32 | 30 | 4 |
| 40 | 40 | 4 |
| 50 | 50 | 6 |
Phase 4: Final Mounting
Once the joint is fully cooled, your new PPR flange adapter is ready. Now, you have a solid, one-piece PPR assembly. Next, mount this adapter to the wall, floor, or equipment using the appropriate bolts through its mounting holes. Then, you can connect the other side (like a pump or valve) to the new adapter’s threaded or flat face, using a proper gasket. As a result, the metal-to-PPR connection now only happens at this easy-to-service gasket interface, not deep within the plumbing wall.
How Does This Retrofit Improve the Corrosion Resistance of the Connection?
This upgrade solves the core weakness of the old system. In other words, we replace the problem, not just patch it.
This retrofit drastically improves corrosion resistance by completely removing the old metal from the water’s path. The new, all-PPR connection is chemically inert, cannot rust or corrode, and its seamless fused joint eliminates the threaded metal points where corrosion and leaks always begin.
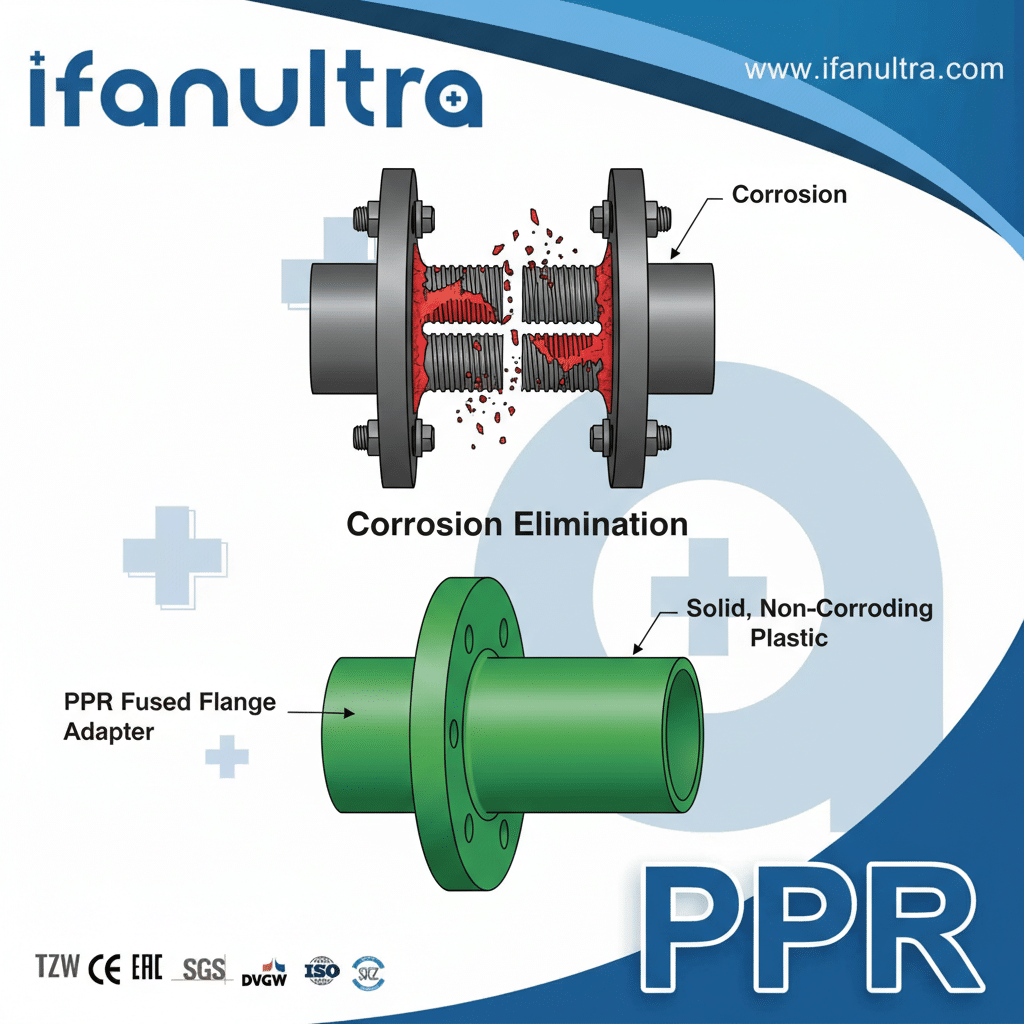
Removing the Failure Points
In the old setup, two points were vulnerable. First, the metal flange itself rusted from exposure to water and air. Second, and more importantly, the threads connecting the metal to the plastic were a major weak point. Threads create thin metal edges that corrode quickly. They also rely on a sealant or tape, which can degrade. Consequently, the retrofit removes both of these problems permanently.
Understanding the Superior Material
PPR is a polypropylene plastic. This means water, dissolved minerals, and atmospheric oxygen have no chemical effect on it. Therefore, it will not oxidize (rust) or undergo galvanic corrosion. As a result, the section of pipe and the joint itself are completely immune to the decay that destroyed the old metal part. This is especially important in humid environments or with slightly acidic water, which aggressively attacks metals.
Comparing Joint Technologies
Think about the difference between the two connection types. On one hand, the Old Threaded Joint is a mechanical connection. It relies on physical force and a separate sealant. It can vibrate loose. Also, corrosion can eat away at the threads, breaking the seal.
On the other hand, the New Fused Joint is a homogeneous, molecular connection. The heating process melts the pipe and fitting into a single piece of plastic. As a result, there is no gap, no thread, and no foreign material like tape. So, water contacts nothing but smooth PPR plastic.
This creates a monolithic flow path with no traps for water to sit and cause corrosion. Finally, the only remaining metal is the bolt circle on the flange’s face, which is outside the water stream and easy to inspect or replace if needed.
Direct Comparison of Connection Properties:
| Property | Old Metal Flange & Threads | New PPR Fused Adapter |
|---|---|---|
| Corrosion in Water Path | Yes, metal rusts. | No, PPR is inert. |
| Weak Point | Threads and sealant. | None; joint is stronger than pipe. |
| Effect of Vibration | Can loosen over time. | No effect; it’s a single piece. |
| Expected Lifespan in Wet Environment | 10-20 years before failure. | 50+ years without degradation. |
In conclusion, by retrofitting, you move the system’s weakest link from a corrosion-prone metal thread to a corrosion-proof fused plastic joint. Thus, this transforms a routine repair into a permanent upgrade.
Conclusion
Replacing a metal flange with a fused PPR adapter creates a permanent, corrosion-proof connection. For a reliable retrofit, use a high-quality adapter like the IFAN PPR Flange Adapter, designed for perfect fusion and long-term performance.


 English
 Español
 Français
 Português do Brasil