
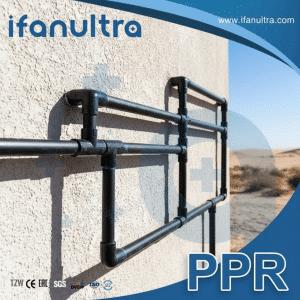
After seeing UV damage ruin an outdoor piping project in the Middle East, I learned that even resistant materials need a smart maintenance plan. Proactive care is not optional; it’s essential for longevity.
To maintain UV-resistant PPR tubes in harsh climates, implement a proactive plan combining regular visual inspections, gentle periodic cleaning, and the use of additional protective measures like sleeves or paint in extreme conditions. Immediate repair of any damaged sections using proper fusion techniques is crucial to prevent system failure.
While UV-resistant PPR is inherently durable, extreme sun, heat, and sand demand specific actions. Therefore, let’s break down the exact steps to protect your investment.
Is Periodic Cleaning Recommended to Maintain UV Protection Effectiveness?
Dirt and dust are more than just dirt; they can wear down the very protection keeping your pipes safe. A layer of grime often hides the first signs of trouble.
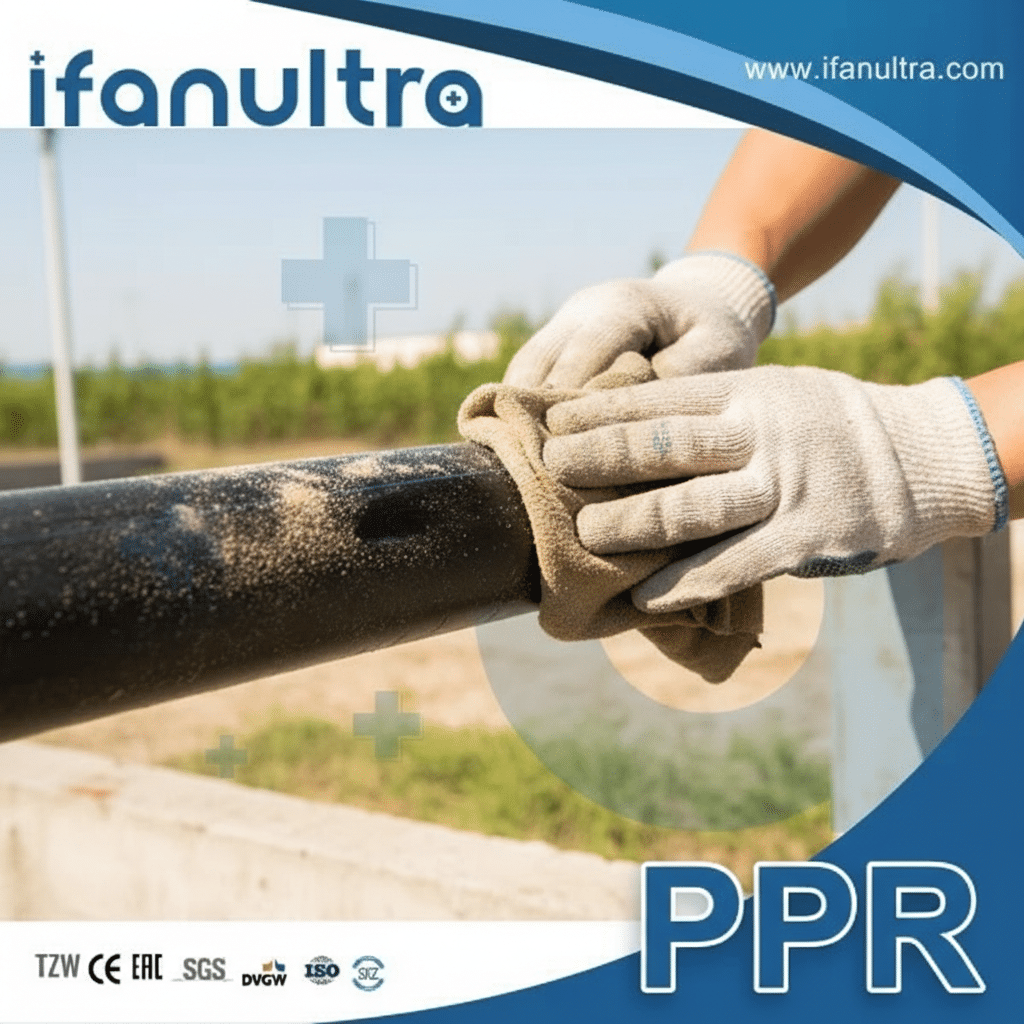
Yes, periodic gentle cleaning is recommended. It removes abrasive particles that can microscopically scratch the UV-stabilized surface, and it eliminates debris that can trap moisture against the pipe, which may accelerate localized degradation. Always use non-abrasive cleaners and soft cloths to preserve the protective layer.
Why Cleaning is More Than Cosmetic
You might think dirt is just a visual problem. However, in harsh climates, it becomes a technical risk. The UV protection in PPR pipes is not a coating; it’s a stabilizer compound mixed throughout the pipe wall. Its job is to absorb and dissipate solar radiation. When a layer of sand, dust, or pollution builds up on the pipe, it creates two main problems.
First, the debris itself can be abrasive. In windy desert climates, sand particles constantly blast against the pipe surface. If left caked on, these particles can cause minute scratches when the pipe expands or contracts with temperature changes. Over years, this can thin the outer layer where UV stabilizers are most active.
Second, dirt holds moisture. In humid coastal areas or places with dew, a layer of mud or organic growth can keep the pipe surface damp for long periods. This constant moisture, combined with heat and UV exposure, can create a more aggressive environment than the pipe material was designed for alone.
A Safe and Simple Cleaning Protocol
Therefore, a regular cleaning schedule is a good practice. Here is a simple, safe method:
- Frequency: Clean pipes every 6 to 12 months, or more often in exceptionally dusty or polluted environments.
- Method:
- Rinse: Use low-pressure water (like from a garden hose) to loosen and rinse away loose dirt.
- Clean: For stubborn grime, use a soft cloth or sponge with a mild soap solution (like dish soap and water). Avoid any harsh chemicals, solvents, or abrasive cleaners.
- Rinse Again: Thoroughly rinse off all soap residue with clean water.
- Dry: Wipe the pipes dry with a soft cloth if possible, or let them air dry.
What to Avoid:
- High-pressure washers: These can damage the pipe surface.
- Steel wool or scouring pads: These will scratch the plastic.
- Strong acids, alkalis, or solvents: These can break down the polymer structure.
In summary, the goal is to keep the protective surface clear and functional, not to scour it clean. Think of it as preventive maintenance that lets you see the pipe’s actual condition.
Should Additional Protective Sleeves Be Used in Extreme UV Environments?
Sometimes, the built-in resistance isn’t enough. In the world’s sunniest places, an extra layer of defense is a wise investment.
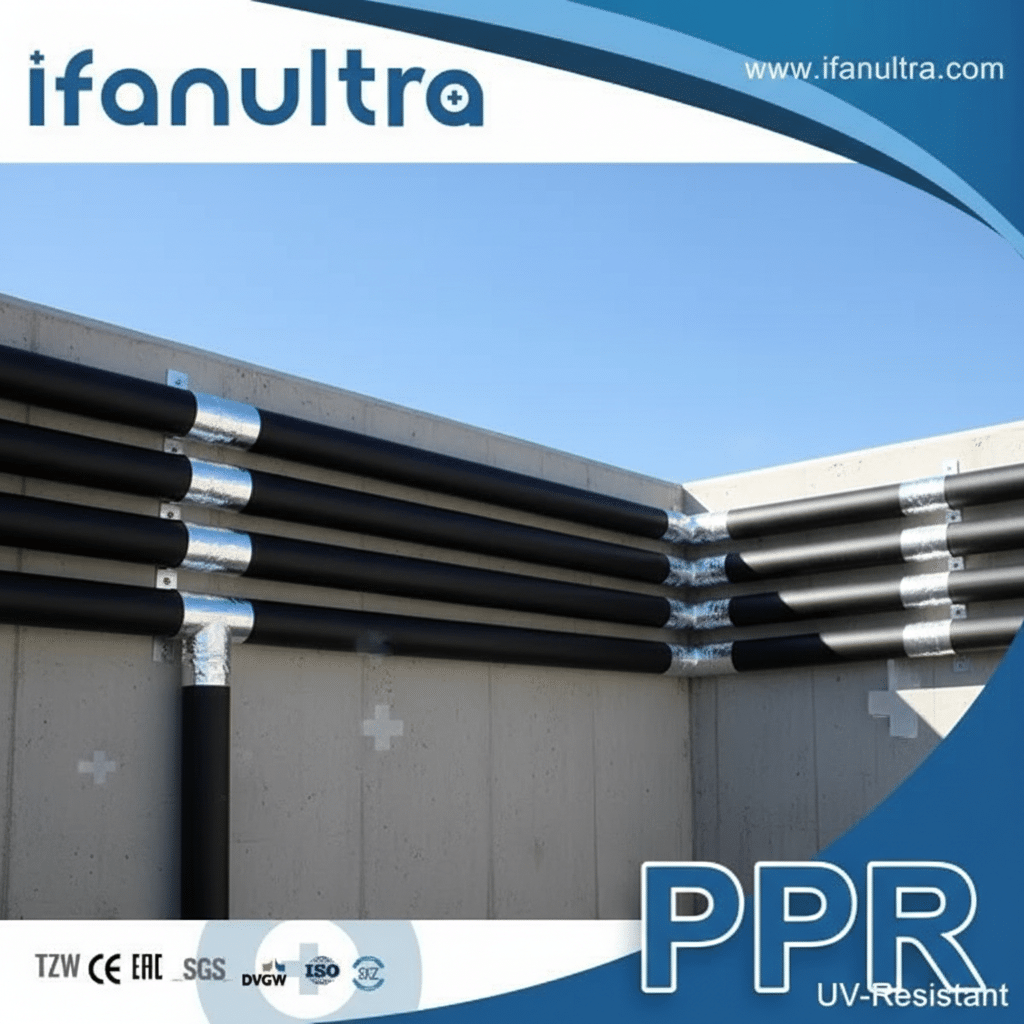
Yes, in extreme UV environments like deserts or high-altitude regions, using additional protective sleeves or applying a UV-resistant paint is strongly advised. This practice significantly extends the service life of the PPR piping by providing a physical barrier that takes the direct brunt of solar radiation, preserving the integrity of the pipe material beneath.
Defining “Extreme” Environments for Pipes
First, not every outdoor installation needs extra protection. Specifically, “extreme” typically means:
- Locations with a very high UV Index year-round (e.g., the Middle East, Australia, parts of Africa).
- High-altitude installations where UV radiation is more intense.
- Pipes installed in direct, unobstructed sunlight for 10+ hours daily.
- Areas where ambient temperatures regularly exceed 40°C (104°F).
In these conditions, even UV-stabilized PPR is under constant, severe stress. Consequently, adding a shield is a cost-effective way to add years of service life.
Comparing Your Protection Options
You have two main practical options, each with its pros and cons:
1. Protective Sleeves or Covers:
These are tubes, usually made from cross-linked Polyethylene (XLPE), EPDM rubber, or closed-cell foam, that you slide over the PPR pipe.
- Advantages: They provide excellent full shading, add thermal insulation, and guard against physical abrasion.
- Disadvantages: They add cost and make visual inspection of the pipe more difficult.
2. UV-Resistant Paint or Wrap:
Specialist paints or adhesive tapes designed for plastics can be applied to the pipe surface.
- Advantages: Good for complex installations with many fittings; the pipe remains visible.
- Disadvantages: Requires re-application every few years and must be chemically compatible with PPR.
How to Choose the Right Protection
The table below helps guide your decision based on the situation:
| Condition | Recommended Action | Primary Reason |
|---|---|---|
| Moderate UV, some shading | Use UV-resistant PPR alone. | Built-in stabilizers are sufficient. |
| High UV, direct exposure, hot climate | Apply UV-resistant protective sleeves. | Provides the most durable, long-term physical barrier and insulation. |
| Existing installation showing early UV stress | Apply compatible UV-resistant paint. | A cost-effective retrofit to extend life without replacing pipes. |
| Complex pipe runs with many fittings | Use UV-resistant wrap/tape. | Easier to apply thoroughly on joints and valves. |
For critical, long-term installations in extreme climates, the investment in protective sleeves from the start is almost always justified.
How Do You Inspect Outdoor PPR Piping for Early Signs of UV Damage?
Catching a problem early is the key to a simple, low-cost repair. Waiting for a leak means a major replacement.
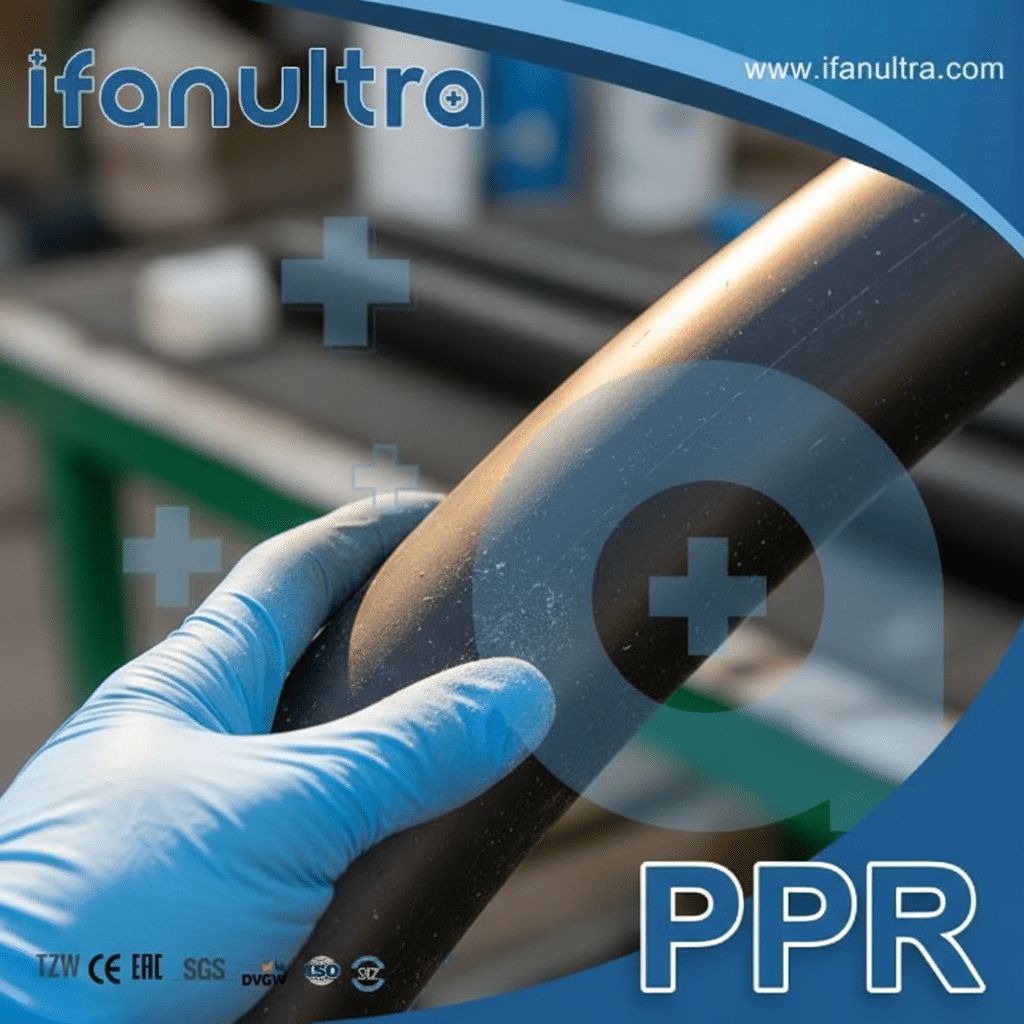
Inspect outdoor PPR piping every 3-6 months by looking for clear visual cues: color fading or chalking, surface cracks or brittleness, and changes in shape or warping. Use your hands to feel for roughness, brittleness, or unusual hardness. Document findings with photos to track changes over time.
Conducting a Visual Inspection
A systematic visual inspection is your first and most important tool. Conduct it in good daylight. Specifically, look for these signs:
1. Color Change and Chalking:
The pipe may lose its original color, turning lighter or yellowish. A white, powdery residue (chalking) may appear. This is the first warning sign of surface stabilizer breakdown.
2. Surface Crazing and Cracking:
Look for a network of fine, hairline cracks on the pipe surface. In advanced stages, these cracks become deep. This means the plastic is becoming brittle and has lost its elasticity.
3. Deformation and Warping:
Check for sections of pipe that are no longer straight. They may sag or show bulges. This indicates the material has weakened and can no longer support itself properly.
Performing a Tactile Inspection
Your hands can find problems your eyes miss. For example, run your hand along the pipe. A healthy PPR pipe feels smooth. A degraded pipe will feel rough or sandy from chalking. Also, gently check for brittleness on a small section. If it feels unusually hard and makes a sharp sound when tapped, it has become brittle. Always pay extra attention to fittings like elbows and tees, as they are often stress points.
Documenting Findings and Taking Action
Keep a simple log. Take dated photos of key sections during each inspection. This allows you to compare and see the rate of change. Based on what you find, follow this action plan:
| Condition | Signs | Recommended Action |
|---|---|---|
| Good | No color change, smooth surface. | Continue routine inspections. |
| Early Warning | Slight fading or chalking. | Increase inspection frequency. Plan for protective paint or sleeves. |
| Degraded | Obvious fading, roughness, fine surface cracks. | Schedule replacement of the affected section soon. |
| Failed | Deep cracks, brittleness, warping. | Replace immediately. The pipe is at high risk of bursting. |
Therefore, regular, documented inspections turn you from a reactive repair person into a proactive system manager.
What Is the Protocol for Repairing a Section Damaged by Weather Exposure?
When you find damage, a quick, correct repair prevents a small issue from becoming a system failure. There is no place for shortcuts here.
The protocol is to immediately replace the entire damaged section. Cut out the weakened PPR pipe, including all visibly cracked or chalked areas, and install a new, UV-resistant PPR section using socket fusion welding. Always ensure the replacement pipe has equal or higher UV resistance and protect the new section with sleeves or paint.
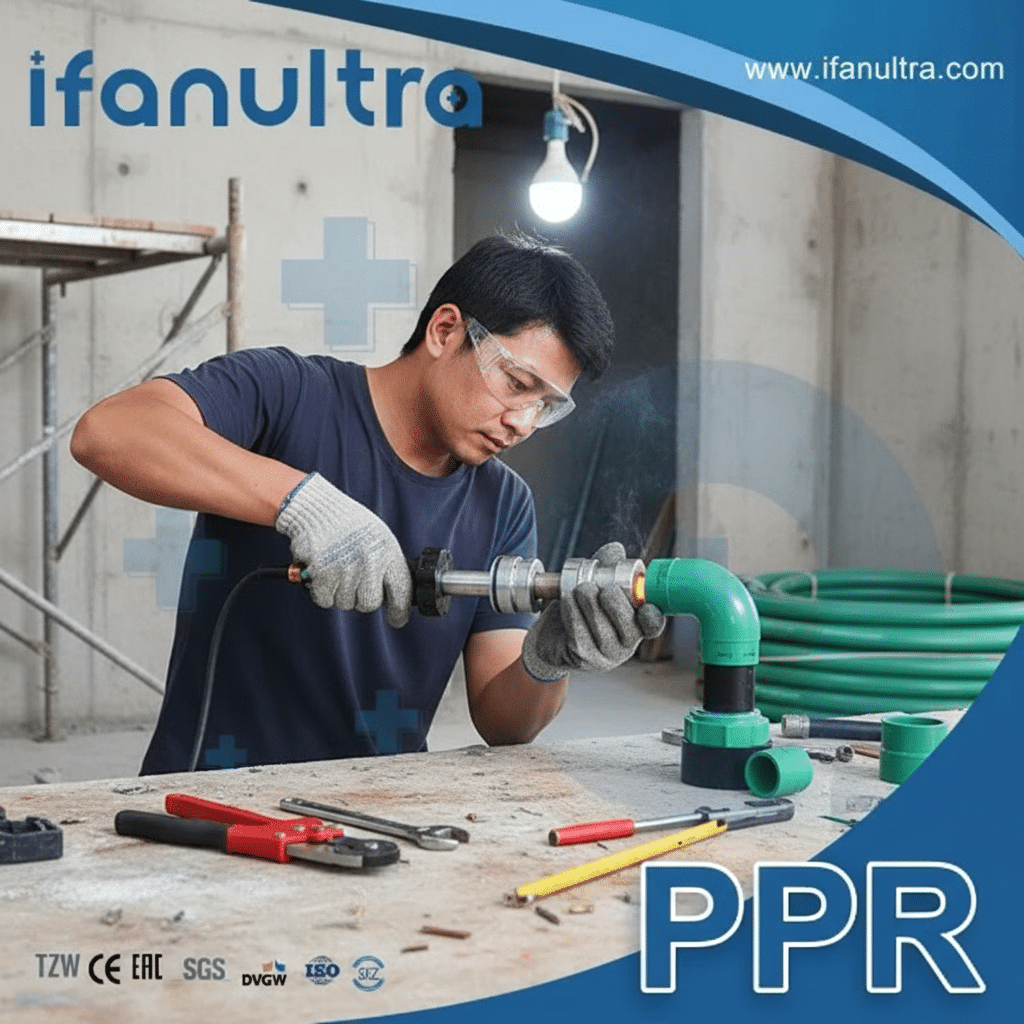
Step-by-Step Repair Procedure
Safety first: Isolate and depressurize the water line before starting any work.
Step 1: Assess and Mark the Damage
Do not just cut out a small crack. UV damage weakens the material over an area. Mark the pipe at least 10-15 cm (4-6 inches) beyond each end of any visible damage. You must remove all compromised material.
Step 2: Cut Out and Remove the Section
Use a dedicated plastic pipe cutter to make clean, square cuts at your marks. Remove the damaged piece. Before proceeding, inspect the inner walls of the remaining pipe ends. They should look clean and undamaged.
Step 3: Prepare the New Pipe Section
Measure the gap. Your new piece of pipe will need to be shorter than this gap to account for the depth the pipe will go into the fittings. Use a new, high-quality, UV-resistant PPR pipe. Also, use two new coupling fittings.
Step 4: Perform Socket Fusion Welding
This is the critical step that ensures a leak-free, permanent repair.
- Use a properly calibrated fusion welder.
- Clean and lightly bevel the ends of the existing pipes and the new pipe.
- Simultaneously heat the outside of the pipe ends and the inside of the new coupling fittings.
- Once the material is molten, quickly push the pipe and fitting together in a straight line, and hold them perfectly still for the specified cooling time.
Step 5: Protect the New Repair
The new pipe section is now the most vulnerable part. You must protect it.
- Apply a UV-resistant protective sleeve over the entire new section and the adjacent old pipe.
- Alternatively, coat the repair area with a compatible UV-resistant paint.
- This step is essential for a lasting repair.
Tools and Materials Checklist for Repair
| Item | Purpose | Note |
|---|---|---|
| Pipe Cutter | To make clean cuts. | Ensures a good fit for fusion. |
| PPR Fusion Welder | To heat and join pipes/fittings. | Must be the correct size for your pipe. |
| New UV-R PPR Pipe | Replacement section. | Must match system specs (SDR, pressure). |
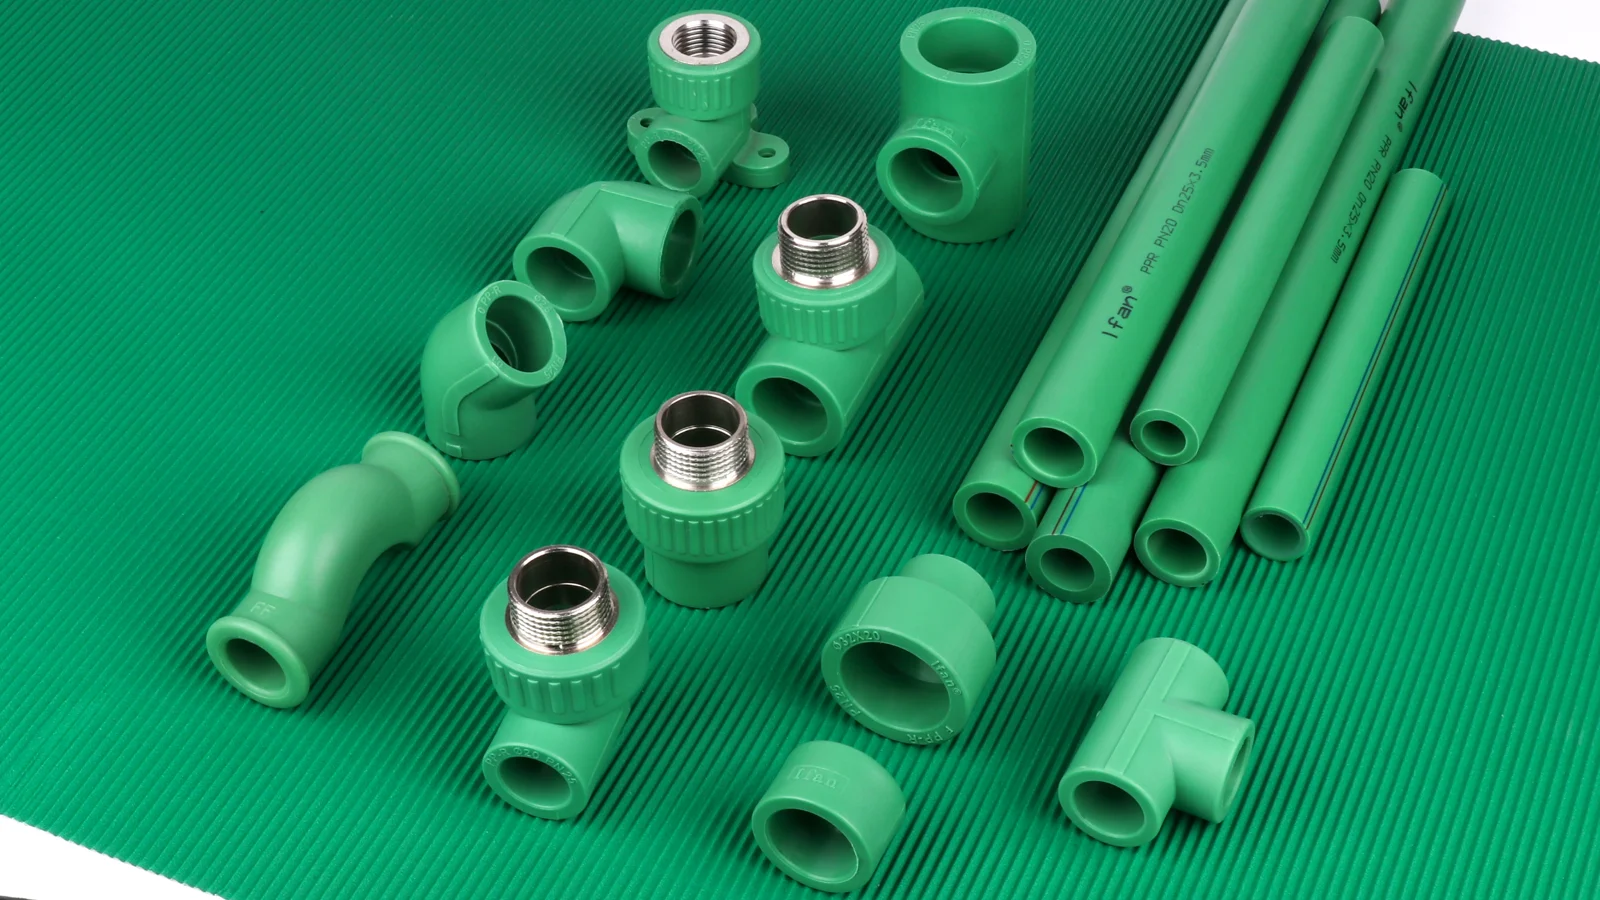
| New PPR Couplings | To join new pipe to old. | Use quality fittings. |
| Protective Sleeve/Paint | To shield the new section. | Essential for long-term success. |
Following this protocol ensures the repair is as strong and durable as the original installation.
Conclusion
Maintaining UV-resistant PPR in harsh climates requires a plan of inspection, cleaning, added protection, and proper repair. For reliable performance, start with high-quality materials like IFAN’s UV-resistant PPR pipes and fittings, engineered for durability in demanding environments.


 English
 Español
 Français
 Português do Brasil