
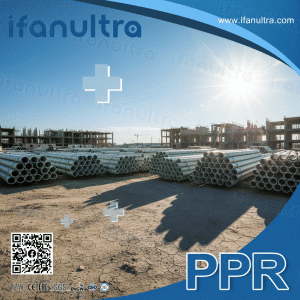
I once inspected a job site where brand-new pipes sat in the sun for three months before installation. The results were costly and completely avoidable.
UV degradation in outdoor pipes shows clear warning signs. You will notice surface chalking or a powdery residue when you rub the pipe. Colors fade or change, and glossy finishes turn dull. Small surface cracks appear, resembling a spider web pattern. The material loses flexibility and becomes brittle, cracking easily under minor stress or impact.
Understanding these signs helps you catch problems early. Let’s examine each indicator in detail.
Does the Pipe Surface Appear Chalky, Discolored, or Have Lost Its Gloss?
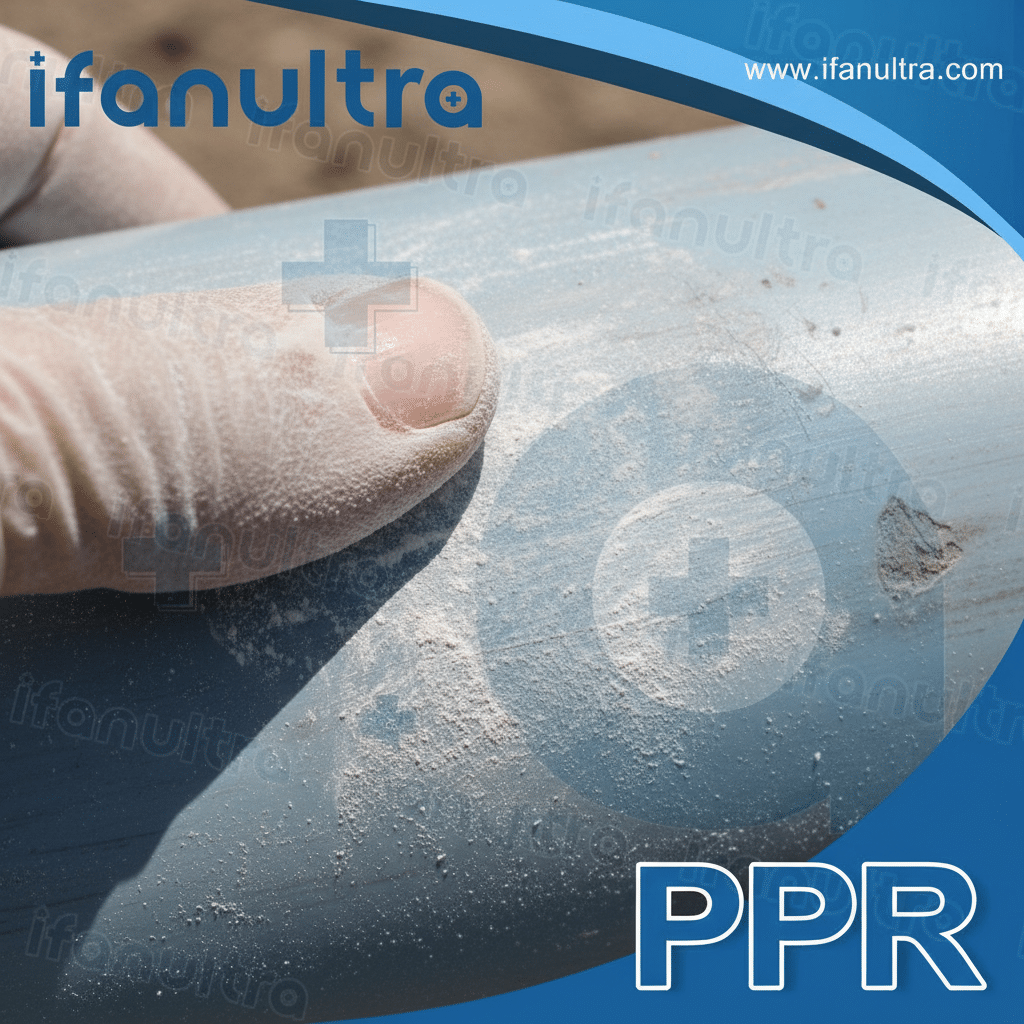
I’ve walked onto job sites and immediately spotted UV-damaged pipes just by running my finger across the surface. The difference is that obvious.
Yes, UV-damaged pipe surfaces become chalky, showing a white powdery layer when you touch them. The original color fades significantly, especially in darker pipes. The glossy finish that new pipes have disappears completely, leaving a dull, lifeless appearance. These surface changes signal that the sun’s UV rays have started breaking down the material’s molecular structure.
Understanding Surface Chalking
Surface chalking happens when UV radiation breaks the chemical bonds in the pipe material. The top layer of plastic degrades and turns into fine powder. This process is not just cosmetic. It indicates real material loss.
When you see chalking, the pipe’s protective outer layer has already failed. This exposes the inner layers to further damage. The degradation will continue deeper into the pipe wall over time.
The Science of Color Fade
Color fade follows a specific pattern. Dark colors like black, gray, or dark blue absorb more UV radiation. This means they often show fading faster than lighter colors. However, lighter colors are not immune. They just hide the damage longer.
UV-stabilized pipes contain carbon black or other UV inhibitors. These additives absorb UV radiation and convert it to heat. This protects the polymer chains underneath. When these additives deplete or fail, color fade accelerates rapidly.
Gloss Loss as an Early Warning
Gloss loss happens before chalking becomes visible. A new pipe has a smooth, reflective surface. UV radiation roughens this surface at a microscopic level. Light scatters instead of reflecting, creating a dull appearance.
I recommend checking gloss regularly on exposed pipes. Use a simple method. Compare a protected section of pipe (under insulation or shade) with an exposed section. The difference tells you how much UV damage has occurred.
The table below summarizes surface changes and their meanings:
| Surface Change | What It Indicates | Action Required |
|---|---|---|
| Gloss Loss | Early UV attack, surface roughening | Monitor closely, consider protection |
| Color Fade | UV inhibitor depletion, polymer damage | Plan for replacement if widespread |
| Chalking | Advanced surface degradation, material loss | Immediate inspection, likely replacement |
Are There Small Surface Cracks or a General Loss of Flexibility in the Material?
Surface cracks terrify me more than any other sign. They represent a direct path to catastrophic failure.
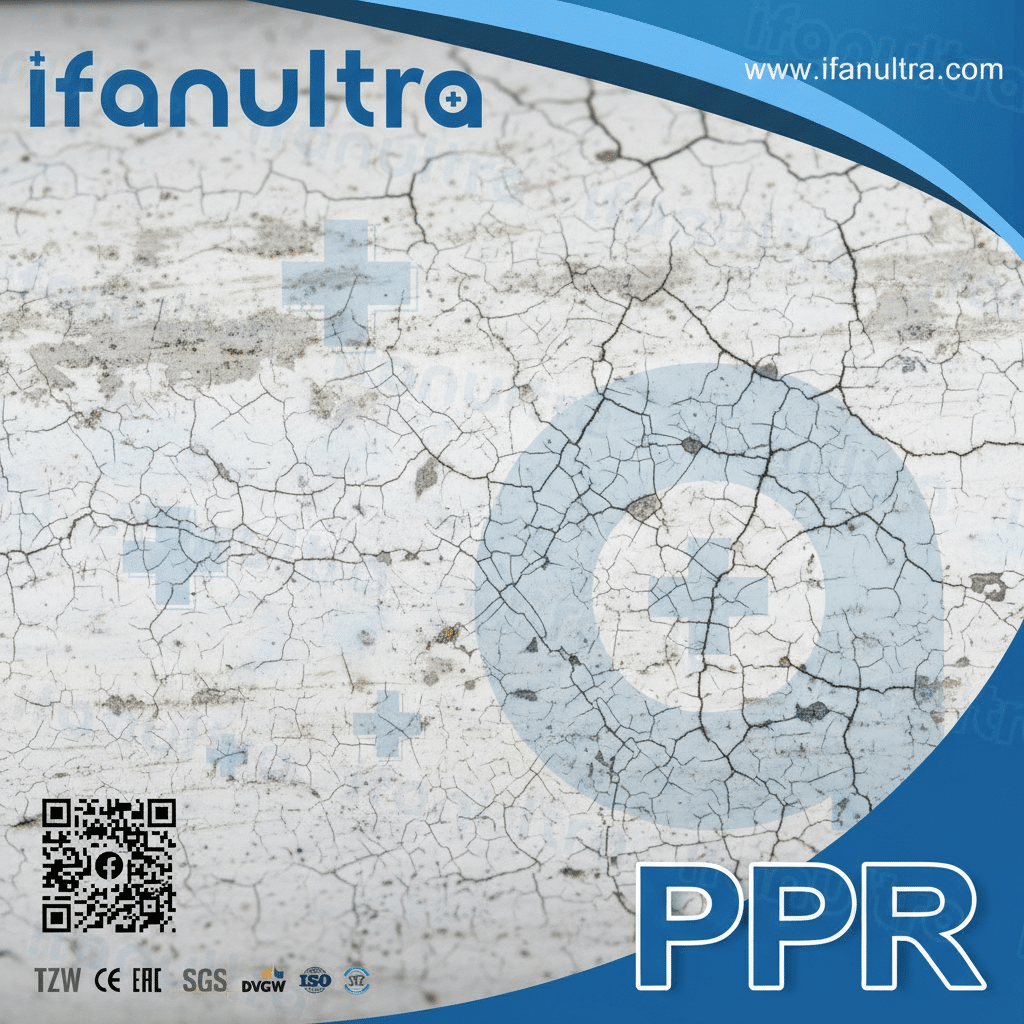
Small surface cracks, often called crazing or checking, appear as fine lines on the pipe exterior. They typically form in a random, web-like pattern. Along with cracks, the pipe loses its original flexibility. It feels stiffer and less pliable when you try to bend it. Both signs indicate the material has lost its elasticity and structural integrity.
Understanding Crazing and Checking
Crazing refers to tiny, micro-fine cracks on the surface. They look like frost or a network of thin lines. Checking is similar but describes slightly larger cracks. Both happen because UV radiation breaks the long polymer chains into shorter segments.
Here is what happens at the molecular level. Polymer chains give plastic its flexibility and strength. UV photons carry enough energy to break these chains. As chains break, the material loses its ability to stretch and flex. Stress from normal operation then causes these surface cracks to form.
The Flexibility Loss Connection
Flexibility loss and surface cracking are directly related. When polymer chains shorten, the material becomes more rigid. This rigidity means the pipe cannot absorb normal stresses. Thermal expansion and contraction, water pressure changes, and minor movements all create stress.
A healthy pipe flexes slightly to absorb these stresses. A UV-damaged pipe cannot. Instead, the stress concentrates at the surface. Cracks form and grow. Over time, these cracks penetrate deeper into the pipe wall.
Practical Testing Methods
You can test flexibility in the field with simple methods.
The Bend Test: Try to bend a short section of pipe slightly. New PP-R pipe bends noticeably before resisting. UV-damaged pipe feels hard and resists bending immediately. It may crack or snap with little warning.
The Scratch Test: Use a knife or sharp object to scratch the surface lightly. New pipe shows a clean scratch with minimal surrounding damage. UV-damaged pipe may chip, flake, or show cracking around the scratch area.
The table below compares healthy and UV-damaged pipe behavior:
| Test Method | Healthy Pipe Response | UV-Damaged Pipe Response |
|---|---|---|
| Gentle Bending | Noticeable flex before resistance | Feels rigid, little to no flex |
| Surface Scratch | Clean cut, minimal damage | Chipping, flaking, surrounding cracks |
| Impact (light tap) | No damage, slight bounce | Possible cracking or shattering |
Has the Pipe Become Brittle and Prone to Cracking from Minor Impact?
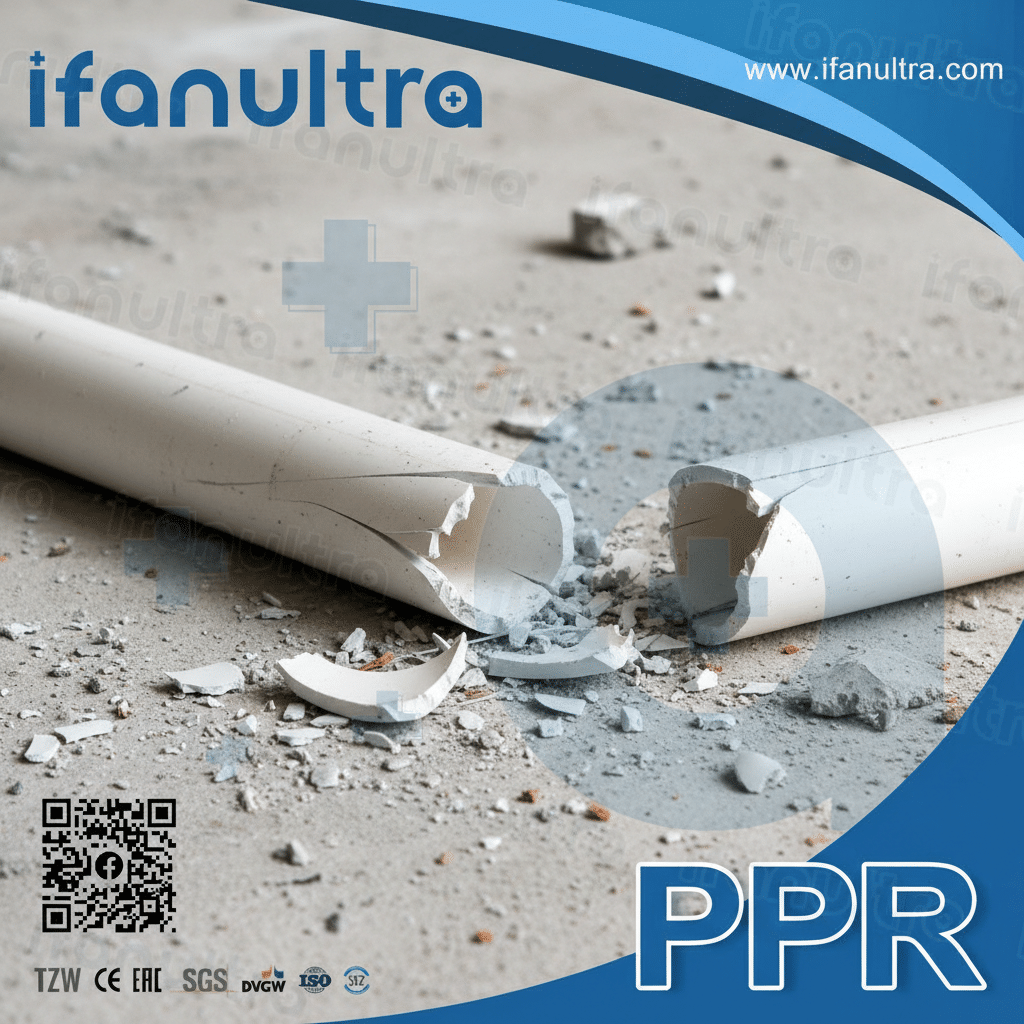
I once watched a worker accidentally tap a UV-damaged pipe with a hammer handle. The pipe shattered like glass. That moment convinced me of the seriousness of UV embrittlement.
Yes, severe UV degradation makes pipes extremely brittle. They crack or shatter from minor impacts that would not affect new pipes. A light bump from a ladder, a dropped tool, or even thermal stress from hot water can cause sudden failure. This brittleness represents the end stage of UV damage and requires immediate replacement.
The Embrittlement Process Explained
Embrittlement represents the final stage of UV damage. It follows surface changes and cracking. The material has lost almost all its original properties.
Think of it this way. New pipe material resembles a fresh rubber band. It stretches and returns to shape. UV-damaged material resembles old, dried rubber. It cracks when you try to stretch it.
The chemical cause is chain scission. UV radiation literally cuts polymer chains into shorter pieces. Short chains cannot entangle and slide past each other. This entanglement gave the material its toughness. Without it, the material behaves like a brittle solid.
Real-World Failure Scenarios
I’ve documented numerous failure cases involving brittle pipes.
Case 1: Installation Damage
A contractor stored pipes outside for six months. During installation, workers walked on the pipes. Several pipes cracked underfoot. Replacement cost exceeded the original material cost.
Case 2: Operational Failure
A system operated normally for two years. Then a cold water surge happened during routine maintenance. Multiple fittings cracked simultaneously. Investigation revealed severe UV damage from improper storage before installation.
Case 3: Thermal Cycling Failure
A pipe ran hot water during the day and cooled at night. After several months, cracks appeared near supports. The brittle material could not handle normal expansion and contraction.
Critical Thresholds for Brittleness
Not all UV exposure causes immediate brittleness. The material reaches a critical point after sufficient damage.
The table below shows approximate UV exposure effects:
| Exposure Duration | Material Condition | Failure Risk |
|---|---|---|
| 0-3 months (unstabilized) | Surface changes begin | Faible |
| 3-6 months (unstabilized) | Flexibility decreases, minor cracking | Moyen |
| 6-12 months (unstabilized) | Significant embrittlement | Haut |
| 12+ months (unstabilized) | Severe brittleness, fails easily | Very High |
Note that UV-stabilized pipes resist this timeline significantly. However, even stabilized pipes eventually degrade with enough exposure.
How Can You Differentiate UV Damage from Other Types of Chemical Aging?
Clients often ask me whether their pipe problem comes from sun or chemicals. The answer matters because it determines the solution.
You can differentiate UV damage from chemical aging by examining the damage pattern and location. UV damage appears on the sun-exposed side of the pipe first, creating a distinct top-to-bottom gradient. Chemical aging affects all surfaces equally and often includes swelling, softening, or strange odors. UV-damaged surfaces remain hard and brittle, while chemical attack may make them soft or gummy.
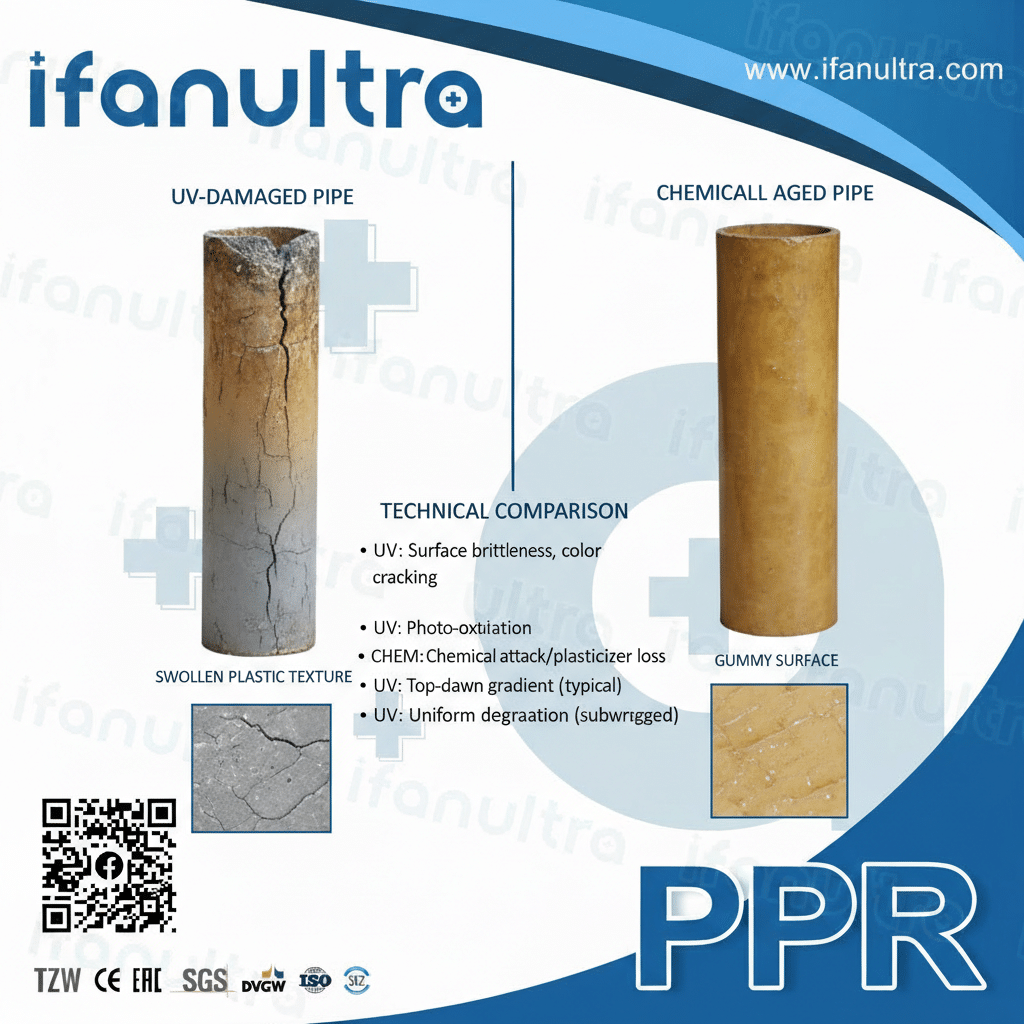
Location and Pattern Analysis
The first clue comes from where damage appears.
UV Damage Characteristics:
- Concentrated on sun-facing surfaces
- Creates a gradient from exposed to shaded sides
- Affects above-ground pipes only
- Follows a predictable pattern of chalking → cracking → brittleness
Chemical Damage Characteristics:
- Affects all surfaces equally
- No sun-side concentration
- Can affect buried or indoor pipes
- Pattern depends on chemical exposure type
Physical Property Differences
The way the material behaves tells you the cause.
UV-damaged material stays hard but becomes brittle. It cracks but does not soften. Chemical attack often produces different results.
| Damage Type | Surface Feel | Material Response | Common Locations |
|---|---|---|---|
| UV Damage | Hard, chalky, rough | Brittle, cracks sharply | Sun-exposed areas only |
| Acid Exposure | May be etched or rough | Can soften or weaken | Chemical plants, labs |
| Solvent Exposure | Often sticky or tacky | Swells, becomes gummy | Industrial areas, spills |
| Oxidation (heat) | Uniform discoloration | Brittle but uniform | Near heat sources |
Chemical Testing Methods
Sometimes you need confirmation. Simple tests can help.
The Heat Test: Apply a heat source carefully to a small area. UV-damaged material may show little change until it reaches failure. Chemically damaged material might soften, melt abnormally, or release unusual odors.
The Solvent Test: Apply a small amount of common solvent (like acetone) to an inconspicuous area. UV-damaged material resists solvents similarly to new material. Chemically damaged material may dissolve or soften rapidly.
Professional Laboratory Analysis
For critical applications, laboratory testing provides definitive answers.
Fourier Transform Infrared Spectroscopy (FTIR): This test identifies chemical changes in the material. It shows whether degradation came from UV (oxidation peaks) or chemical attack (new chemical bonds).
Mechanical Testing: Tensile and impact tests quantify material properties. Results compared to original specifications reveal the damage mechanism.
The table below summarizes laboratory test findings:
| Test Method | UV Damage Indication | Chemical Damage Indication |
|---|---|---|
| FTIR | Carbonyl peaks, oxidation | New chemical bonds, contamination |
| Tensile Strength | Reduced, brittle failure | May be reduced with ductile failure |
| Elongation | Severely reduced | Variable, often reduced |
Practical Field Differentiation
For quick field decisions, use this checklist:
- Check exposure: Is the pipe in direct sun? UV damage only happens there.
- Look at pattern: Is damage worse on one side? That suggests UV.
- Feel the surface: Hard and brittle points to UV. Soft or tacky points to chemicals.
- Smell the pipe: Chemical odors indicate chemical attack.
- Check the history: Was there a spill or chemical release nearby?
Conclusion
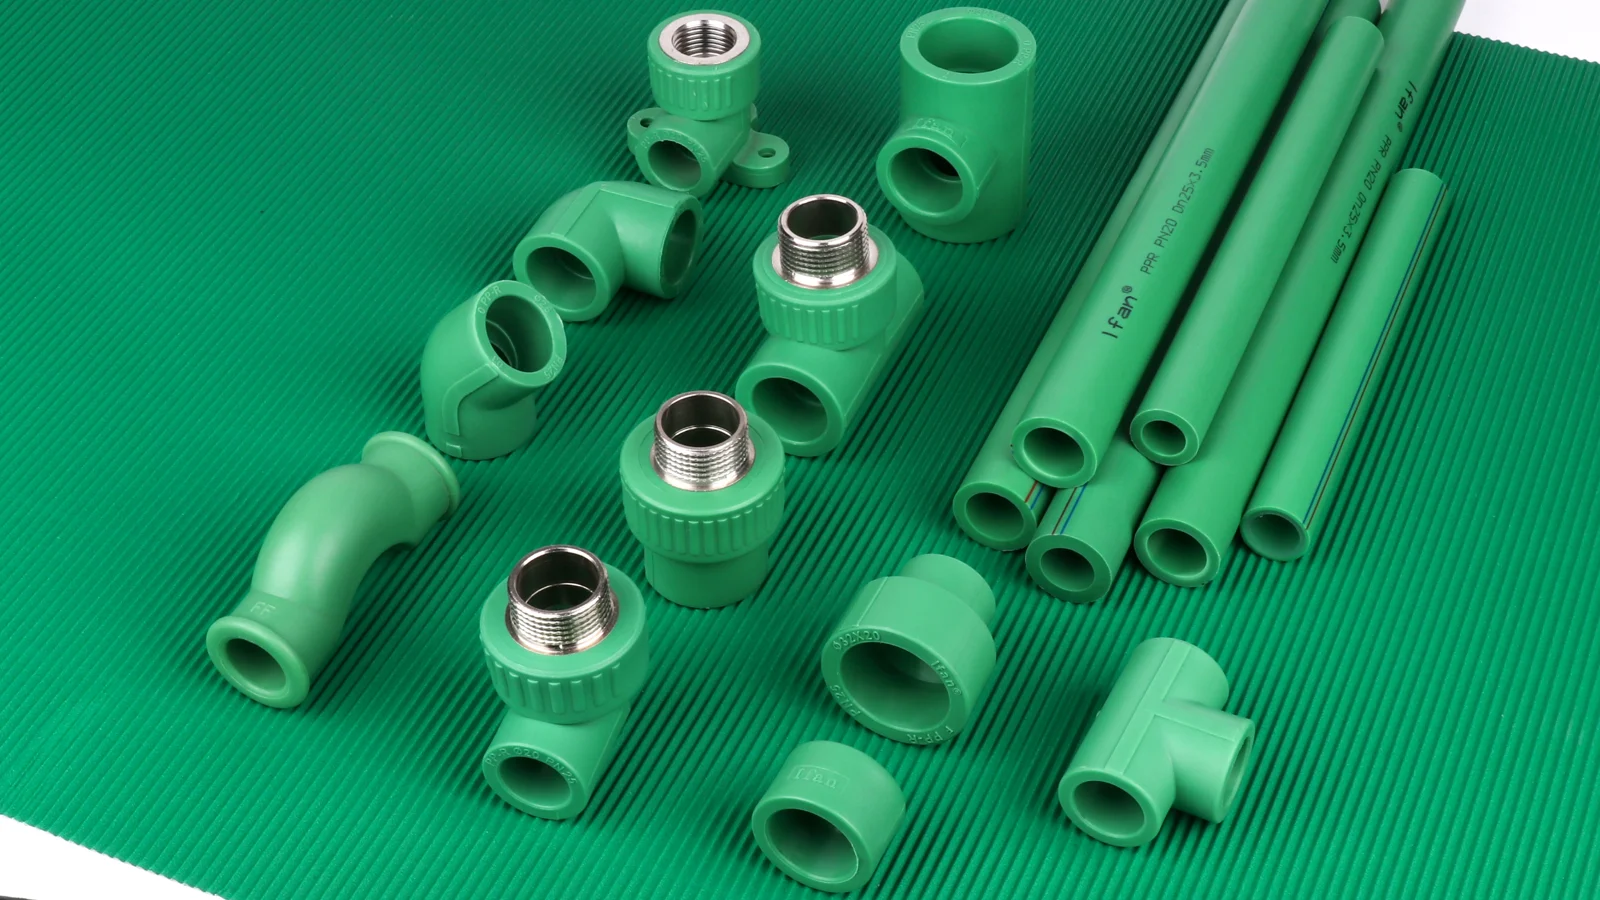
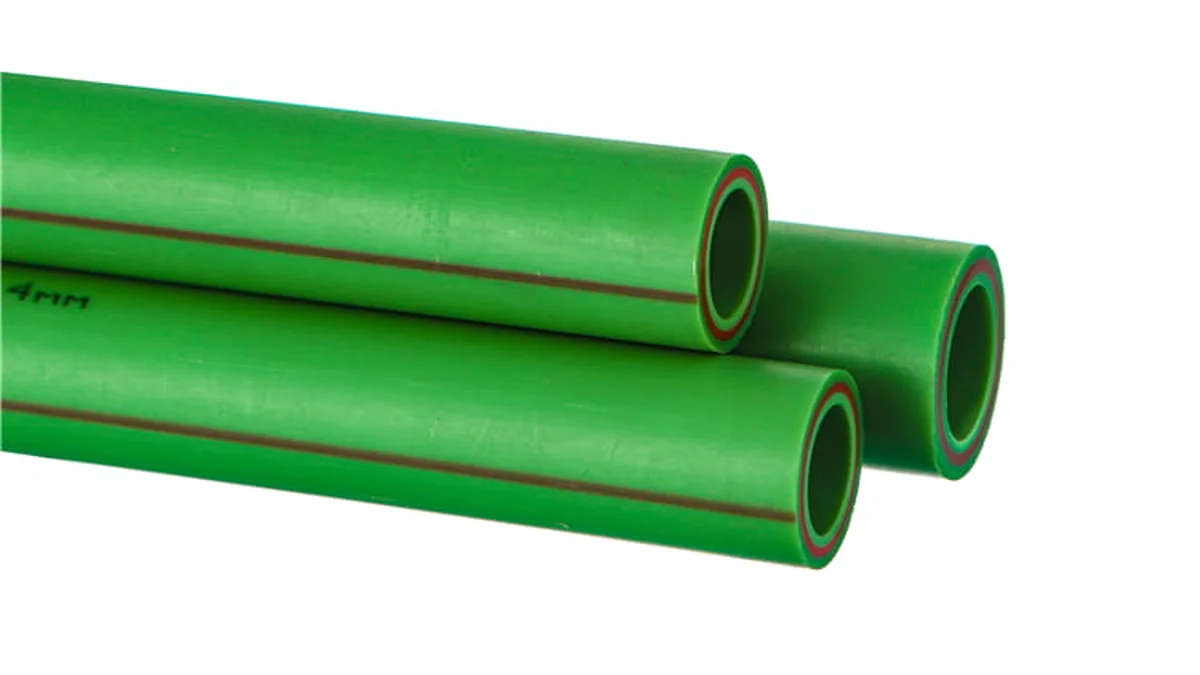
UV degradation shows clear signs: chalking, fading, cracking, and brittleness. Protecting pipes from sun exposure prevents costly failures. For outdoor applications requiring UV resistance, choose IFAN’s stabilized PP-R pipes designed for extended sun exposure.


 English
 Español
 Français
 Português do Brasil