
I’ve visited job sites where leaks sprang from simple, avoidable errors. These experiences taught me that proper installation matters as much as the quality of the fitting itself.
The most common installation mistakes include improper pipe preparation (bad cutting/deburring), using wrong or expired sealants, incorrect tightening of threaded connections (over or under), and ignoring the effects of thermal expansion and support spacing. These errors often lead to immediate leaks, premature system failure, or costly callbacks.
Many assume a fitting will work if you force it together. The truth is more nuanced. Let’s examine these frequent pitfalls so you can avoid them on your next project.
How Does Improper Preparation Like Bad Cutting or Deburring Cause Leaks?
A rushed preparation step is the first step toward a leak. I once saw a system fail because burrs inside a pipe shredded an O-ring over time.
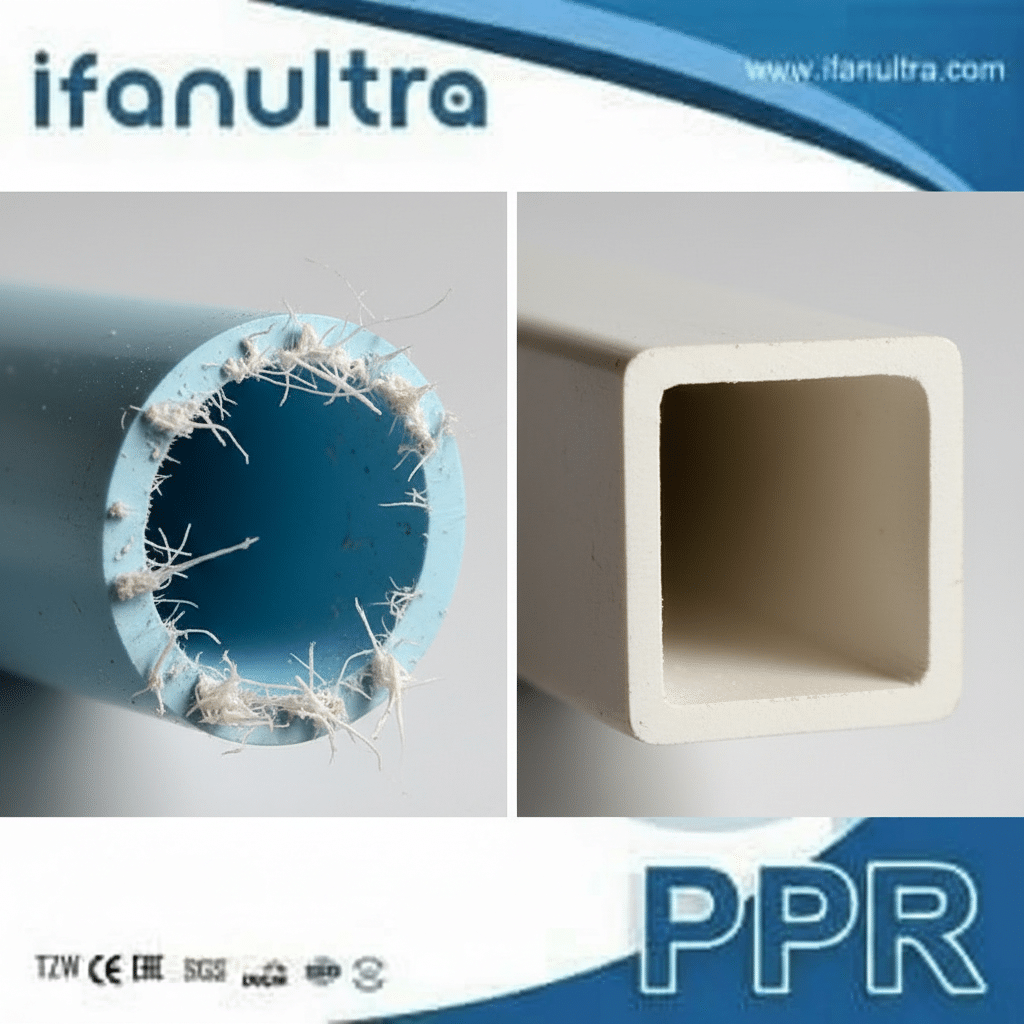
Improper cutting and deburring cause leaks by creating uneven sealing surfaces and leaving sharp edges that damage seals. A crooked cut prevents the pipe from seating fully and squarely in the fitting, while internal burrs can cut into O-rings or restrict water flow, leading to premature seal wear and eventual leaks.
The Critical Role of a Clean, Square Cut
Think of the pipe end as the foundation for the seal. If this foundation is uneven, the entire connection becomes weak. A clean, square cut ensures the pipe inserts fully into the fitting socket for a depth, allowing the fusion weld or compression seal to work over its entire designed surface area.
A bad cut, often made with a handsaw without a guide, creates a beveled or crooked end. This means one side of the pipe inserts deeper than the other. The result is an uneven gap. In solvent-welded (PVC) or heat-fused (PP-R) joints, this creates a thin spot in the weld that can crack. In compression fittings, the O-ring does not compress evenly, leaving a path for water to escape.
How Burrs Create Silent Damage
Deburring is not just about looks. It is a critical step for system integrity and longevity. When you cut a pipe, you often create a raised, sharp ridge of plastic on the inside and outside edges—this is a burr.
- Internal Burrs: These are the most dangerous. In a water line, an internal burr creates turbulence and restricts flow. More critically, when you push the pipe into a compression fitting, the sharp burr can slice into the soft O-ring. You might achieve a seal initially, but the damaged O-ring will fail much sooner. In extreme cases, the burr can even break off and travel downstream to clog a valve or fixture.
- External Burrs: These can prevent the pipe from seating fully into the fitting. They can also make it difficult to properly mark your insertion depth, leading to an incomplete connection.
The Right Tools for the Job
Using the correct tools makes perfect preparation easy and consistent. Avoid通用handsaws for critical joints.
| Outil | Purpose | Why It’s Better |
|---|---|---|
| Plastic Pipe Cutter | Makes a clean, square cut in one squeeze. | Ensures a perfectly perpendicular end every time with no sanding needed. |
| Deburring Tool | Removes both internal and external burrs after cutting. | Has two blades: one for the inside edge and one for the outside, creating a smooth surface. |
| Cutting Guide/Box | Holds a handsaw at a perfect 90-degree angle. | Makes a square cut possible even with a standard saw, ideal for larger diameters. |
Taking an extra minute to cut squarely and deburr thoroughly is the easiest insurance against future leaks. It ensures the sealing surfaces can meet perfectly, which is what a reliable connection requires from the start.
Why Is Using Incorrect or Expired Sealants a Frequent Failure Point?
Using the wrong sealant is like using the wrong key; it might seem to fit, but it won’t hold. We’ve traced many leaks back to an old tube of thread sealant found at the back of a van.
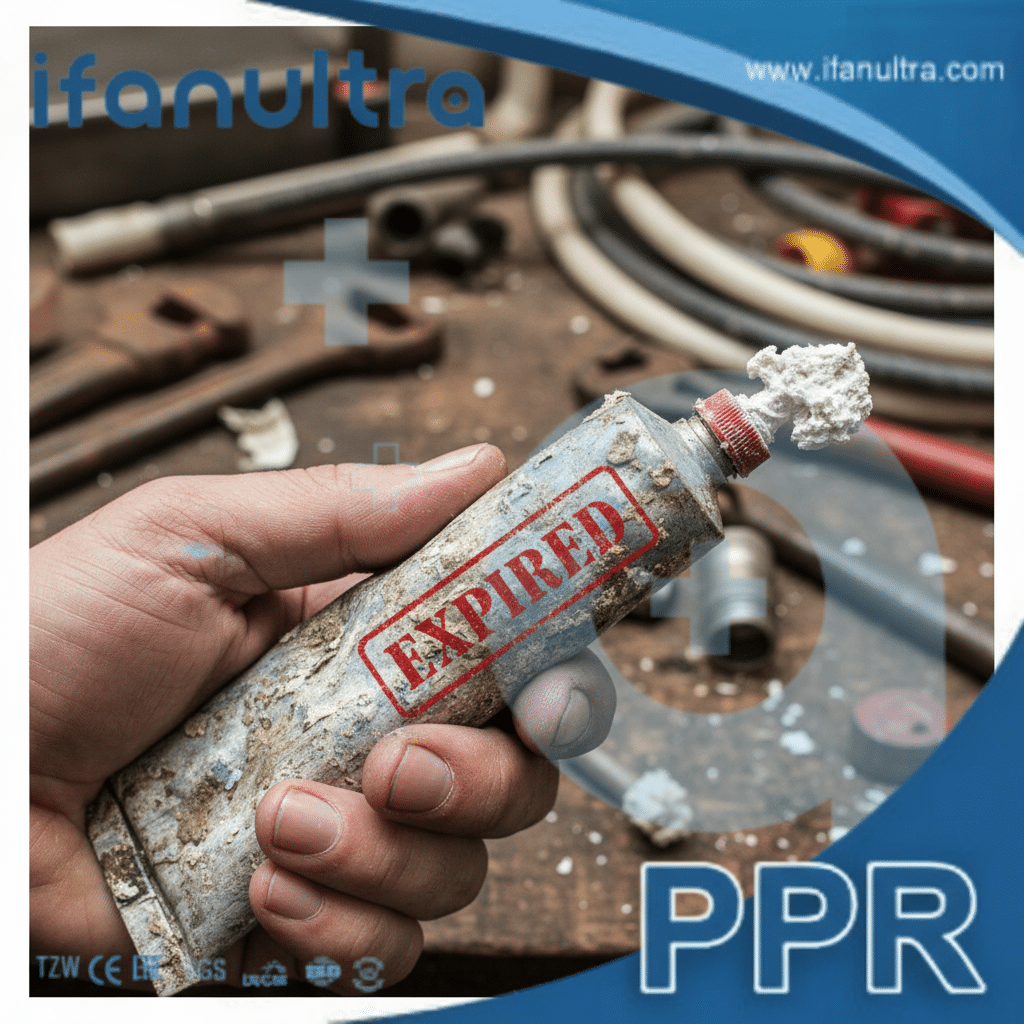
Using incorrect or expired sealants is a major failure point because each sealant type is formulated for specific materials, media (water, gas, chemicals), and pressure ranges. The wrong sealant can chemically damage the pipe, fail to cure properly, or degrade quickly. Expired sealants lose their adhesive and sealing properties, leading to brittle joints that leak soon after installation.
The Chemistry of a Proper Seal
Thread sealants and pipe dopes are not simple lubricants. They are engineered compounds. Using a general-purpose “plumber’s putty” on threaded joints, for instance, is a classic error. Putty never hardens and can wash out under pressure, causing leaks.
Different systems need different sealants:
- PTFE Tape (Thread Seal Tape): Ideal for metal-to-metal threaded joints (like steel or copper). It fills thread gaps and lubricates for proper tightening. However, on plastic threads, it does not seal well and can cause over-tightening and cracking if over-applied.
- Pipe Dope (Thread Sealant Paste): Comes in formulas for water, gas, or specific chemicals. Some are hardening, some stay soft. A paste meant for metal can attack and crack plastic fittings.
- Anaerobic Sealant: A liquid that hardens in the absence of air inside a threaded joint. It creates a very strong seal but can make disassembly extremely difficult and is often unnecessary for standard water lines.
The Real Danger of Expired Products
Sealants have a shelf life for a reason. The chemical components that allow them to cure or remain pliable break down over time.
- Expired PTFE Tape can become dry and brittle. It won’t stretch and conform to the threads, leaving gaps.
- Expired Pipe Dope often separates in the container. The carrier liquid may evaporate, leaving a thick, ineffective paste that won’t spread evenly. It may never cure properly.
- Old Solvent Cement for PVC/CPVC is perhaps the most critical. The solvents evaporate, leaving a thick glue that cannot properly melt and fuse the plastic surfaces. The resulting joint will be weak and prone to failure.
A Simple Sealant Selection Guide
Follow this simple guide to avoid common sealant mistakes:
| Application | Recommended Sealant | Do Not Use |
|---|---|---|
| Metal Threads (Water) | PTFE Tape or Non-Hardening Pipe Dope | Anaerobic sealant (unless specified), Plumber’s Putty |
| Plastic Threads (Water) | Sealant Labeled for Plastic, often a non-hardening paste | Standard PTFE Tape alone, Hardening pastes for metal |
| Gas Lines (Any material) | Sealant Specifically Certified for Gas (Yellow PTFE or paste) | Any sealant not explicitly rated for fuel gas |
| PVC/CPVC Solvent Welds | Fresh solvent cement matched to the pipe type (e.g., PVC cement for PVC) | Expired cement, “All-purpose” cement for critical joints |
Always check the product label for its intended use and expiration date. When in doubt, buy a new, small container. Investing in fresh, correct sealant costs very little compared to the cost of repairing a leak inside a finished wall.
How Does Over-Tightening or Under-Tightening Threads Damage Fittings?
The “one more turn for good luck” approach is a leading cause of fitting failure. Cracked fittings from over-torquing are a weekly sight in our quality audits.
Over-tightening stretches and cracks fittings, especially plastic ones, creating immediate leaks or stress points that fail later. Under-tightening leaves threads incompletely engaged, failing to compress the seal properly and allowing leaks from the start. Both errors stem from not understanding that threads primarily guide and position the seal; they are not the seal itself.
The Mechanics of a Threaded Joint
It’s vital to understand what happens when you tighten a fitting. The goal is not to force the threads together as tightly as possible. Instead, the threads serve to pull two sealing surfaces together—be they a metal taper, a gasket, or an O-ring—until they are properly compressed.
- In a Metal Tapered Thread (NPT): The seal is made by the metal-to-metal contact of the tapered threads. Proper tightening deforms the threads slightly to create this seal. Over-tightening can gall (tear) the threads or split the fitting.
- In a Compression/Gasket Joint: The threads pull a nut to squeeze a ferrule or gasket against the pipe. Tightening stops when the gasket is fully compressed. Further turning only strains the threads and body.
Consequences of Over-Tightening
Applying too much force has several damaging effects:
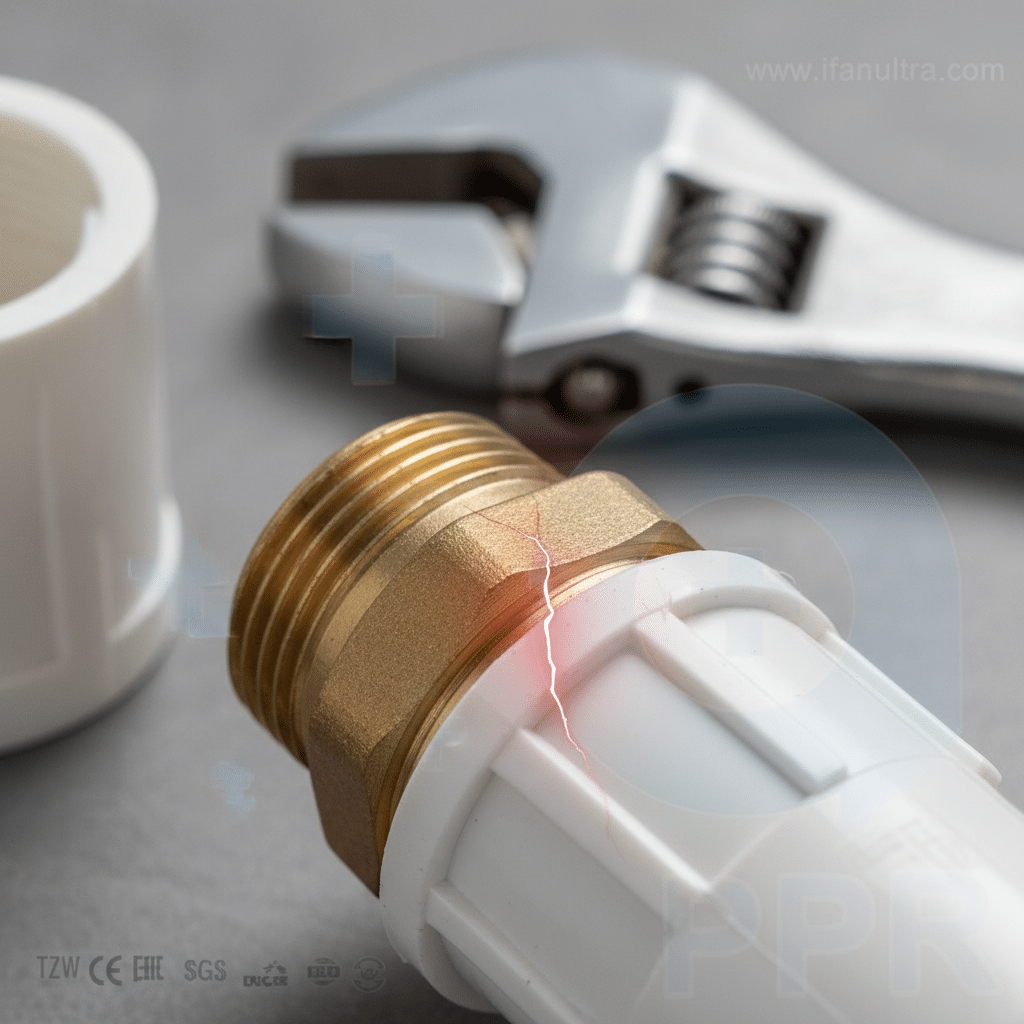
- Cracking: This is the most direct result, especially with plastic (PP-R, PVC) or brass fittings. The material cannot withstand the shear stress and fractures, often in a spiral pattern following the threads.
- Thread Stripping: The threads, either on the fitting or the adapter, can shear off. This destroys the component.
- Deformed Seals: In compression joints, over-tightening can crush an O-ring flat, making it ineffective, or cause a copper ferrule to bite too deeply into the pipe, weakening it.
- Stress Cracking: Even if it doesn’t crack immediately, an over-tightened plastic fitting remains under extreme internal stress, making it susceptible to failure from water hammer or thermal cycling later.
Consequences of Under-Tightening
Too little force is equally problematic:
- Incomplete Seal Formation: The sealing element (gasket, O-ring, thread taper) never reaches its required compression. A path for water remains.
- Vibration Loosening: A joint that is not tight enough can slowly work itself looser over time due to system vibration or thermal cycles, turning a small seep into a major leak.
- Blow-Out: Under high pressure, an under-tightened joint can completely separate.
Practical Tightening Guidelines
While a torque wrench is ideal, most installers work by feel. Follow these rules of thumb:
| Fitting Type | Tightening Method & Tip |
|---|---|
| Plastic (PP-R/PVC) Threads | Hand-tighten, then use a wrench for 1-2 additional turns max (180-270 degrees). Stop as soon as you feel a firm resistance. |
| Metal Threads (NPT) | Hand-tighten, then use wrenches for 2-3 turns. Use a sealant to lubricate and ensure the threads engage fully. |
| Compression Fittings | Hand-tighten the nut, then use a wrench for a further 1/2 to 3/4 of a turn. You should feel steady resistance. |
The best practice is to follow the manufacturer’s instructions. Remember, the seal does the sealing; the threads only need to provide the correct amount of force to activate that seal.
What Problems Arise From Ignoring Thermal Expansion or Support Spacing?
Leaks that appear hours or days after a hot water line is used often point to expansion issues. We see this frequently in long, unsupported pipe runs.
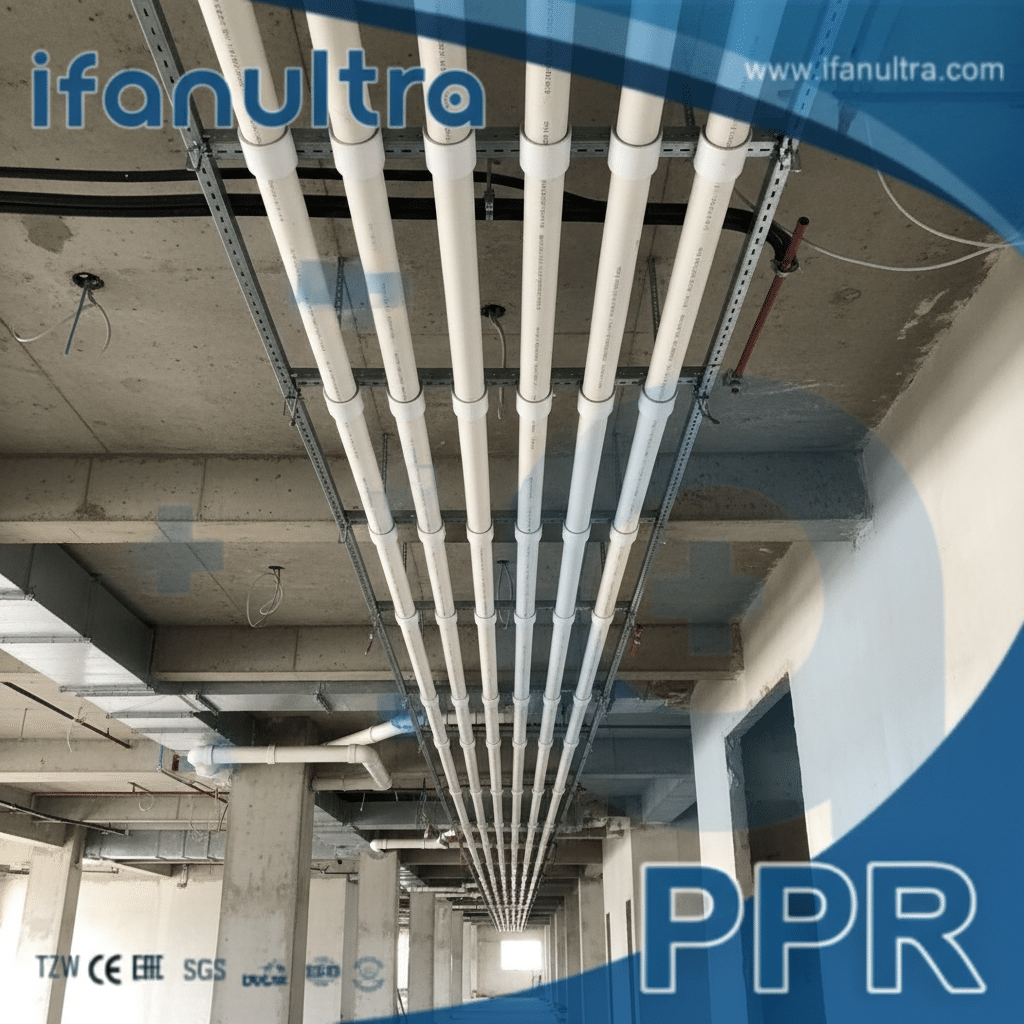
Ignoring thermal expansion and support spacing causes pipes to sag, buckle, or put excessive stress on fittings. As hot water flows, pipes expand and lengthen. Without proper supports to guide this movement, the force pushes and pulls on fittings, leading to joint fatigue, loosening, and leaks. Sagging pipes also create stress points and trap water.
Understanding the Force of Expansion
Plastic pipes, especially PP-R and PEX, expand significantly more than metal when heated. A 30-foot run of hot water pipe can easily lengthen by over an inch. This force is immense. If the pipe is rigidly clamped at both ends, it has nowhere to go but outwards, causing it to bow or buckle. This bending stress concentrates at the fittings, which are often the weakest points in the system, leading to cracks or disconnected joints.
Problems from Incorrect Support Spacing
Supports (hangers or clips) do more than just hold the pipe up. They control its movement.
- Too Few Supports: The pipe sags between long spans. This creates tension at the connection points and can lead to joint pull-out. In hot water lines, sagging creates an “U” shape that can trap air and hinder proper draining.
- Rigid Supports Too Close: Clamping the pipe too tightly along its length does not allow for linear expansion. The pipe will buckle between clamps or transfer all the stress to the terminal fittings.
- Wrong Support Type: Using rigid metal clamps on plastic pipe without an insulating sleeve can cause wear and noise. It also restricts natural movement.
How to Manage Expansion and Support
You must plan for movement. Here are key strategies:
1. Calculate Support Spacing: Follow manufacturer guidelines. As a general rule, horizontal PP-R pipe supports should be spaced every 24-32 inches for ½-inch pipes and 32-48 inches for 1-inch pipes. Vertical runs can have wider spacing.
2. Use the Right Hangers: Utilisation plastic-coated or smooth-edged metal hangers to prevent abrasion. For long straight runs, use guide supports that hold the pipe but allow it to slide lengthwise, and anchor supports at ends and directional changes to control where movement is directed.
3. Incorporate Expansion Loops or Offsets: For very long runs, design a simple “U” shaped loop in the pipe. This loop flexes to absorb the length change, protecting the fittings.
Practical Installation Checklist
Refer to this quick guide during installation to avoid these system-level errors:
| Consideration | Problem It Prevents | Action |
|---|---|---|
| Support Spacing | Sagging, joint stress, noise. | Install supports at intervals per pipe size and material spec. |
| Sliding/Guiding Supports | Buckling from restricted expansion. | Use loop hangers or clips that aren’t overtightened on long straight runs. |
| Expansion Loops | Extreme stress at terminal fittings. | Plan a small offset or loop in runs over 20-30 feet. |
| Anchor Points | Uncontrolled movement direction. | Fix the pipe rigidly at changes of direction (elbows, tees). |
By planning for the natural movement of the piping system, you create a stable, quiet, and long-lasting installation that won’t suffer from mysterious leaks months down the line.
Conclusion
Avoiding common installation mistakes—proper cutting, using fresh sealants, correct tightening, and planning for expansion—ensures a reliable system. For fittings designed to make installation easier and more reliable, choose IFAN’s precision-engineered pipe fittings and support systems.


 English
 Español
 Français
 Português do Brasil