
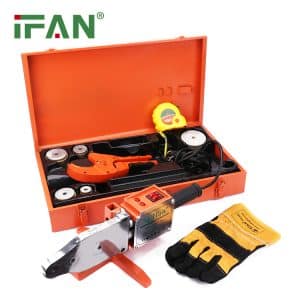
PPR welding temperature is fixed at roughly 260°C for socket heat fusion, and that single number does most of the work on every joint you make. The variable that actually changes from fitting to fitting is not the temperature dial — it is time. A DN20 pipe needs about 5 seconds on the die, while a DN63 needs roughly 24 seconds, and getting those seconds wrong is the difference between a joint that lasts 50 years and one that weeps behind a wall.
This is a working reference for the whole size range, built around a fusion-time chart you can save to your phone. It sits inside our broader PPR pipe guide, and pairs with the full PPR heat fusion installation walkthrough if you want the step order rather than the timing detail. Every figure below is a typical starting point — your fusion tool maker’s own chart and the site’s ambient temperature always win over a generic table.
Key Takeaways
- PPR socket fusion temperature is fixed at about 260°C (standards cite 260°C ±5°C); you do not adjust the dial per size, you adjust the time.
- Typical heating time runs from about 5 seconds at DN20 to about 24 seconds at DN63; larger diameters need more time on the die.
- Joining (push and hold) is quick — a few seconds — while cooling ranges from roughly 2 minutes on small pipe to several minutes on large.
- Below 5°C ambient, add roughly 5–10% to heating time and allow about 25% longer cooling before pressurizing.
- Under-heating leaves a cold joint that weeps under pressure; over-heating collapses the melt and squeezes a bead into the bore.
- Never twist the pipe as you insert it — push straight to the marked depth and hold still.
The One Temperature: Why PPR Fuses at 260°C
PPR socket fusion runs at approximately 260°C, and unlike heating time, this figure does not move with pipe size. International practice under ISO 15874 puts the fusion tool set point at 260°C, commonly expressed as 260°C ±5°C. That window is not arbitrary — it sits inside the melt behavior of polypropylene random copolymer, the material every IFANULTRA pipe is made from.
PP-R starts to melt near 150°C. At 260°C the surface layer of the pipe and the inner wall of the fitting both reach a molten, tacky state without the bulk material scorching or degrading. Push the two together at that temperature and the polymer chains diffuse across the join line, then re-solidify as one continuous piece of plastic. There is no glue, no gasket, no thread — the weld is the material itself. Run the tool too cool and the surfaces never truly melt; run it far hotter and you start burning the resin instead of fusing it.
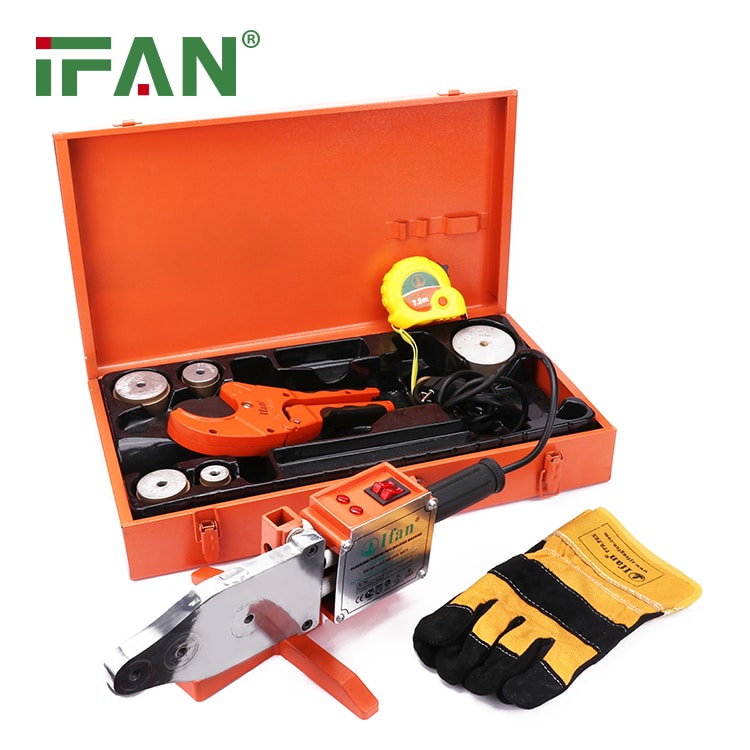
This is why the temperature is treated as a constant across the catalog. A DN20 pipe and a DN63 pipe both fuse at 260°C because they are the same polymer. What differs is the mass of plastic you need to bring up to that temperature — and that is a question of seconds, not degrees.
PPR Fusion Time Chart by Diameter
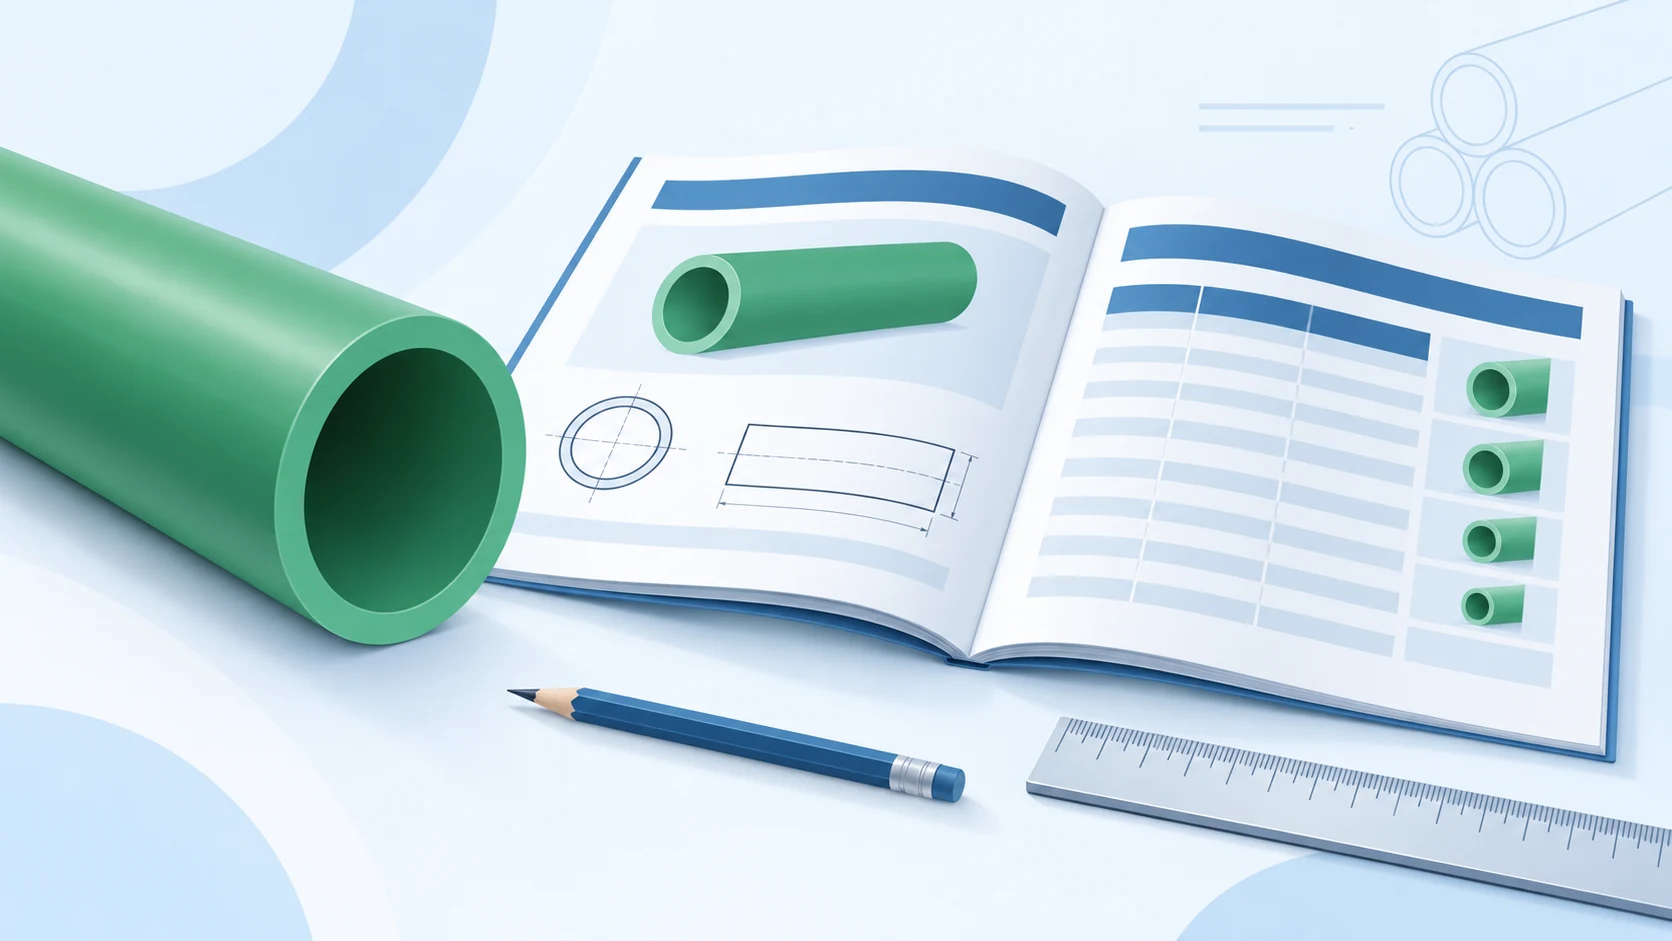
This is the reference to save. The table lists typical heating time (pipe and fitting on the die), joining time (the window to push and align before the melt sets), and cooling time (hands off, no load) for the common size range. These are approximate, representative values for standard conditions around 20°C ambient. Always follow your fusion tool maker’s own chart, and adjust for ambient temperature as covered below.
| DN (mm) | Approx. heating time | Approx. joining (push) time | Approx. cooling time |
|---|---|---|---|
| DN20 | ~5 s | ~4 s | ~2 min |
| DN25 | ~7 s | ~4 s | ~2 min |
| DN32 | ~8 s | ~6 s | ~4 min |
| DN40 | ~12 s | ~6 s | ~4 min |
| DN50 | ~18 s | ~8 s | ~4–6 min |
| DN63 | ~24 s | ~8 s | ~6 min |
Read the pattern, not just the rows. Heating time climbs steeply with diameter because you are melting a thicker wall and a larger circumference — DN63 has roughly five times the heating time of DN20. Joining time stays short across the range; once the surfaces are molten you have only a few seconds to seat and align before the plastic starts to firm up. Cooling is where impatience costs money: the joint holds its shape in seconds but is not ready for water pressure for minutes, and that number grows with size.
How long to heat PPR pipe, in one line
If you want a single rule of thumb for how long to heat PPR pipe: small pipe up to DN25 wants roughly 5–7 seconds, mid-range DN32–DN40 wants around 8–12 seconds, and DN50–DN63 wants 18–24 seconds. Above DN63 the times keep rising and most installers move to specialised machines with clamped alignment rather than a handheld iron.
How Ambient Temperature Changes the Timing
The chart assumes a comfortable jobsite around 20°C. The tool still holds 260°C in the cold, but the pipe, the fitting and the surrounding air do not — and that changes how fast heat moves in and out of the joint. Cold sites pull heat out of the melt zone faster, so the plastic reaches fusion temperature more slowly and starts firming up sooner once you take it off the die.
- Below about 5°C, a common guidance is to add roughly 5–10% to the heating time so the wall fully reaches melt.
- In the cold, allow noticeably longer cooling — often around 25% more — before you pressurize, since the joint gains strength as it cools.
- In hot climates, heating can be marginally shorter, but the bigger risk is rushing: warm pipe stays workable longer, which tempts installers to over-heat. Trust the chart, not the heat of the day.
- In hard cold (near or below freezing), shelter the work, keep fittings warm until use, and wipe any frost or moisture off the pipe end — water flashing on a hot die ruins the weld.
Treat these as guidance, not law. The right adjustment depends on your specific tool, the wall thickness of the pipe class you are joining, and how exposed the work is. When conditions are marginal, make a test joint, let it cool fully, and cut it open to confirm the weld before you trust the run.
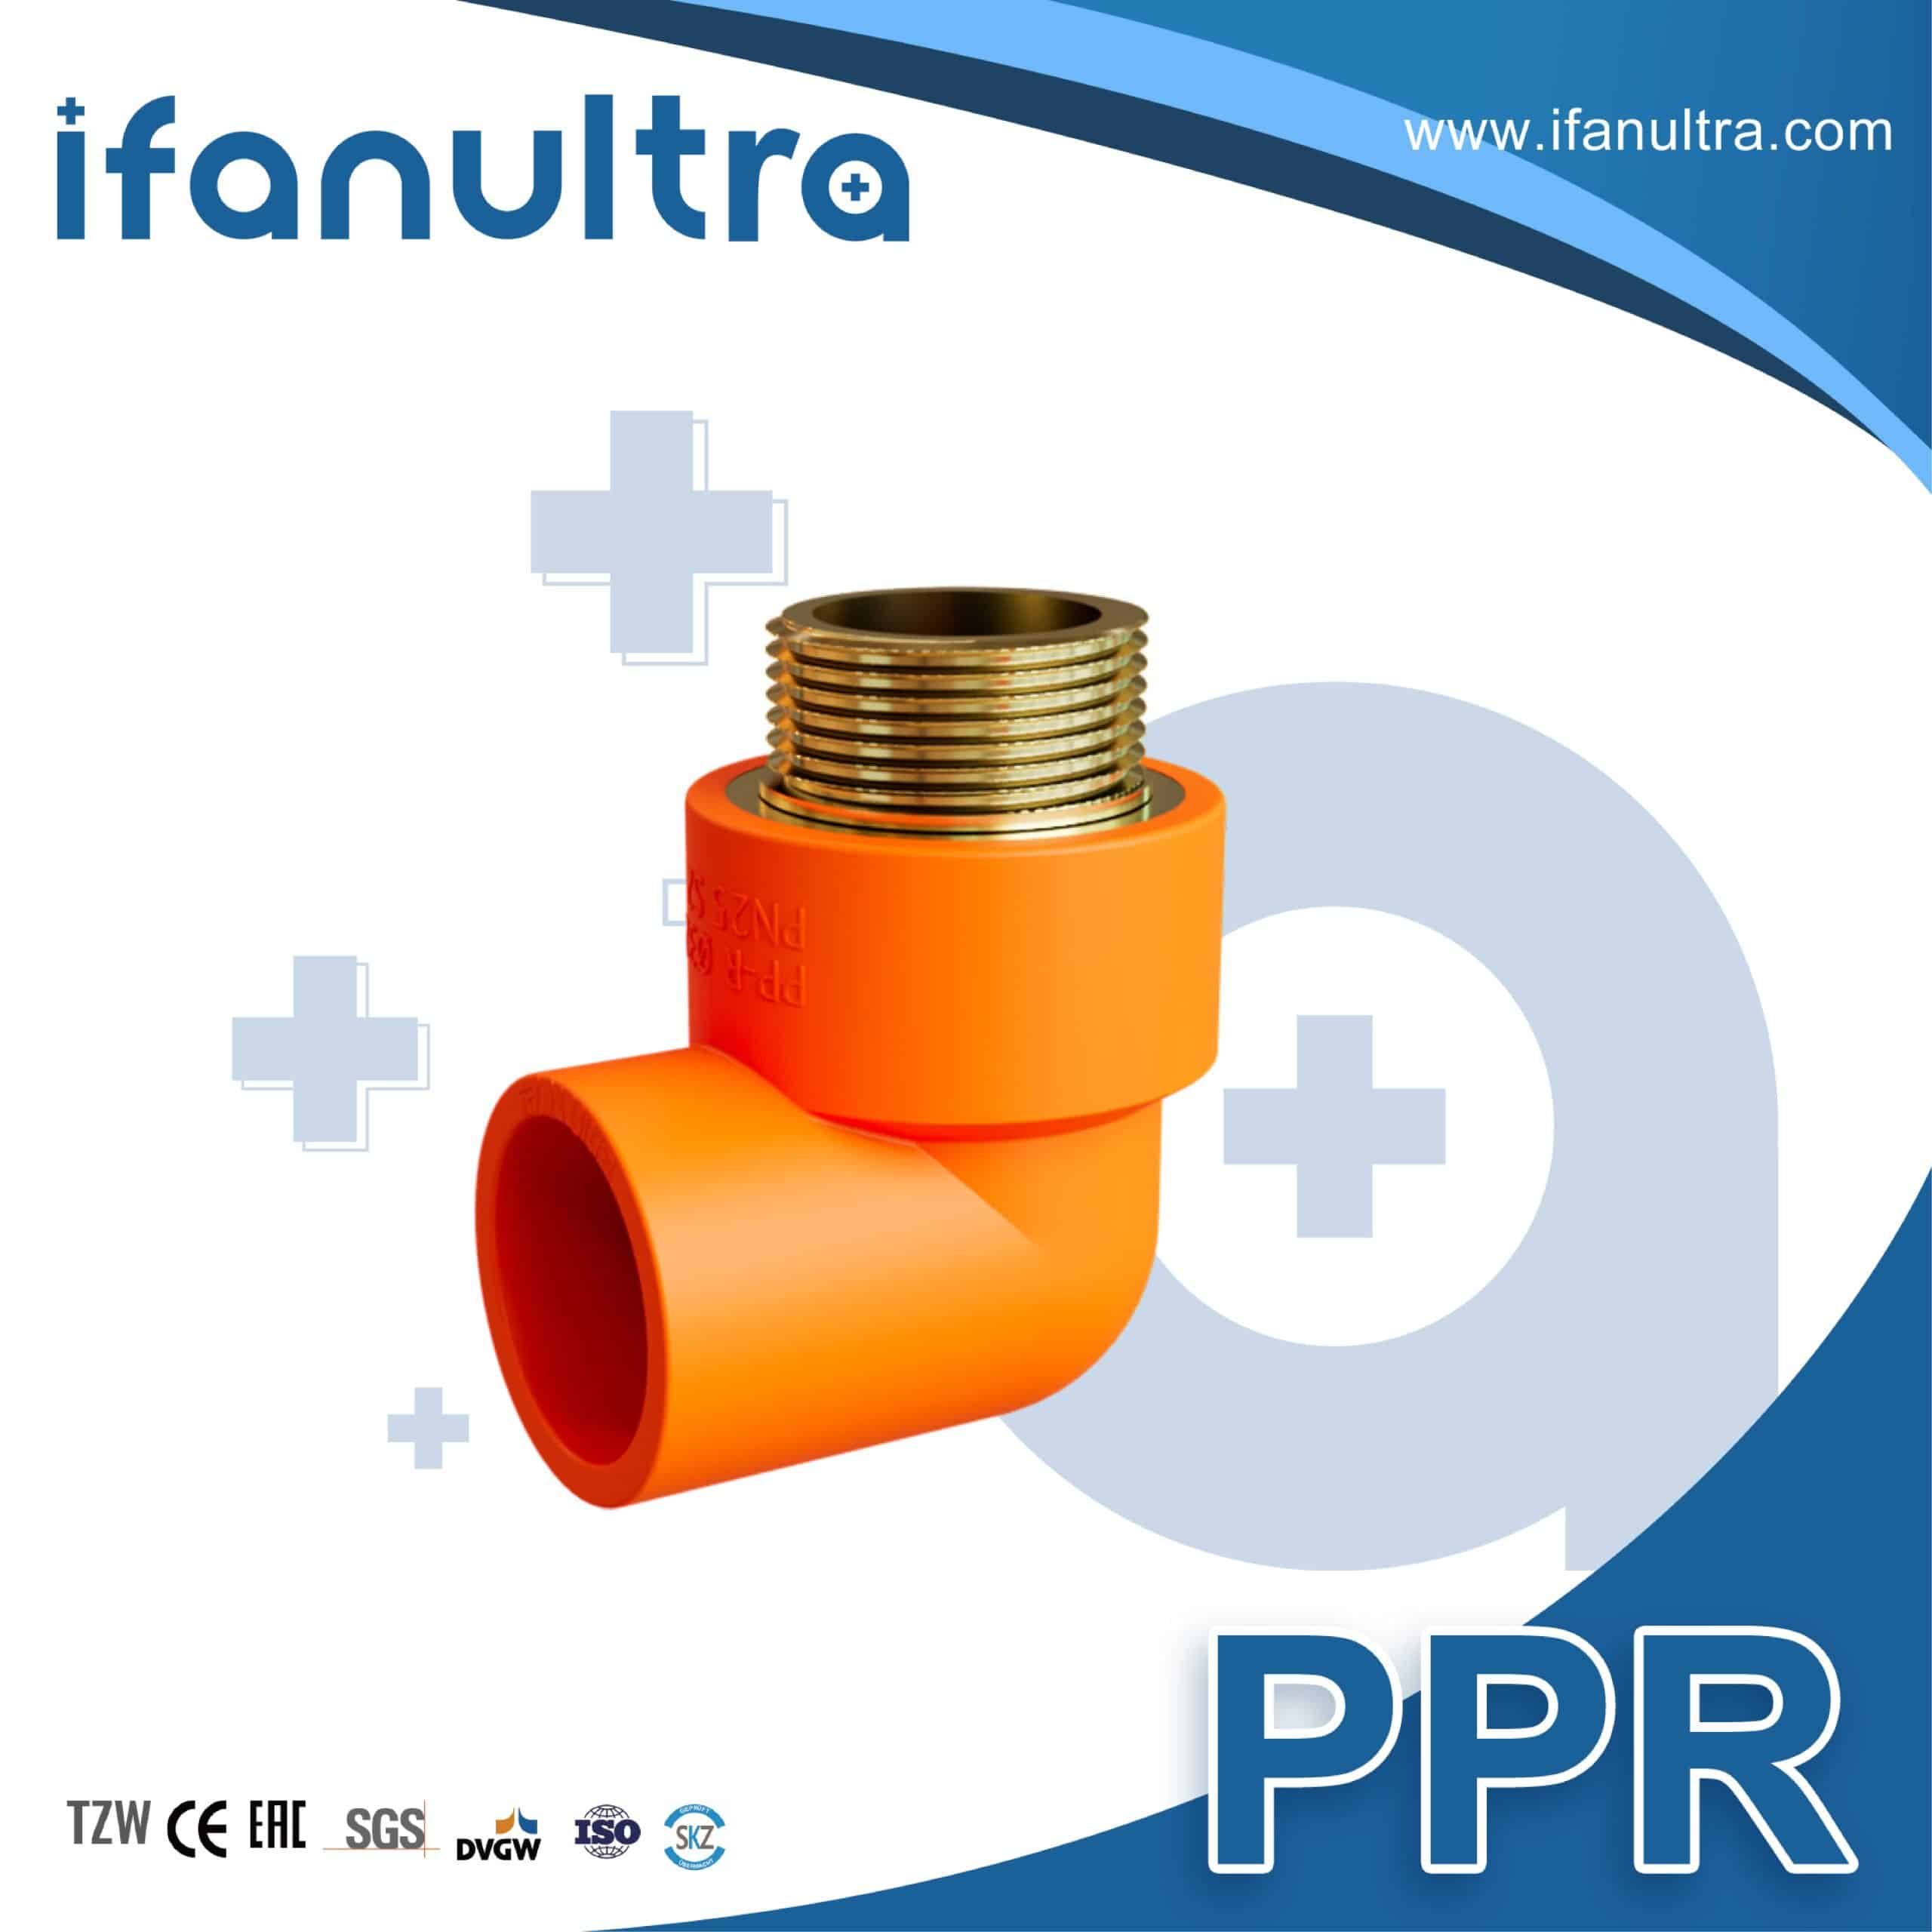
Under-Heating vs Over-Heating: The Two Failures
Almost every bad PPR joint comes from one of two timing errors. Both look fine for the first few minutes. One shows up when you fill the system; the other you can sometimes catch by eye if you know what to look for.
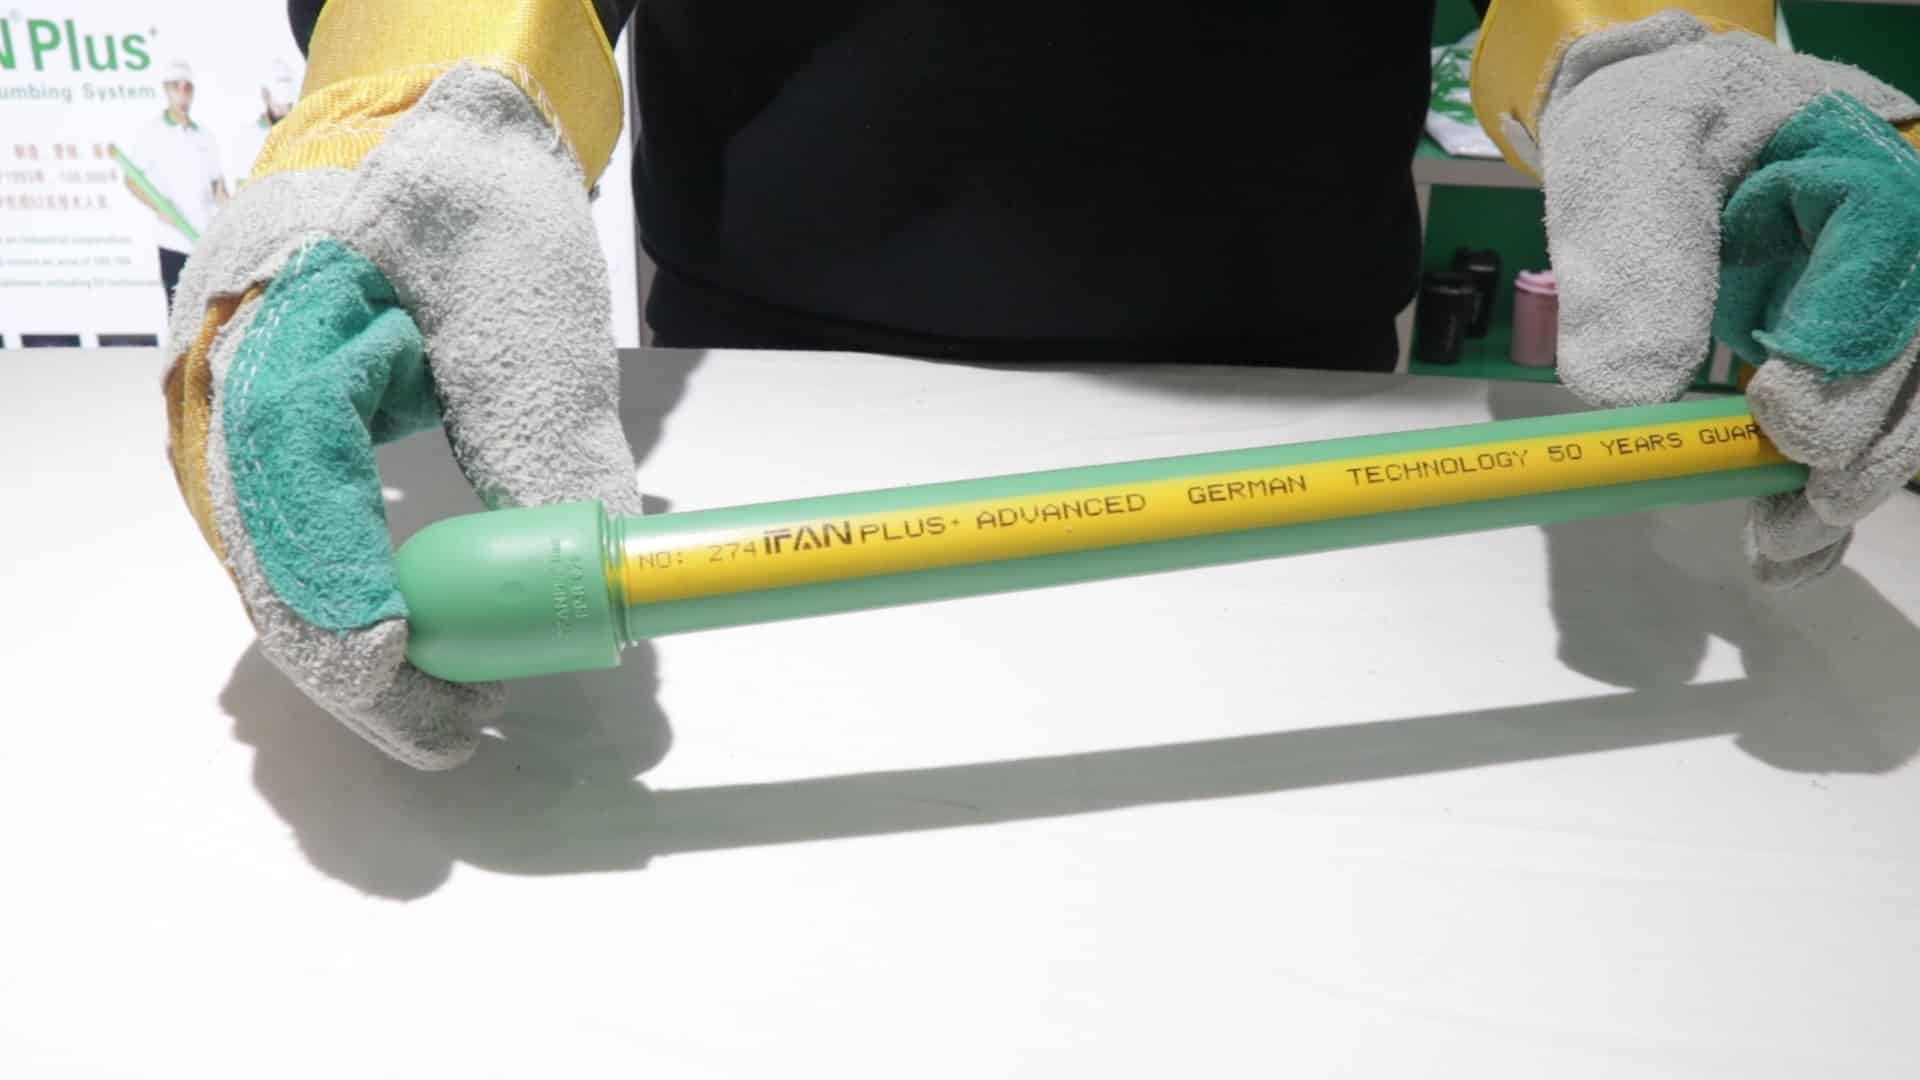
Under-heating: the cold joint that weeps
Take the pipe off the die too soon and the surfaces never fully melt. The pipe seats into the socket and looks like a proper joint, but the two plastic faces only touched — they never diffused into each other. This is a cold joint. It can hold static water for a while, then weep or fail once the system sees pressure, water hammer, or a hot-water cycle that expands the plastic. A cold joint is the classic hidden leak behind a wall or in a slab, and the fix is always to cut it out and redo it.
Over-heating: the collapsed bore
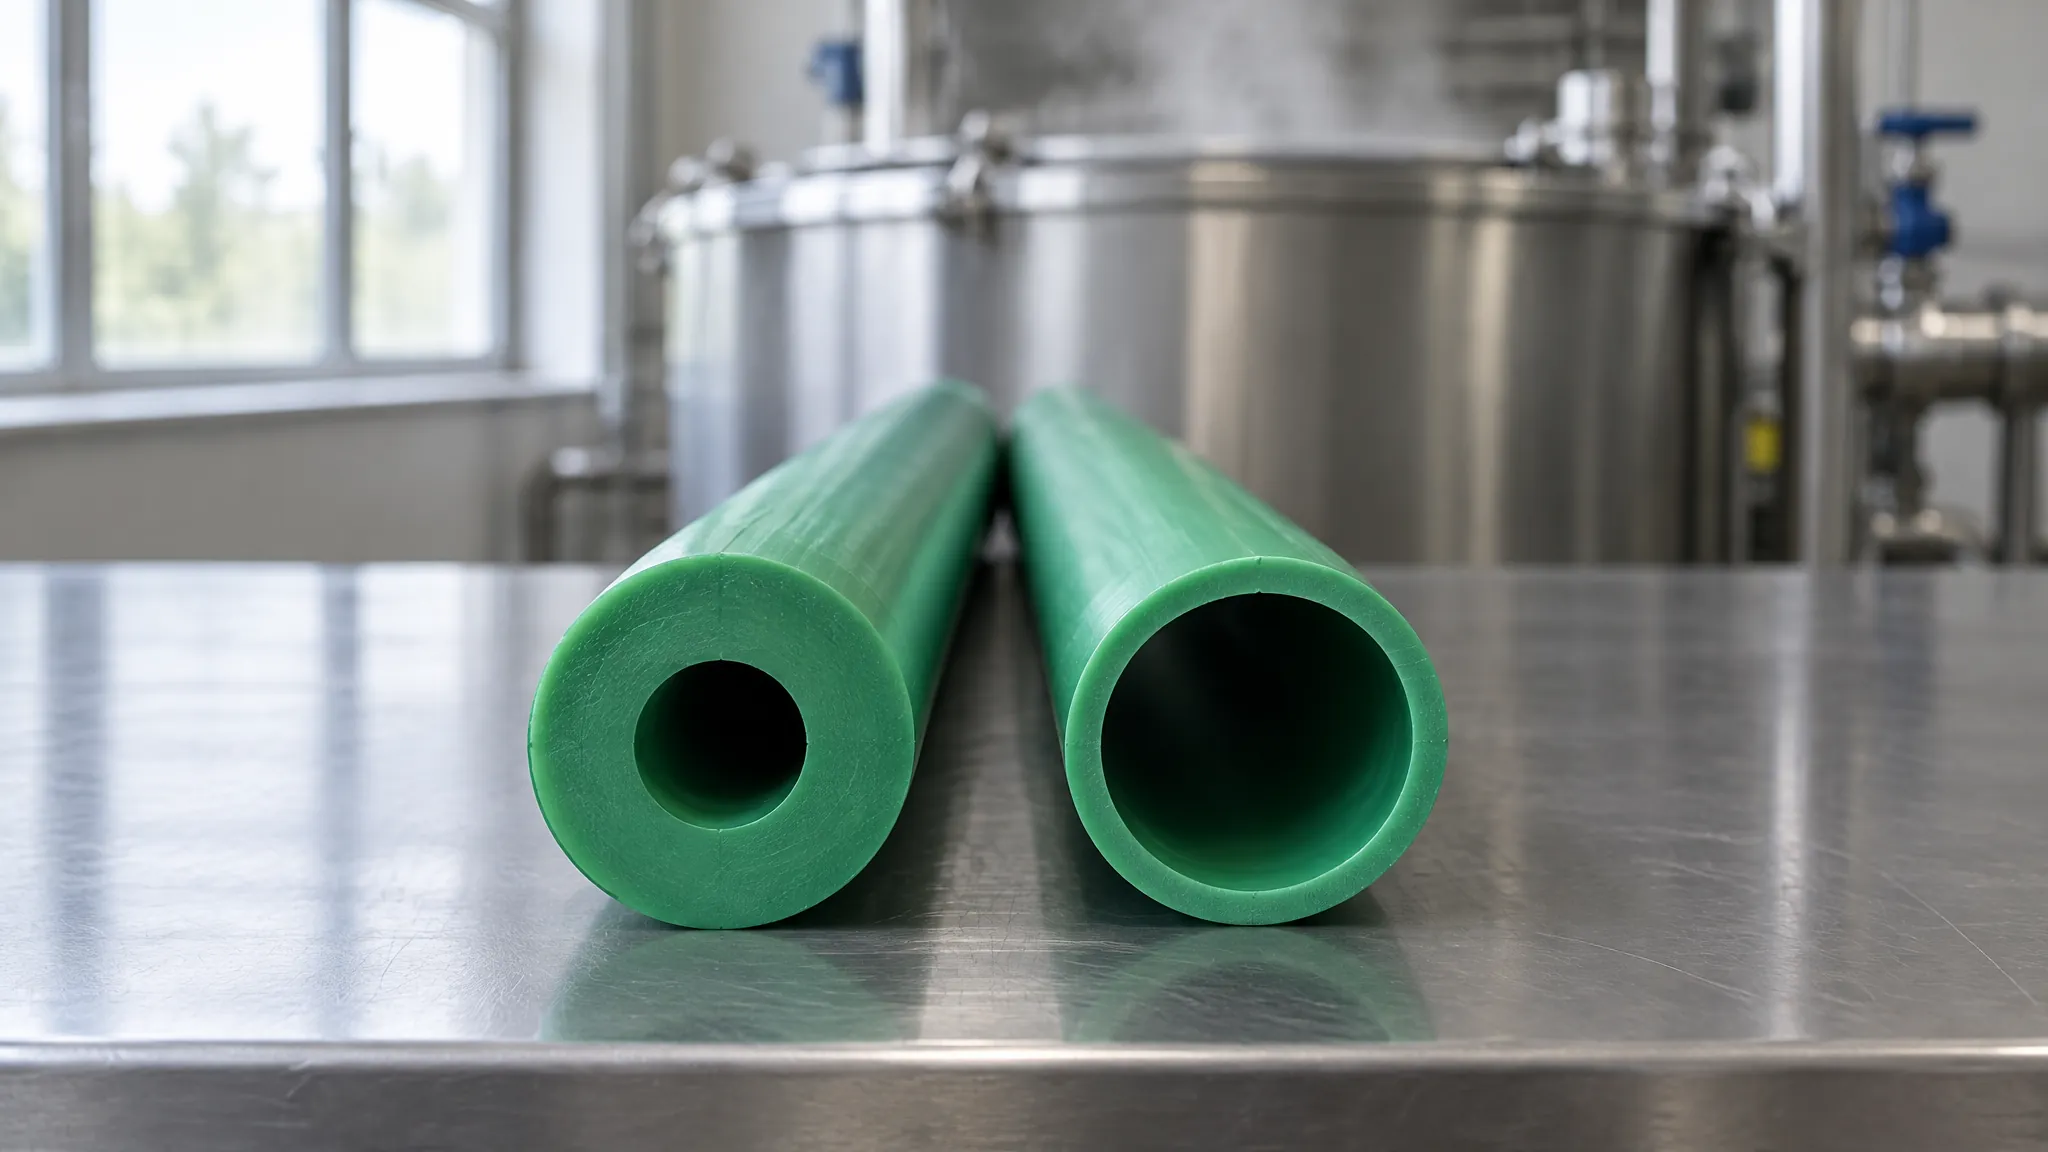
Leave the pipe on the die too long and the opposite happens: too much material goes molten. When you push the pipe home, the excess melt has nowhere to go but inward, squeezing a thick bead of plastic into the flow path. That bead narrows or partly blocks the bore, throttling flow and creating turbulence you cannot see from outside. Severe over-heating can also scorch the resin, leaving a brittle, discolored weld. If you cut a joint open and see a lip of plastic curling into the bore, you over-heated it.
The takeaway sits in the middle: hit the heating time on the chart, then stop. A good weld shows a small, even bead at the mouth of the fitting — visible but modest, all the way around, with the bore still open.
Marking Insertion Depth and Keeping Alignment
Timing gets the melt right; depth and alignment decide whether the joint is the shape you meant. Before heating, mark the insertion depth on the pipe with a pen or a depth gauge — the distance the pipe should sit into the socket. That mark tells you two things during assembly: that you pushed in far enough for full fusion, and that you did not shove past the seat and choke the bore.
- Mark the depth before you start, and mark the intended clock position too if the fitting has to point a specific way (an elbow or a tee that must line up with a run).
- Push the pipe straight into the fitting in one steady motion, up to the mark. Do not stop halfway and hesitate — the melt is setting.
- Never twist as you insert. Rotating the pipe smears and tears the molten layer instead of letting it fuse cleanly, and it can wind a weak spiral into the weld.
- Once seated, hold the alignment dead still through the joining window. Nudging an elbow to correct its angle after the plastic has started to set will crack the fresh weld.
Get the angle right by starting the push already aligned, not by twisting to fix it. If a fitting ends up pointing the wrong way, the honest answer is to cut it out and make a new joint — a twisted or muscled-back joint is a future leak.
Tools and Die Care
The chart only works if the tool actually delivers 260°C at the die face and the dies match the pipe. A neglected iron quietly runs cold or contaminated, and every joint made with it inherits the fault.
- Confirm the tool is holding temperature. Let it fully heat and, if you can, check the die face with a surface thermometer — a thermostat reading 260°C on the body does not guarantee 260°C at the die.
- Use the correct die size for the diameter. A DN25 die on DN25 pipe gives an even melt; a mismatched or worn die heats unevenly and skews your timing.
- Keep the PTFE (non-stick) coating on the dies clean. Wipe off melted residue with a wooden or heat-safe tool while warm — never scrape PTFE with metal, which gouges the coating and makes plastic stick and drag.
- Replace dies once the coating is worn or flaking. Bare metal dies grab the melt and pull it as you separate, tearing the surface you just prepared to fuse.
- Cut the pipe square with a proper PPR cutter and wipe the end clean and dry before heating. Grease, dust, or moisture on the surface all interfere with a clean weld.
Quick-Reference Recap to Save
Everything above compressed into a card you can keep at the bench. Treat the numbers as typical starting points and defer to your fusion tool maker’s chart and the site conditions.
- Temperature: fixed at ~260°C for every size. Verify the die actually reaches it.
- Heating time: DN20 ~5 s, DN25 ~7 s, DN32 ~8 s, DN40 ~12 s, DN50 ~18 s, DN63 ~24 s.
- Joining: push straight to the mark, a few seconds, no twisting, then hold still.
- Cooling: ~2 min on small pipe up to several minutes on large — no pressure until cool.
- Cold site (below 5°C): add ~5–10% heating time and ~25% cooling time; shelter and dry the work.
- Good weld = small even bead all around, open bore. No bead means cold; a bead in the bore means over-heated.
Conclusion
PPR welding is forgiving once you internalise the pattern: one temperature for every size, and a heating time that scales with diameter. Save the chart, verify your tool hits 260°C, add a margin when it is cold, and stop heating the moment the seconds are up. That discipline is the whole difference between a joint rated for 50 years and one you will chase down as a leak.
The other half of a durable weld is the pipe itself — virgin resin and honest wall thickness fuse predictably, batch after batch. If you distribute or install PPR at volume and want product that welds to spec every time, the IFANULTRA team is happy to share specs and a catalog.
Frequently Asked Questions
What temperature do you weld PPR pipe at?
PPR socket fusion runs at about 260°C, commonly cited as 260°C ±5°C under ISO 15874. This temperature is fixed for every diameter, because it matches the melt window of polypropylene random copolymer.
How long do you heat PPR pipe before joining?
Heating time scales with size: about 5 seconds for DN20, 7 for DN25, 8 for DN32, 12 for DN40, 18 for DN50, and 24 for DN63. These are typical values — follow your fusion tool maker’s chart.
How long should a PPR joint cool before pressurizing?
Allow roughly 2 minutes on small pipe up to several minutes on large diameters before applying water pressure. In cold conditions below 5°C, extend cooling by about 25%, since the weld gains strength as it cools.
Can you twist a PPR pipe while inserting it?
No. Push the pipe straight into the fitting to the marked depth and hold it still. Twisting smears and tears the molten layer, weakening the weld. Set the alignment before you push, not by rotating afterward.
What happens if you over-heat or under-heat a PPR weld?
Under-heating leaves a cold joint that looks fine but weeps under pressure. Over-heating squeezes a bead of melt into the bore, restricting flow. Aim for a small, even bead at the mouth with the bore still open.
Written by the IFANULTRA team — a PPR pipe and fittings brand of IFAN Group, drawing on 30+ years of manufacturing experience, German automated production lines, and ISO 9001, SKZ and NSF certified PPR product lines.


 English
 Español
 Français
 Português do Brasil