
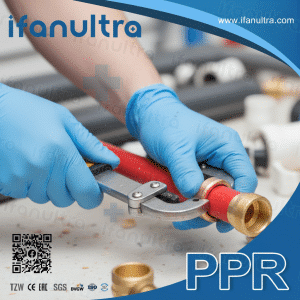
I once watched a homeowner panic after cutting a crimp ring off, thinking they ruined their entire PEX line. That moment reminded me how important it is to know that this mistake is completely fixable.
Yes, you can absolutely reconnect a PEX pipe after cutting a crimp ring off. The process involves safely removing the old ring without damaging the pipe, inspecting the PEX end for any scoring or deformation, and then installing a new crimp ring and fitting in the same location. This is a standard repair procedure that professionals perform regularly.
However, you need to follow specific steps to ensure a reliable, leak-free connection. Let me walk you through the entire process based on years of field experience.
What is the Proper Tool to Safely Cut and Remove a Crimp Ring Without Damaging the Pipe?
Using the wrong tool here can destroy your pipe. I’ve seen pliers, wire cutters, and even knives leave permanent damage.
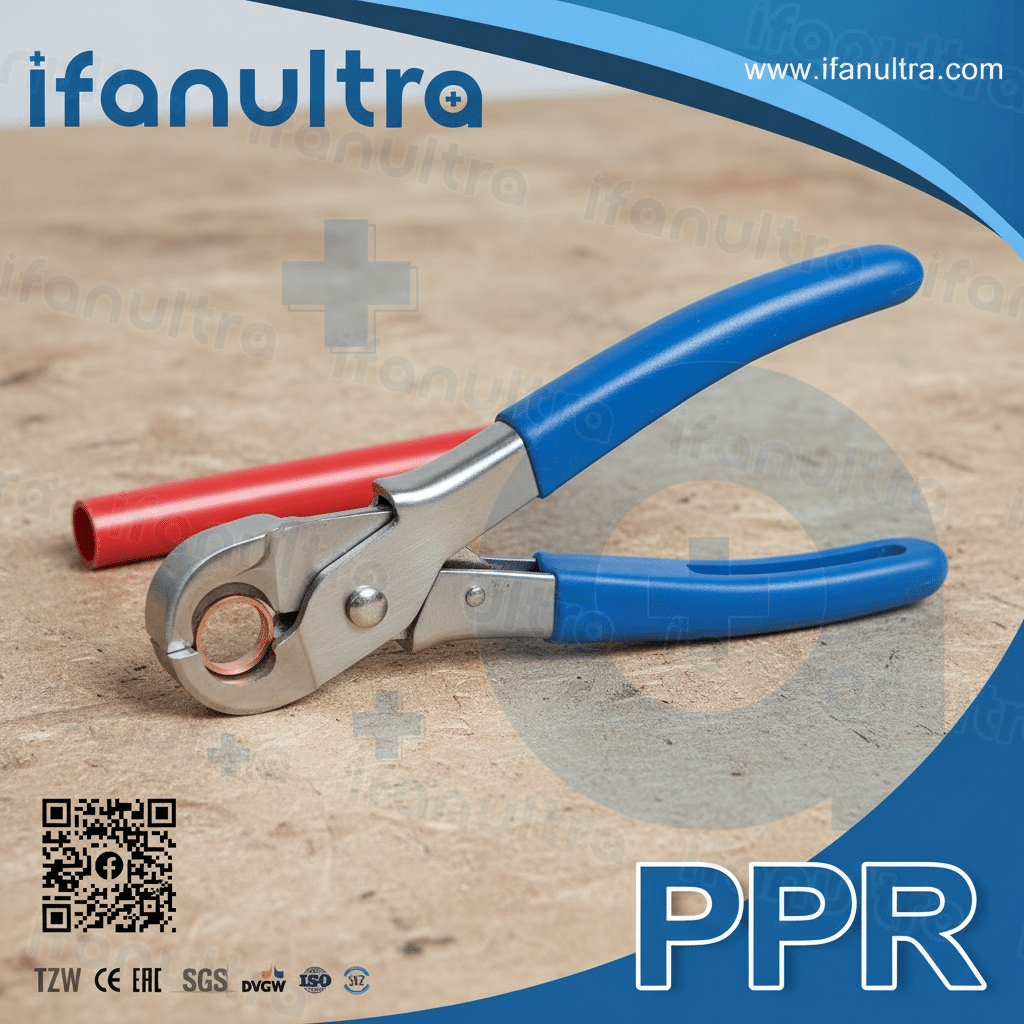
The proper tool is a dedicated crimp ring removal tool, specifically designed with a small cutting wheel or a scissor-like action that cuts through the brass or copper ring without touching the underlying PEX. Alternatively, a rotary tool with a cut-off wheel works well if used with extreme care. Never use standard side cutters or a knife, as they almost always gouge the pipe.
Why Tool Choice Matters
The PEX pipe underneath the crimp ring is soft and forgiving. Still, it cannot survive a direct blade strike. If you score or cut into the pipe wall, you create a weak point that will eventually fail under pressure. Consequently, the right tool solves this problem by design.
The Dedicated Crimp Ring Cutter: This tool looks like a small pair of pliers with a specialized jaw. One side has a small, blunt hook that fits under the ring. The other side has a sharp cutting blade. When you squeeze, the blade cuts through the ring from the outside in. The blunt hook protects the pipe by keeping the cutting action focused only on the metal.
The Rotary Tool Method: Many plumbers use a Dremel-style tool with a thin cut-off wheel. Admittedly, this method works but requires a steady hand. You carefully cut a slit through the ring, stopping the moment you feel the wheel touch plastic. Then, you use a flat-head screwdriver to twist and snap the ring open. This method gives you more control in tight spaces.
Tools to Avoid:
| Outil | Why It’s Dangerous |
|---|---|
| Standard Side Cutters | They crush the ring and pipe together, often leaving deep gouges. |
| Utility Knife | Impossible to control depth; almost guarantees a cut into the PEX. |
| Hacksaw | Too aggressive; will cut through pipe before you know it. |
Step-by-Step Safe Removal Process
Follow these steps for a clean removal:
Step 1: Position your removal tool so the cutting blade sits against the outer edge of the ring. Avoid placing it in the middle where the pipe sits directly behind it.
Step 2: Apply slow, steady pressure. Let the tool do the work. If you feel resistance increasing, stop and reposition.
Step 3: Once you cut through, you will see a slit in the ring. Insert a small flat-head screwdriver into the slit and twist gently. The ring should pop open.
Step 4: Slide the ring off the pipe. It should come off freely if you cut it completely.
If the ring feels stuck, do not pull hard. Instead, check for any remaining uncut metal and address it first. Patience here saves pipes.
How Do You Inspect and Prepare the PEX End After Ring Removal for a New Connection?
Removing the ring is only half the battle. The real test comes when you examine the pipe surface.
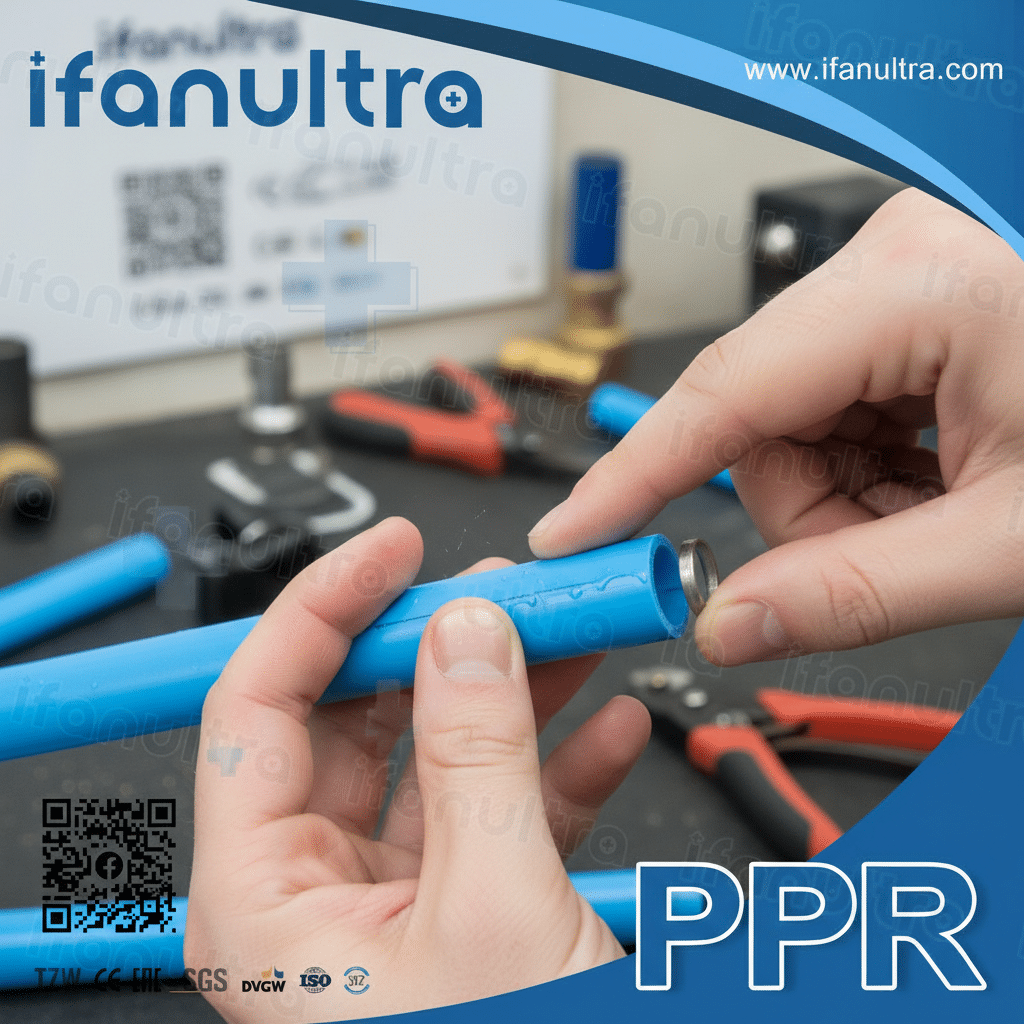
After ring removal, you must visually and physically inspect the pipe end for any signs of damage, including scoring, deep scratches, ovaling, or crushing. Run your fingernail across the surface. If your nail catches on any groove, the pipe is compromised. For undamaged pipe, simply cut off 1/2 inch of the end with a PEX cutter to create a fresh, clean surface for the new connection.
What to Look For During Inspection
The inspection step determines whether you can reuse the existing pipe or need to cut back further. Here is what you should check:
Visual Inspection: Hold the pipe under good light. Look for any discoloration, cuts, or rough areas. The old crimp ring often leaves a slight impression, which is normal. However, deep grooves or visible cuts are not acceptable.
Tactile Inspection: This is the most reliable method. Close your eyes and run your fingertip and fingernail along the area where the ring sat. You are feeling for:
- Ridges: A raised edge indicates the pipe deformed under the ring. This is usually fine.
- Gouges: A depression or cut where your nail catches means the pipe wall is thinner there.
- Flattening: If the pipe feels oval instead of round, the crimp ring over-compressed it.
The Fresh Cut Rule
Here is a rule we follow at IFAN: When in doubt, cut it out. Even if the pipe looks okay, the area under the old ring has already been compressed once. PEX has memory, but repeated compression in the exact same spot can lead to stress points.
I recommend cutting off at least 1/2 inch from the end. This holds true regardless of how good the pipe looks. This removes:
- The section that held the old ring
- Any minor surface imperfections
- The slightly expanded end from the previous fitting
Use a proper PEX cutter for this. A ratcheting cutter gives you a perfectly square end every time. A square end is essential because an angled cut prevents the new ring from seating evenly against the fitting.
Preparation Checklist
Once you have a fresh cut, prepare the pipe:
| Step | Action | Pourquoi c'est important |
|---|---|---|
| 1 | Remove any burrs with a deburring tool. | Rough edges can damage the O-ring inside the fitting. |
| 2 | Check the outside diameter with a go/no-go gauge. | Ensures the pipe hasn’t stretched or deformed. |
| 3 | Slide the new ring onto the pipe before inserting the fitting. | Forgetting this step means starting over. |
| 4 | Chamfer the inside edge slightly. | Helps the pipe slide into the fitting without catching. |
Preparation takes two minutes. Skipping it can lead to a call back next week.
Can You Use a New Crimp or Clamp Ring in the Same Location on the Pipe?
This question comes up constantly. The short answer is yes, but with one critical condition.
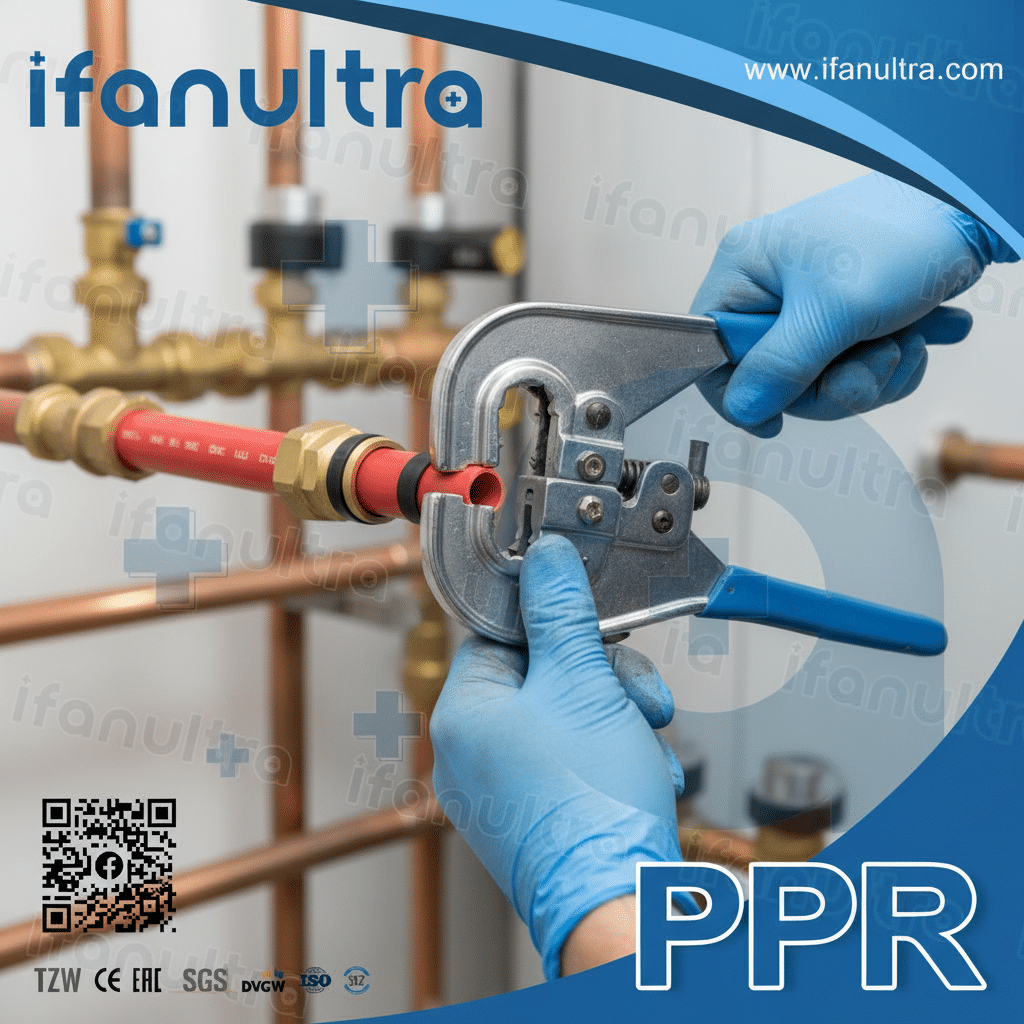
Yes, you can use a new crimp or clamp ring in the same location, provided you have cut off the damaged section of pipe and created a fresh end. Attempting to install a new ring over the exact spot where the old ring sat is risky because the pipe may have taken a set and will not compress evenly, leading to potential leaks. Always use a fresh section of pipe for the new connection.
Understanding Pipe Memory
PEX pipe is cross-linked polyethylene, which gives it remarkable flexibility and strength. However, like any plastic, it has “memory.” When you compress it with a crimp ring, the material deforms slightly to fill the space. Remove the ring, and the pipe will try to return to its original shape, but it rarely returns 100%.
As a result, the exact spot where the old ring sat may have:
- Slightly reduced wall thickness
- Minor surface irregularities
- Less elastic rebound
If you put a new ring in that exact spot, the compression may not be uniform. Consequently, the pipe might not squeeze evenly against the fitting barbs, creating tiny pathways for water to escape.
The Fresh Section Rule
This is why cutting off that 1/2 inch is so important. By moving the connection point slightly down the pipe, you:
- Work with virgin, uncompressed material
- Ensure the pipe has full wall thickness
- Guarantee the pipe will deform properly under the new ring
What About Clamp Rings (Cinch Rings)?
Cinch rings, which use a different tool that pinches the ring tight, are slightly more forgiving. Because they apply localized pressure with a clamp tool rather than uniform compression around the entire circumference, the pipe experiences less overall stress. Nevertheless, the same rule applies: fresh pipe is always better.
Ring Sizing and Compatibility
When you install a new ring, you must match it to the pipe size and fitting type. Here is a quick reference:
| Pipe Size | Crimp Ring Inner Diameter (Before Crimping) | Clamp Ring Size |
|---|---|---|
| 1/2″ PEX | Approximately 5/8″ | 1/2″ cinch ring |
| 3/4″ PEX | Approximately 7/8″ | 3/4″ cinch ring |
| 1″ PEX | Approximately 1-1/8″ | 1″ cinch ring |
Always verify that your rings are ASTM F1807 (crimp) or ASTM F2098 (clamp) compliant for your specific pipe brand. Mixing incompatible systems leads to failure.
Pro Tip from IFAN Field Experience
Here is a trick we teach our installers: After installing the new ring and before pressure testing, mark the ring and pipe with a permanent marker line across the joint. If the ring slips or moves during crimping, you will see the line misalign. This visual check catches installation errors immediately.
When Is It Necessary to Cut Out the Section and Use a Coupling Instead?
Sometimes, you cannot salvage the existing pipe end. Recognizing this saves you from a future leak.
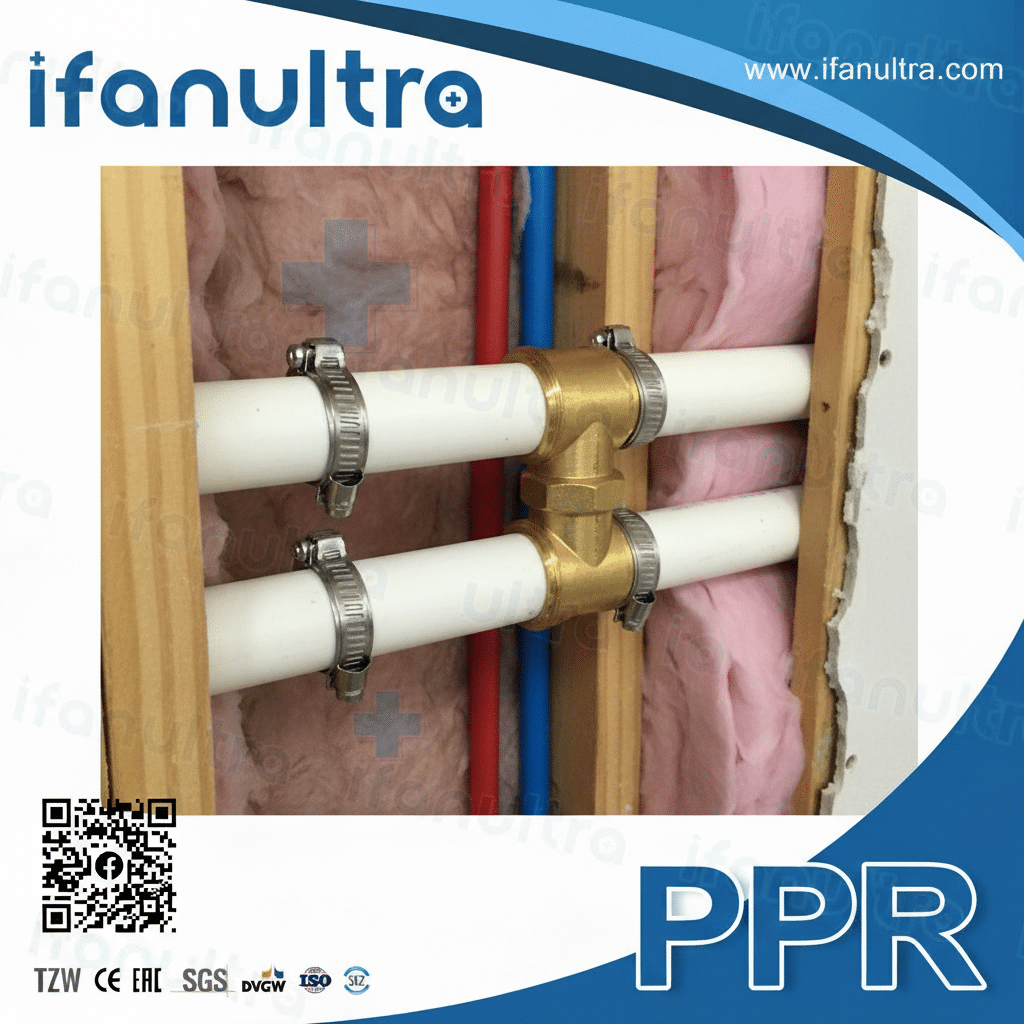
You must cut out the section and use a coupling when the pipe end shows visible damage such as deep cuts, cracks, crushing, or significant ovaling. Additionally, if you cannot cut back to a fresh section because the pipe is too short to reach the fitting, you need to add a new piece using a coupling. Any damage that compromises the pipe’s structural integrity makes a direct reconnect impossible.
Identifying Unsafe Pipe Conditions
Not all damage is obvious. Here are the conditions that require cutting out the section:
Physical Damage:
- Deep Cuts or Scores: If you can feel a groove with your fingernail, the pipe wall is thinner there. Under pressure, this spot becomes the weakest link.
- Cracks: Any visible crack means immediate replacement. Cracks only grow larger over time.
- Crushing: If the pipe is flattened or deformed and does not return to round when squeezed, the internal structure is compromised.
Length Issues:
Sometimes the pipe is simply too short. After cutting off the damaged end, you may have only 1 inch of pipe left. Most fittings require at least 1 inch of insertion depth. If you cannot push the pipe fully onto the fitting barbs, you cannot make a proper connection.
Multiple Failures:
If this is the second or third time you have repaired this same spot, the pipe section has endured too much stress. Therefore, cut it out and start fresh.
Using a Coupling: The Right Way
When you need to add length, use a standard PEX coupling. Here is the process:
Step 1: Cut out the damaged section entirely. Make two square cuts, one on each side of the damage.
Step 2: Measure the gap. You need a piece of new PEX long enough to bridge the gap with 1 inch of insertion into each coupling on both ends.
Step 3: Cut your new piece to length. Deburr all ends.
Step 4: Install a crimp ring onto one end of the existing pipe, insert the coupling, and crimp.
Step 5: Slide a ring onto your new pipe piece, insert it into the other side of the coupling, and crimp.
Step 6: Repeat for the other side of the repair using a second coupling.
Coupling Selection Guide
Not all couplings work the same. Choose based on your access:
| Coupling Type | Best Use Case | Pour | Cons |
|---|---|---|---|
| Standard Crimp Coupling | Open access areas where you can use a crimp tool. | Strong, permanent, low cost. | Requires tool access around the entire joint. |
| Push-Fit Coupling | Tight spaces where crimp tools won’t fit. | No tools needed, fast installation. | More expensive, bulkier, must ensure pipe is fully inserted. |
| Expansion Coupling (PEX-A) | For PEX-A pipe systems using expansion rings. | Creates strongest joint for PEX-A. | Requires expansion tool; only works with PEX-A. |
When to Call a Professional
If you find yourself needing multiple couplings in a small area, or if the pipe is buried inside a wall, consider hiring a professional. Mistakes in tight spaces can lead to leaks inside walls, which cause major damage.
Conclusion
Reconnecting a PEX pipe after cutting off a crimp ring is straightforward if you use the right tools and inspect carefully. For reliable repairs and high-quality fittings, choose IFAN’s PEX crimp rings and couplings, designed for consistent performance and easy installation.


 English
 Español
 Français
 Português do Brasil