
A PPR pipe leak almost never means the material failed. When a socket heat-fusion joint is made correctly, the pipe wall and the fitting melt together at around 260°C and cool into one homogeneous piece of polypropylene — there is no gasket, no thread and no glue line to give out later. So if you see a PPR pipe leaking at a fitting, the honest starting point is that something went wrong at the install, or the run was stressed after it. Find that root cause first; do not just smear sealant over the weep and hope.
This guide walks through why PPR pipes leak, how to find the leak, and how to fix a PPR pipe leak properly by cutting out the bad joint and re-fusing. It pairs with the PPR pipe hub guide and, for the fusion technique itself, the step-by-step heat-fusion installation guide. Get the diagnosis right and most repairs are a 20-minute job that never comes back.
Key Takeaways
- A correctly fused PPR joint becomes one homogeneous part with no gasket or glue line, so a PPR pipe leak points to an install or post-install fault, not the resin.
- The most common cause is a cold joint from under-heating — PPR fuses at 260°C ±10°C, and heating below about 250°C leaves incomplete melt that weeps under pressure.
- Twisting the fitting into place during joining shears the molten bond; the parts must go straight on and stay still while they cool.
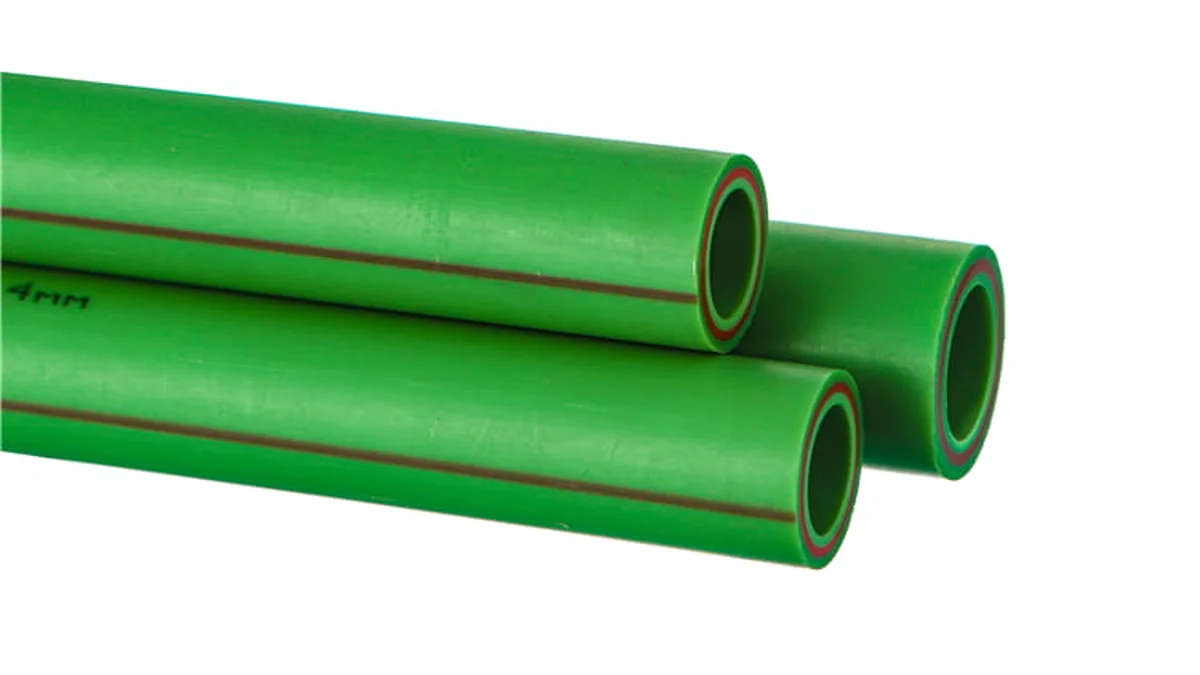
- Plain PPR expands ~0.15 mm per metre per °C, so long unclipped hot runs pull on joints — fiber-composite pipe cuts that movement by about 75%.
- Never repair by sealant or over-tightening — cut out the failed joint and re-fuse a coupler, or use an electrofusion coupler in tight spots.
- If many joints on the same job weep, suspect the tool, resin or technique — not bad luck — and always pressure-test before you close a wall.
Why PPR shouldn’t leak — and what it means when it does
Socket heat fusion is not mechanical jointing. The tool heats the outside of the pipe end and the inside of the fitting socket to the melt point of polypropylene, roughly 150°C for the polymer with a working tool face around 260°C. Push the two together and the softened layers flow into each other. As they cool the molecules re-tangle across the boundary, so the finished joint is a single continuous part with the same 50-year design life as the pipe itself at its rated PN and temperature under ISO 15874.
That is why a leak is diagnostic. There is no O-ring to perish and no cement bead to crack, so a weeping PPR joint is telling you the fusion never fully formed, or the joint was later loaded beyond what it was built for. Reading the leak correctly — under-heated, twisted, over-heated, stressed, or damaged — is the whole game. Get that wrong and the “repair” fails the same way in a month.
The main causes of a PPR pipe leak
Six faults account for almost every PPR pipe leak. Each leaves a different signature, and each has a different fix. Match what you see to the table before you cut anything.
| Cause | What it looks like | Fix |
|---|---|---|
| Cold joint (under-heated) | Weeps slowly at the socket mouth, often only under full pressure; joint may look shiny but the weld bead is thin or missing. Tool below ~250°C or heating time too short. | Cut out and re-fuse with a correct 260°C tool and the right heating seconds for the size. |
| Twisted joint | Uneven or asymmetric weld ring, sometimes a visible spiral mark; the fitting was rotated while the melt was still soft, shearing the bond. | Cut out and re-fuse; push straight on and hold still until cool — no twisting to seat it. |
| Over-heated / bore collapse | Excess molten material squeezed into the bore, a lip that restricts flow, or a scorched joint. Over-heating also degrades the polymer chains and weakens the weld. | Cut out and re-fuse with correct time; a collapsed bore usually needs the fitting replaced too. |
| Thermal-expansion stress | Leak appears weeks later on long hot-water runs; pipe has bowed between clips or pulled at an elbow. Plain PPR moves ~0.15 mm/m/°C. | Re-fuse the joint and add an expansion loop or offset; correct the clip spacing so the run can move freely. |
| Wrong PN class for the temperature | Joint or pipe body swells, distorts or bursts on a hot line — thin-wall PN10 pipe used where hot water at pressure needs PN20 wall thickness. | Replace the section with the correct class; PN20 (SDR6) is standard for hot water. |
| Physical / impact damage | A crack, gouge or puncture away from any joint — a dropped tool, a nail or screw, or a crushed pipe during build-out. | Cut out the damaged length and fuse in a new section with two couplers. |
Notice that four of the six causes are heating or handling faults at the joint. A PPR leak after fusion is, more often than not, a process problem — the tool temperature, the seconds on the heater, or a twist during seating. That is good news, because process problems are repeatable, which makes them preventable.
How to locate a PPR leak
Some leaks announce themselves; others hide behind plaster. Work from the obvious to the concealed.
On exposed pipework, dry every joint with a cloth, pressurise the line, and watch. A cold joint often shows as a bead of water forming at the socket mouth within a minute or two under full pressure. Feel around the fitting collar — a slow weep collects there before it drips. If the run is buried in a wall or screed, you cannot see the joint, so you diagnose the leak by its effect: damp patches, blistering paint, or wall staining that spreads over hours are your map to the buried joint.
The pressure-drop test
The definitive test is pressure. Isolate the section, fit a test gauge, and charge the line to the test pressure your local standard specifies — commonly around 1.5 times working pressure, but confirm the current requirement with your local authority or a qualified plumber. Close the valve and read the gauge. A stable needle means the section is sound. A falling needle means water is escaping somewhere on that isolated run, even if you cannot yet see it. Splitting a long run into shorter isolated sections and testing each one narrows a hidden leak down to a single stretch fast.
Reading wall staining
Water travels along the pipe and down before it surfaces, so the stain is rarely directly over the fault — expect the leak to sit above and to one side of the wettest point. Trace the pipe route from your as-built drawing and open the wall at the nearest joint uphill of the stain first. Joints leak far more often than the middle of a pipe length, so start your search at fittings.
How to fix a PPR pipe leak
There is one correct repair philosophy for PPR: you do not seal a bad joint, you remake it. Because the material is fused rather than glued, the only durable fix restores a continuous polypropylene bond. Everything else buys days, not years.
Isolate and drain
Shut the nearest isolation valve or the main, open the lowest tap to drain the section, and let the joint dry. Fusion will not take on a wet or contaminated surface — moisture and dirt are two of the classic reasons a fresh weld weeps, so the joint area must be clean and bone dry before you heat anything.
Cut out the bad joint and re-fuse a coupler
Cut out the failed fitting with a proper PPR pipe cutter, leaving square, clean pipe ends. Deburr them. Now bridge the gap: fuse a short pipe offcut between two couplers, or use the correct new fitting, following the same heating rules as a first install. Heat pipe and socket for the seconds the size calls for — roughly 5 seconds for DN20, about 8 seconds for DN32, longer as diameter grows — push straight home to the marked insertion depth, and hold still while it cools. No twisting, no wiggling. The full method is in the heat-fusion installation guide.
Electrofusion couplers for tight spots
When the leak is in a corner, close to a wall or between two fixed fittings, there may be no room to swing a socket-fusion tool onto the pipe. An electrofusion coupler solves that: it slides over the prepared pipe ends and a heating element built into the coupler melts the interface when current is applied, forming the fused bond in place. It is the go-to for repairs and complex fittings where socket fusion is impractical, and it removes the twisting risk entirely because nothing rotates during the weld.
When a section swap is needed
Impact damage, a collapsed over-heated bore, or the wrong PN class cannot be fixed at a single joint — cut out the whole affected length and fuse in a new section with a coupler at each end. If the original pipe was under-rated for the duty, this is your chance to correct it: use PN20 (series S2.5 / SDR6) for hot water rather than reinstating thin-wall PN10.
Repair or replace? One bad joint versus a batch problem
A single weeping joint on an otherwise sound install is a repair — cut it out, re-fuse, move on. The judgement call comes when more than one joint fails. If two, three or a run of joints on the same job weep, stop treating them as bad luck. That pattern points at a shared cause, and you need to find it before you remake anything.
- Suspect the tool first. Field data on fusion failures repeatedly traces most bad joints back to uncalibrated or worn welding equipment — a heater that reads 260°C but runs cold, or worn dies that never grip the full socket. One drifting tool produces a whole job of cold joints.
- Then suspect the resin. Thin-wall pipe sold as premium, or recycled and filled resin instead of virgin polypropylene, fuses inconsistently and fails at pressure. This is exactly the batch-consistency risk that importers fear at customs and on site.
- Then technique. If one installer twists every joint or reads heating times off the wrong chart, the failures cluster around that person’s work.
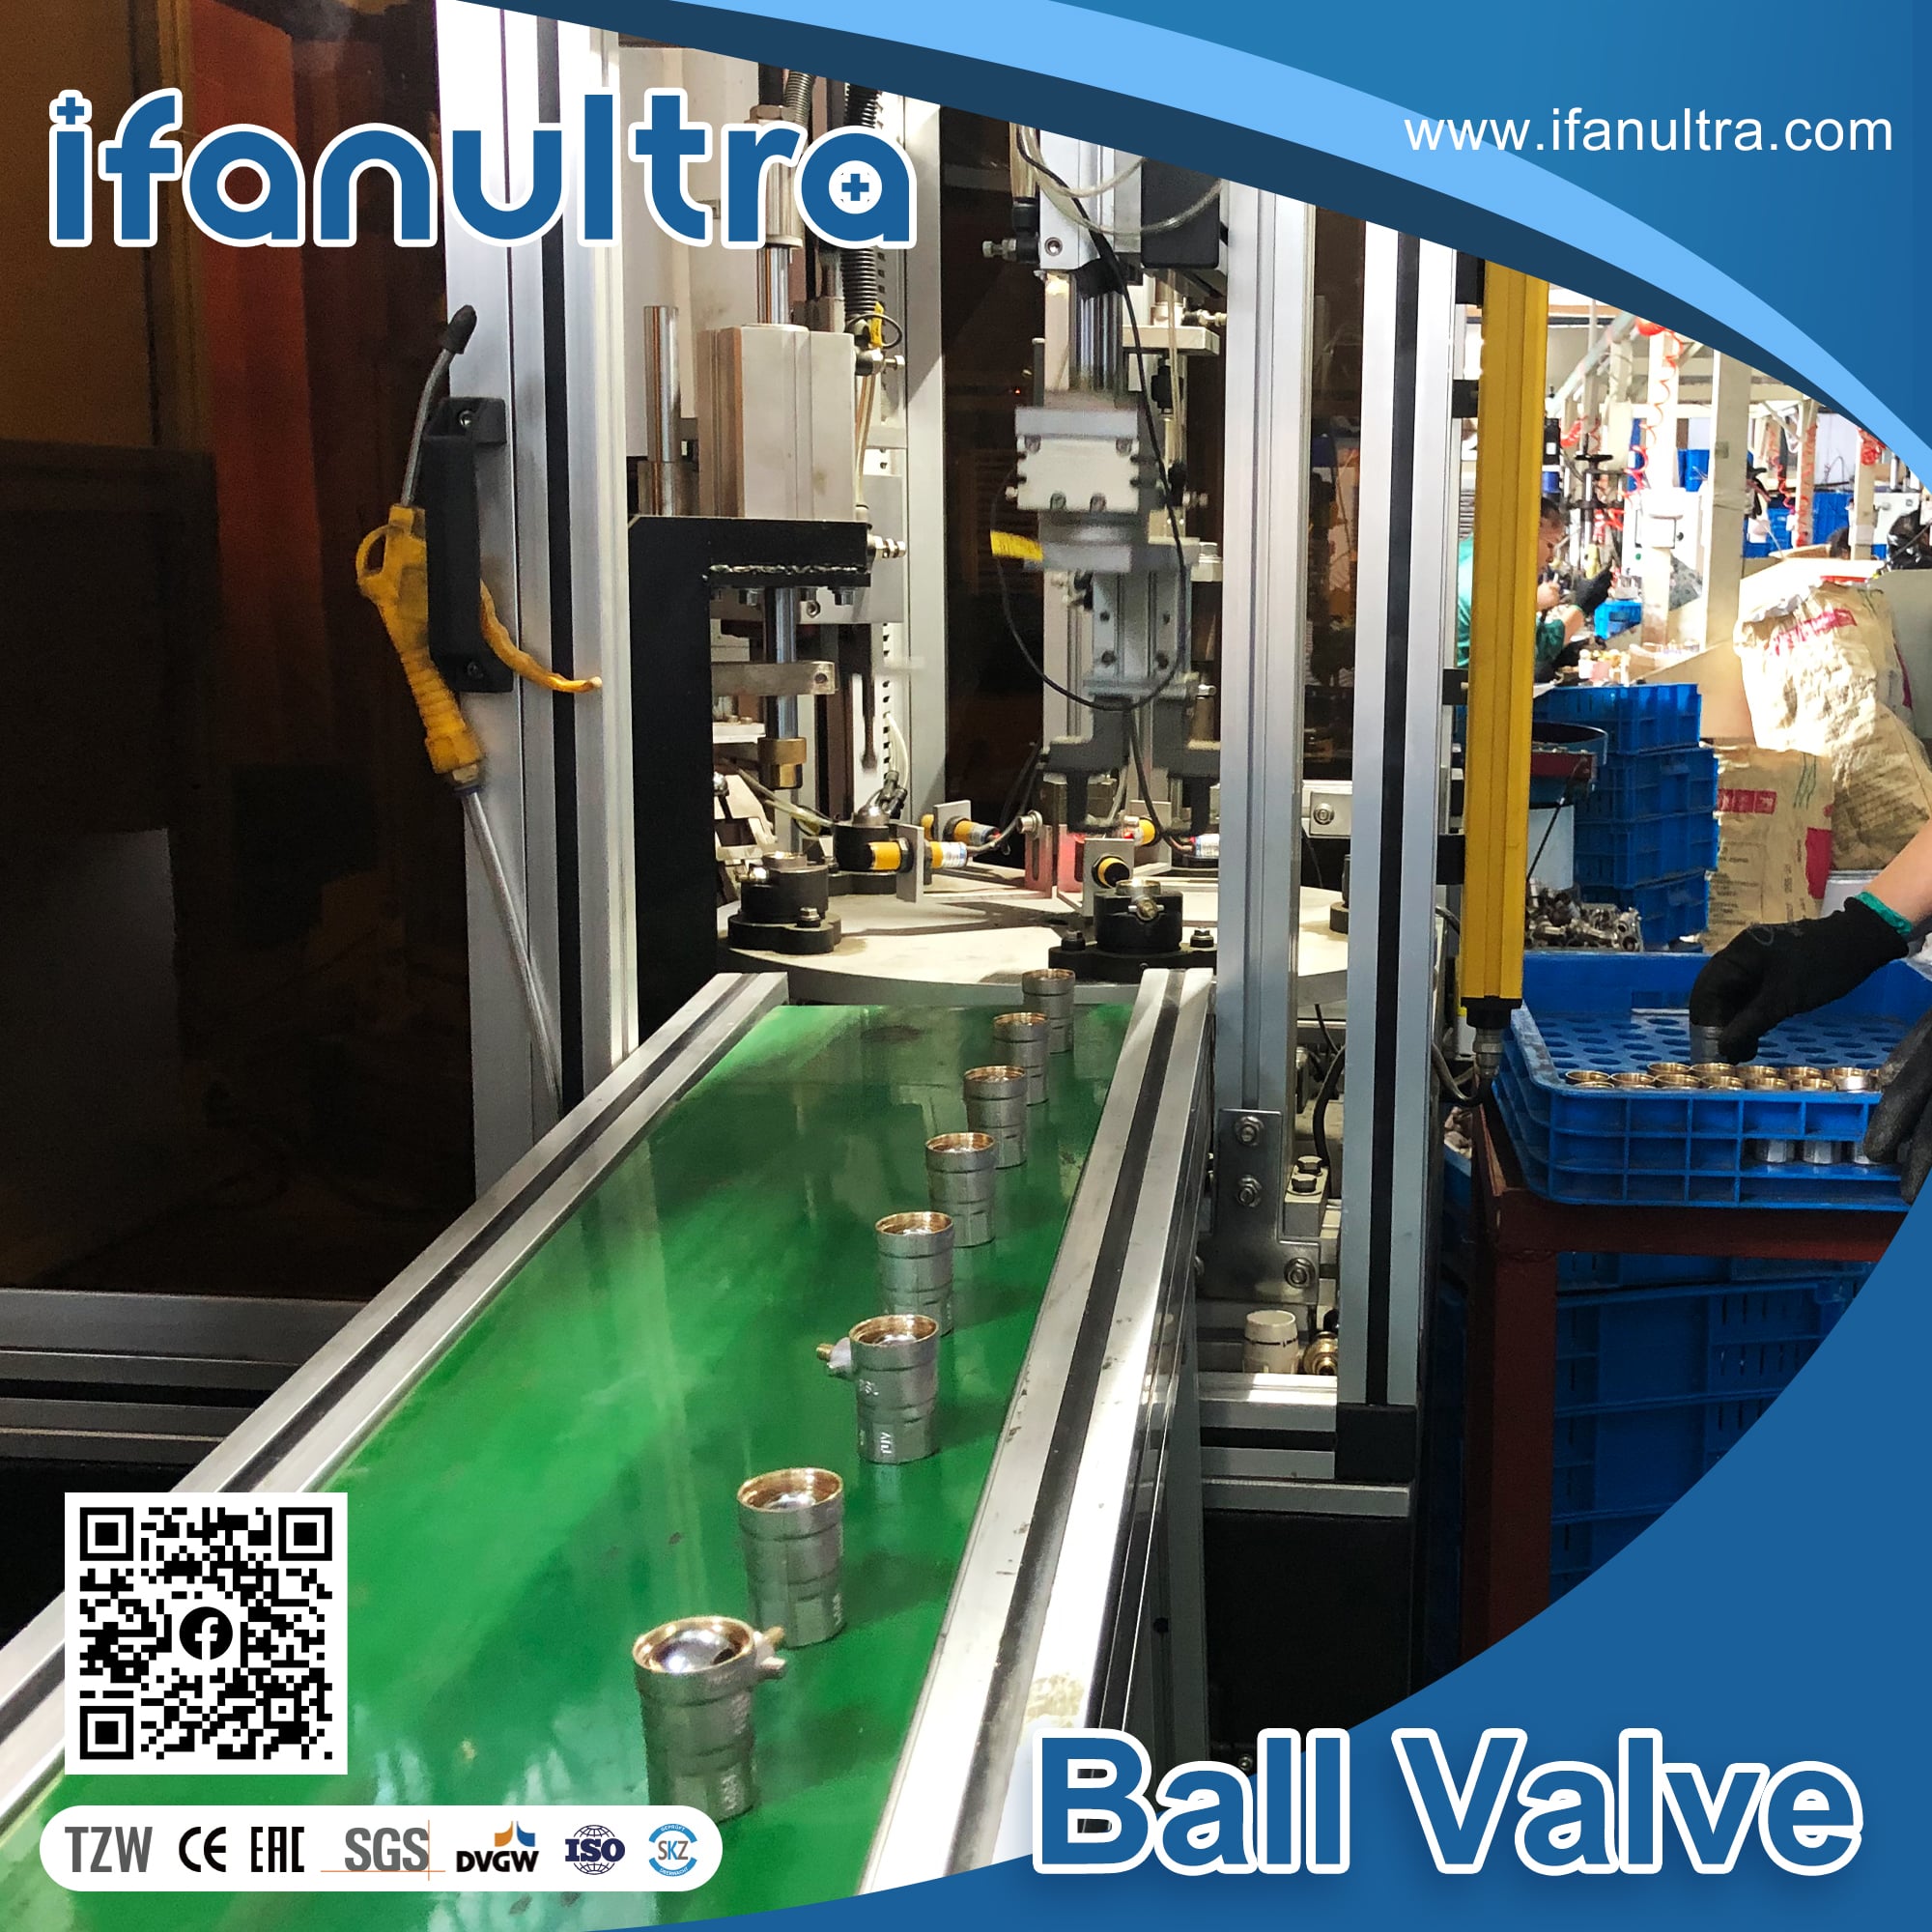
A batch problem is a replace decision, not a repair one. Remaking twenty joints with the same faulty tool or the same suspect pipe just re-buys the leak. What we check before a batch of IFANULTRA PPR ships — wall thickness against the DN size, virgin Nordic polypropylene rather than filler, and traceable certificates — exists precisely so the resin is never the variable when a joint fails on site.
Preventing PPR leaks before they happen
Every leak in this guide is preventable with four habits. None of them cost money — they cost discipline.
Correct heating times and temperature
Set the tool to 260°C (±10°C is the working window) and let it reach temperature before the first joint. Match heating seconds to the pipe size — around 5 seconds at DN20, about 8 at DN32, more as the diameter climbs — and keep the join-and-hold action under a few seconds so the melt does not chill before the parts seat. Under-heating gives cold joints; over-heating degrades the polymer and collapses the bore. The full time-by-size chart lives in the fusion installation guide.
Expansion loops and correct clip spacing
Plain PPR expands about 0.15 mm for every metre of pipe per °C of temperature rise, so a 4-metre hot line heating from 20°C to 70°C moves roughly 30 mm. If the run is clipped rigidly at both ends, that movement lands on the joints. Build in expansion loops or offsets on long straight runs and space clips so the pipe can move without buckling. Fiber-composite PPR reduces expansion by about 75%, to roughly 0.03–0.05 mm/m/°C, which is why it is worth specifying for long hot mains.
Pressure-test before you close the walls
This is the single most valuable habit. Test the whole system to the required pressure and hold it before any wall, chase or screed is closed. A joint that weeps on an open test bench is a ten-minute fix; the same joint found after the plaster is dry is a demolition job. Never build over an untested PPR run.
Pressure-test after any repair
A re-fused joint is not finished until it holds pressure. Let the new weld cool fully — larger diameters and cold conditions need longer cooling, and rushing it can leave internal stress that cracks later. Then re-pressurise the isolated section, hold at the test pressure your standard specifies, and confirm the gauge stays put.
Only when the needle holds steady do you restore the supply and, if the joint was in a wall, close it back up. Skipping this step after a repair is how one leak becomes two callbacks. Confirm current test pressures and hold times with your local authority or a qualified plumber for the market you are working in.
Conclusion
A PPR pipe leak is a message, not a mystery. Because a correct fusion joint is one solid piece of polypropylene, a weep tells you the weld was cold, twisted, over-heated, stressed by expansion, under-rated, or physically damaged. Read the signature, cut out the fault, re-fuse it properly, and pressure-test before you walk away.
The best repair is the one you never make — right tool temperature, right heating time, room for expansion, and a pressure test before the walls close. If you specify or resell PPR and want product that takes the resin out of the failure equation, the IFANULTRA team is happy to share specs, wall-thickness data and certificates.
Frequently Asked Questions
Why is my PPR pipe leaking after fusion?
A PPR leak after fusion almost always means the joint was under-heated (a cold joint), twisted while seating, or over-heated. All three leave an incomplete or sheared weld that weeps under pressure. Cut it out and re-fuse correctly.
How do I fix a PPR pipe leaking at a fitting?
Isolate and drain the line, let it dry, then cut out the leaking fitting and re-fuse a new coupler or fitting at 260°C. Do not seal or over-tighten — PPR is fused, so the joint must be remade to hold.
Can you seal a PPR joint leak without cutting it out?
No durable fix exists that way. PPR joints are fused into one homogeneous part, so tape, sealant or clamps only buy days. The reliable PPR joint leak repair is to cut out the joint and re-fuse it, then pressure-test.
Why do several PPR joints leak on the same job?
Multiple leaks point to a shared cause, not luck. Suspect an uncalibrated or worn fusion tool first, then recycled or thin-wall resin, then a technique fault like twisting. Fix the root cause before remaking any joints.
How do I repair a PPR leak in a tight corner?
Use an electrofusion coupler. It slides over the prepared pipe ends and fuses in place using a built-in heating element, so you need no room to swing a socket-fusion tool and there is no twisting risk during the weld.
Written by the IFANULTRA team — a PPR pipe and fittings brand of IFAN Group, drawing on 30+ years of manufacturing experience, German automated production lines, and ISO 9001, SKZ and NSF certified PPR product lines.


 English
 Español
 Français
 Português do Brasil